What if I told you that you can have a presence sensor with zone detection, a universal IR remote for all your devices, a light sensor, and everything perfectly integrated with Home Assistant for under $40? I’ve been testing the LinknLink eMotion Pro for a month, and what I’ve discovered will surprise you.
In this article, we’re going to break down this hub completely: from the unboxing to advanced automations with Home Assistant, locally via MQTT, and a comparison with its siblings, the Max and Ultra. Stick around until the end because I’m going to tell you both the good and the bad, no filters.
Where to buy the LinknLink eMotion Pro?
- On Amazon → https://www.linknlink.com/amazon
- On AliExpress → https://s.click.aliexpress.com/e/_c3Ahm3LT
- Official LinknLink Store → https://shop.linknlink.com/
Unboxing and First Impressions
Let’s start with the basics: what’s in the box?
- The eMotion Pro itself, with a minimalist and discreet design.
- A USB Type-C cable for power (important: the power adapter is NOT included).
- An adjustable folding stand with several positions. It does the job, although it doesn’t feel very sturdy.
- 3M adhesives for wall or flat surface mounting. No screws.
- The user manual, in several languages, including English.
First impression: the finish is quite good. It’s very compact, with a front LED that changes color depending on its status. It’s a shame the stand isn’t magnetic, which forces us to use the stickers and makes it difficult to move the device or change the USB cable if needed.
An important point about power: you need a USB power adapter of 5V and at least 2A. If you use one with less power, the hub will not work correctly.

Initial Setup with the LinknLink App
To set up the eMotion Pro, we need the official LinknLink app. The process is quite straightforward:
- Connect the hub to power. The LED will flash blue, indicating pairing mode.
- Open the app and add a new device of type
eSeries Hubs & Sensors: "Radar Presence Sensor". - Connect to your 2.4GHz WiFi (it does not work with 5GHz).
- Assign a room and a name.
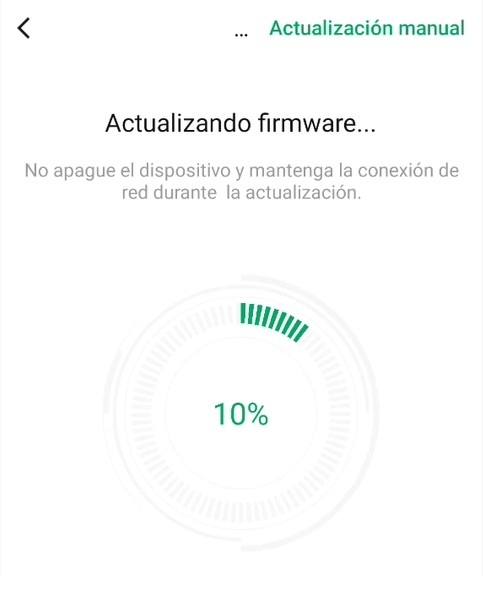
First tip: update the firmware immediately. This update fixes bugs and enables additional features you’ll need later.
Interestingly, the eMotion Pro treats the IR control as the main device and the presence and light sensors as sub-devices. By accessing the main device a couple of times, it will automatically detect the sub-devices.
Presence Sensor: Configuration and Tests
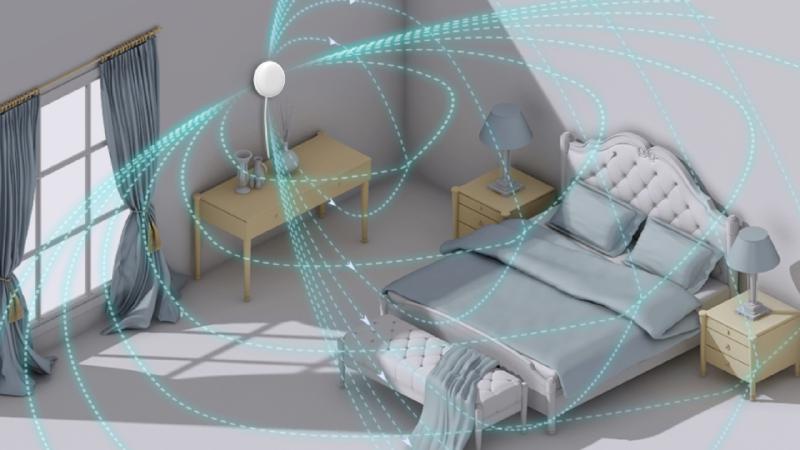
This is where things get interesting. The eMotion Pro uses 24GHz MMW radar technology, which means it can detect presence even when you are completely still.
Difference between 2D and 3D detection
It’s key to understand the difference between the Pro’s 2D detection and the 3D detection of the Max or Ultra models:
- 2D Detection (eMotion Pro - 24GHz): It only detects distance in a straight line. It tells you “someone is 3 meters away,” but it doesn’t know if they are to the left or right. If there are two people, it will only detect the closest one.
- 3D Detection (eMotion Max/Ultra - 60GHz): It creates a spatial map of the room. It knows someone is 3 meters away and sitting on the left sofa.
Zone configuration in the Pro
Although the Pro doesn’t have 3D spatial zones, it does allow you to configure up to 4 zones based on distance ranges. For example:
- Zone 1: “Desk” (0-2 meters)
- Zone 2: “Sofa” (2-4 meters)
- Zone 3: “Door” (4-5 meters)
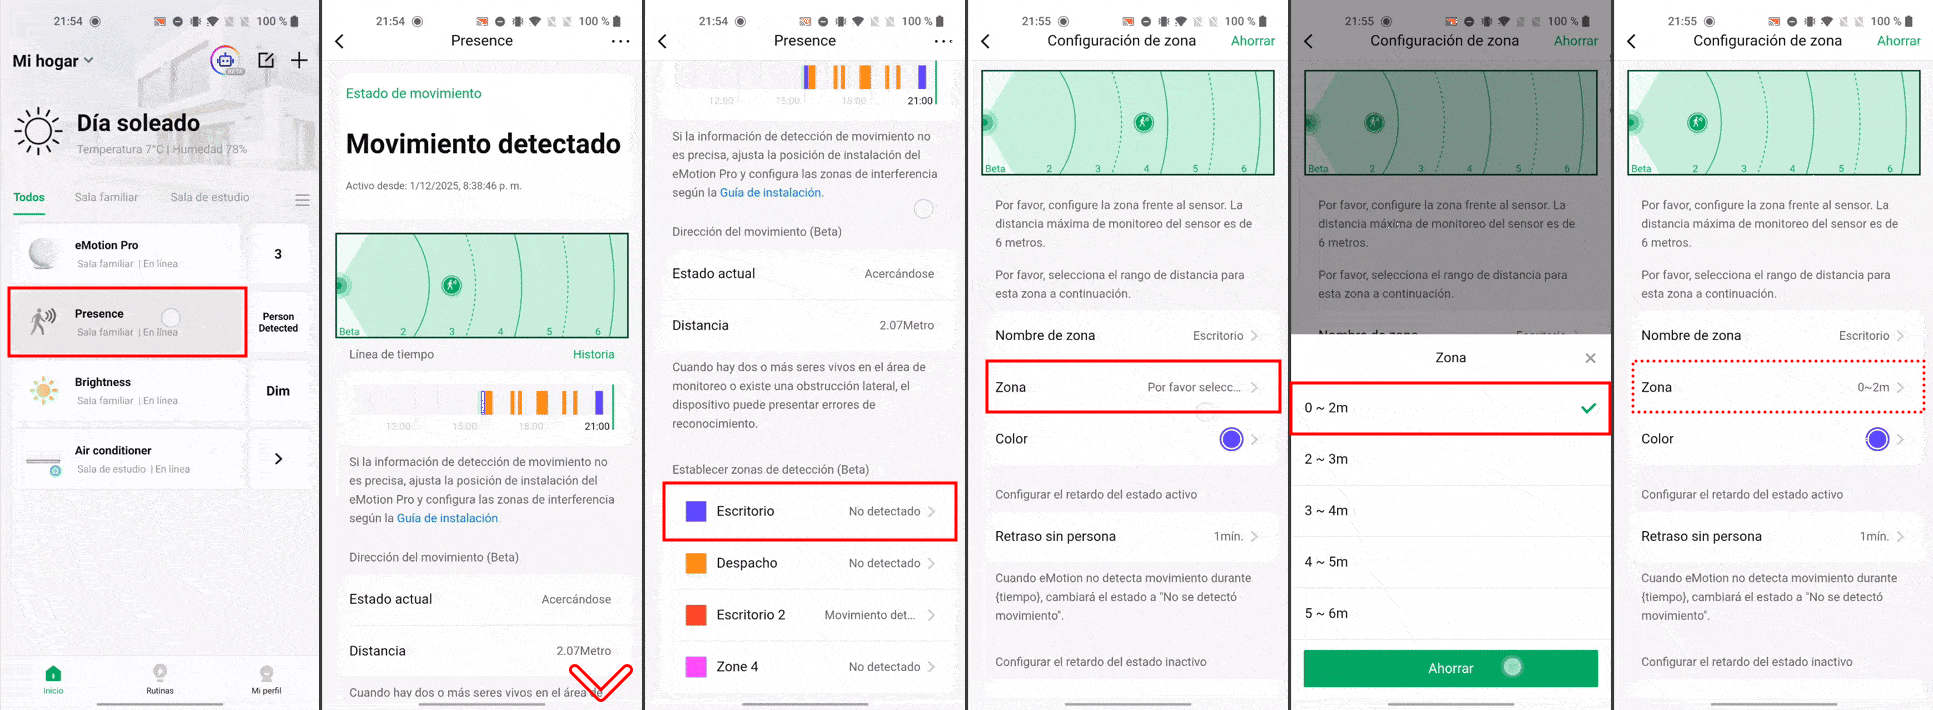
For each zone, you can configure:
- Name and color.
- Active state delay: the time it maintains the “detected” state (I recommend 3 minutes to avoid false turn-offs).
- Sensitivity: low, normal, or high (I had to lower it to normal because at high it was detecting my cat).
A great feature is the global delay, which allows you to set different times depending on the time of day.
Light Sensor and IR Control
- Light Sensor: It shows the lux in real-time and allows you to configure three levels (dim, normal, bright). Super useful for automations.
- IR Control: It has a range of up to 15 meters. The setup is simple: select a category, brand, and model. If it’s not in the database, you can teach it the buttons from your original remote.
If you also want to measure temperature and humidity, you’ll need to buy the additional sensor that LinknLink sells separately.
Home Assistant Integration via MQTT
This is where the eMotion Pro truly shines. The native integration with Home Assistant via MQTT is local and very comprehensive. You need a running MQTT broker (like the Mosquitto addon).
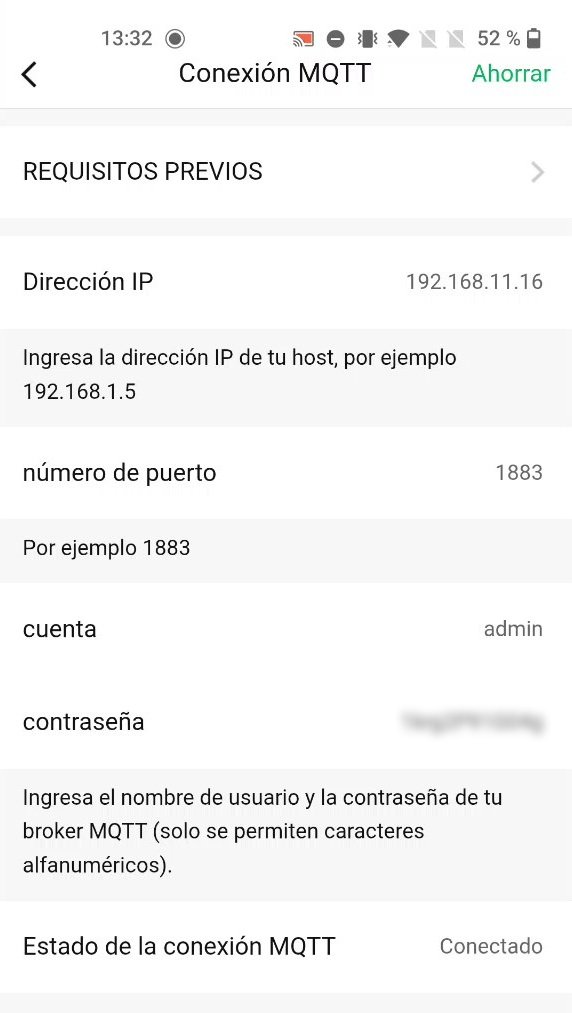
MQTT Configuration
- In the LinknLink app, go to the eMotion Pro settings.
- Select “MQTT Connection”.
- Enter your broker’s IP, port (1883), username, and password.
- Save and verify that the status shows as “Connected”.
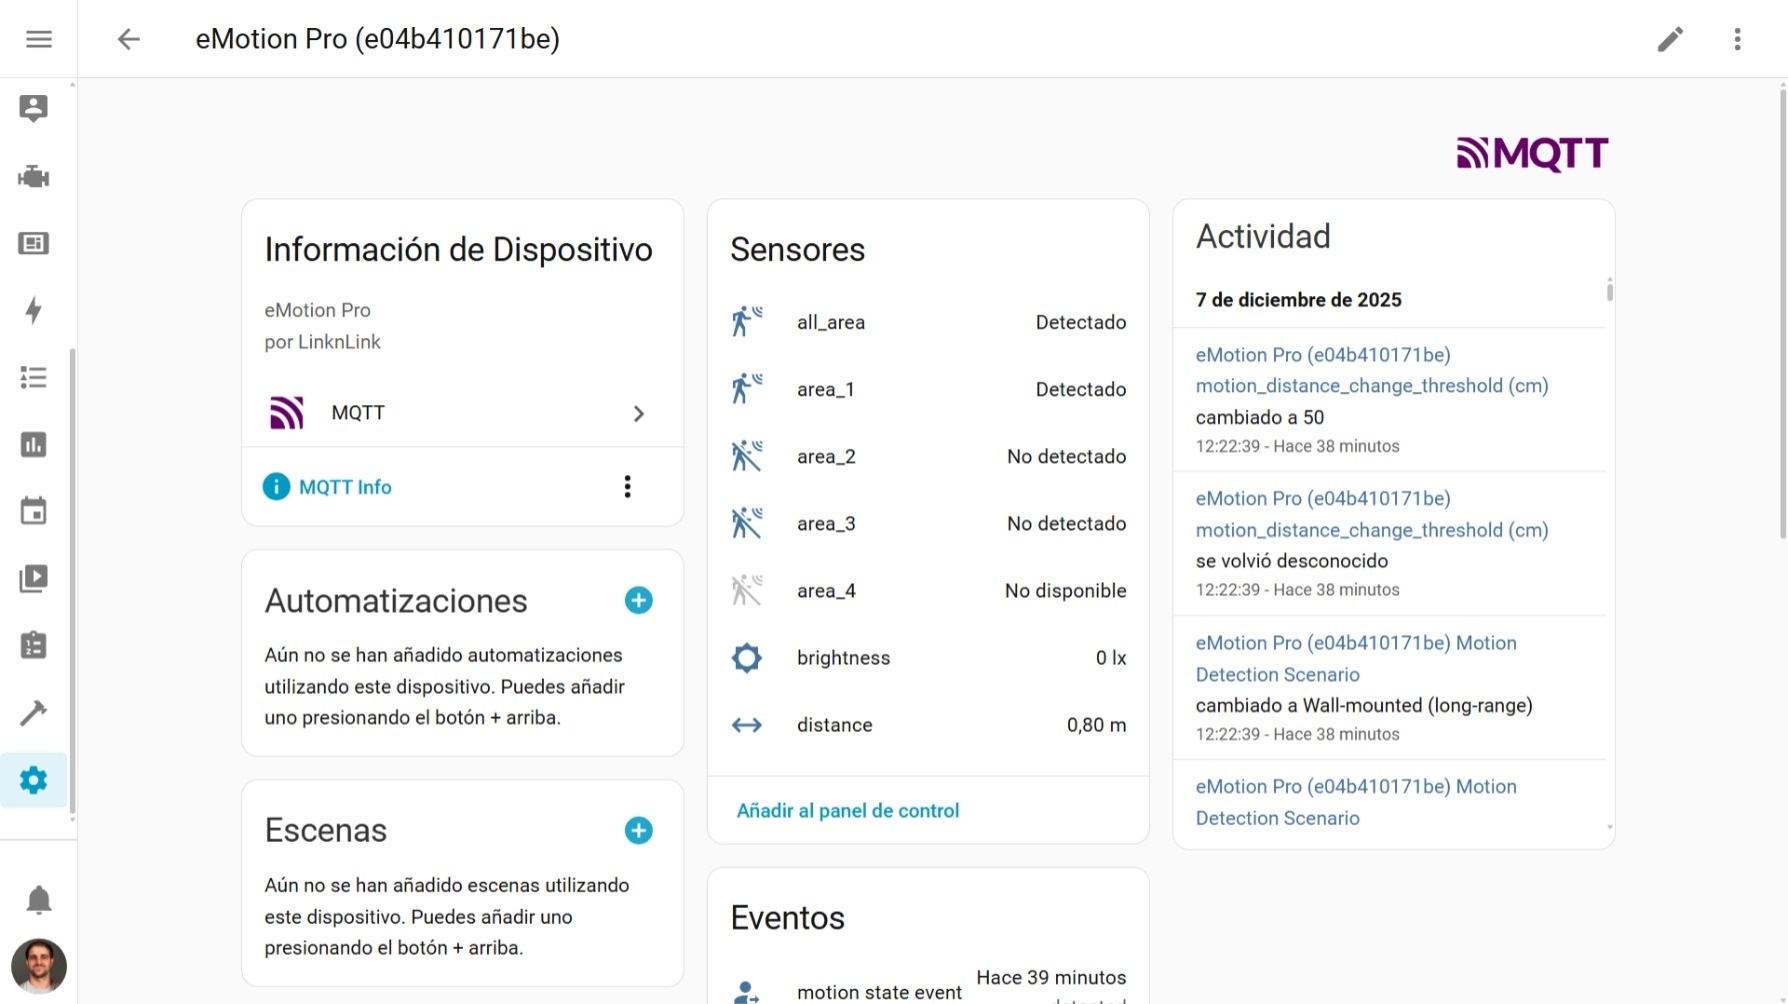
Automatically, the device will appear in Home Assistant with all its entities:
- Binary presence sensor.
- Individual zones.
- Distance in centimeters.
- Illuminance sensor in lux.
- IR devices as separate entities.
The latency is minimal, almost instantaneous.
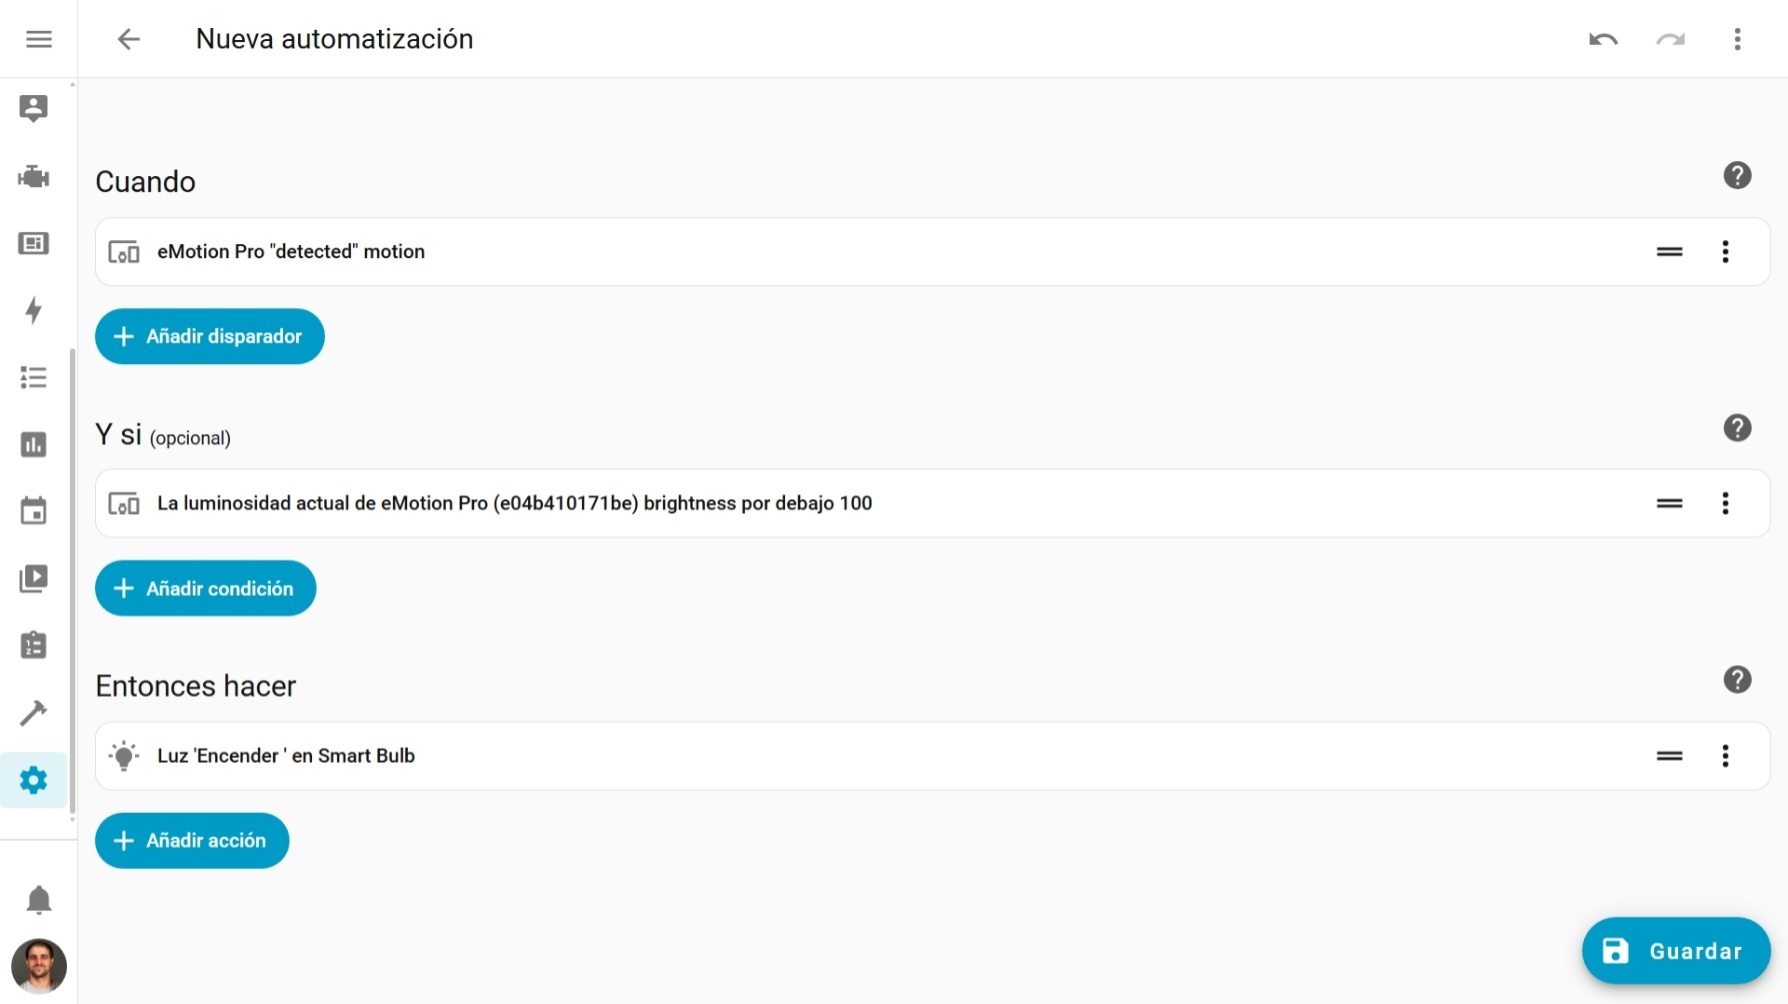
Example Automation
Here is an example to turn on the lights when presence is detected only if it’s dark:
| |
Comparison: Pro vs Max vs Ultra
| Feature | eMotion Pro | eMotion Max | eMotion Ultra |
|---|---|---|---|
| Radar Frequency | 24GHz (2D) | 60GHz (3D) | 60GHz (3D) |
| Detection | Linear by distance | 3D mapping in zones | Advanced 3D mapping |
| Zones | 4 (by distance) | 4 (spatial) | 4 (spatial) |
| Multi-person | No (1 person) | Yes (up to 4) | Yes (up to 4) |
| Presence Range | ~7m | ~5m | ~6m |
| Temp/Humidity Sensor | Sold separately | Sold separately | ✅ (in the cable) |
| IR Control in HA | ✅ | ❌ (limited) | ✅ |
| Bluetooth Proxy | ❌ | ❌ | ✅ |
| Approx. Price | ~$35-40 | ~$50-55 | ~$65-70 |
Which one to choose?
- eMotion Pro: Ideal for bedrooms, kitchens, or single-person offices.
- eMotion Max: Perfect for living rooms where there are several people.
- eMotion Ultra: If you want the complete package with temperature, humidity, and Bluetooth proxy.
Conclusions: The Good and The Bad
The Good
- Flawless presence detection, even without movement.
- Native, complete, and local Home Assistant integration via MQTT.
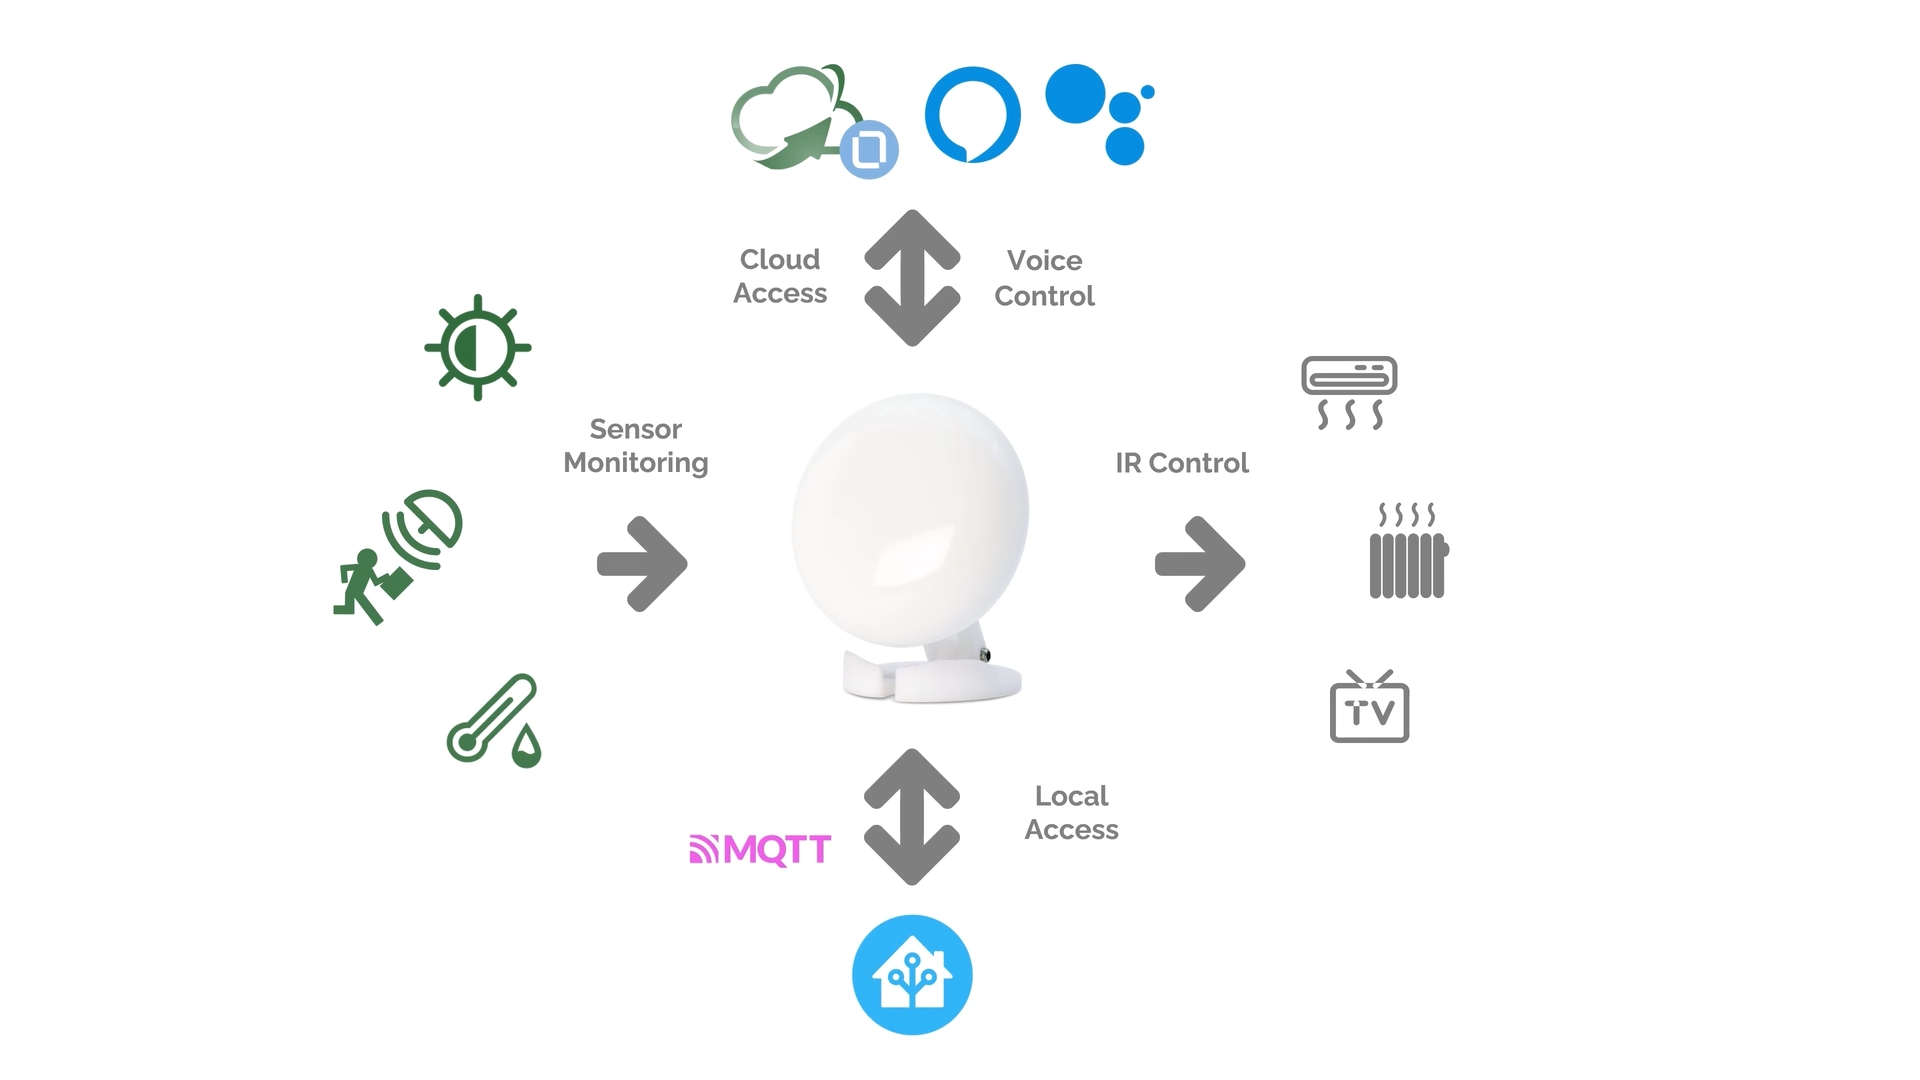
- All-in-one: Presence sensor, light sensor, and IR control.
- Compatible with Google Home, Alexa, and HomeKit.
The Bad
- Requires calibration: It’s not plug-and-play; you need to adjust sensitivity and zones.
- Pet detection: At high sensitivity, it detects animals.
- It’s wired: You need to have a power outlet nearby.
- The app’s translation has some flaws.
After a month of testing, I can say that the eMotion Pro is an excellent presence sensor for home automation, especially if you use Home Assistant. The MQTT integration works wonderfully, it’s reliable, and the built-in IR control eliminates the need for additional devices.
What do you think of the eMotion Pro? Are you considering buying it, or would you go straight for the Max or Ultra?
Don’t forget to check out YouTube for more home automation content. See you in the next article!