
Introduction
In today’s article, we’ll take a look at the first steps you need to take with Home Assistant. We’ll provide a general overview of all the sections and configurations, focusing on those that are important to set up correctly from the beginning to ensure your installation works smoothly.
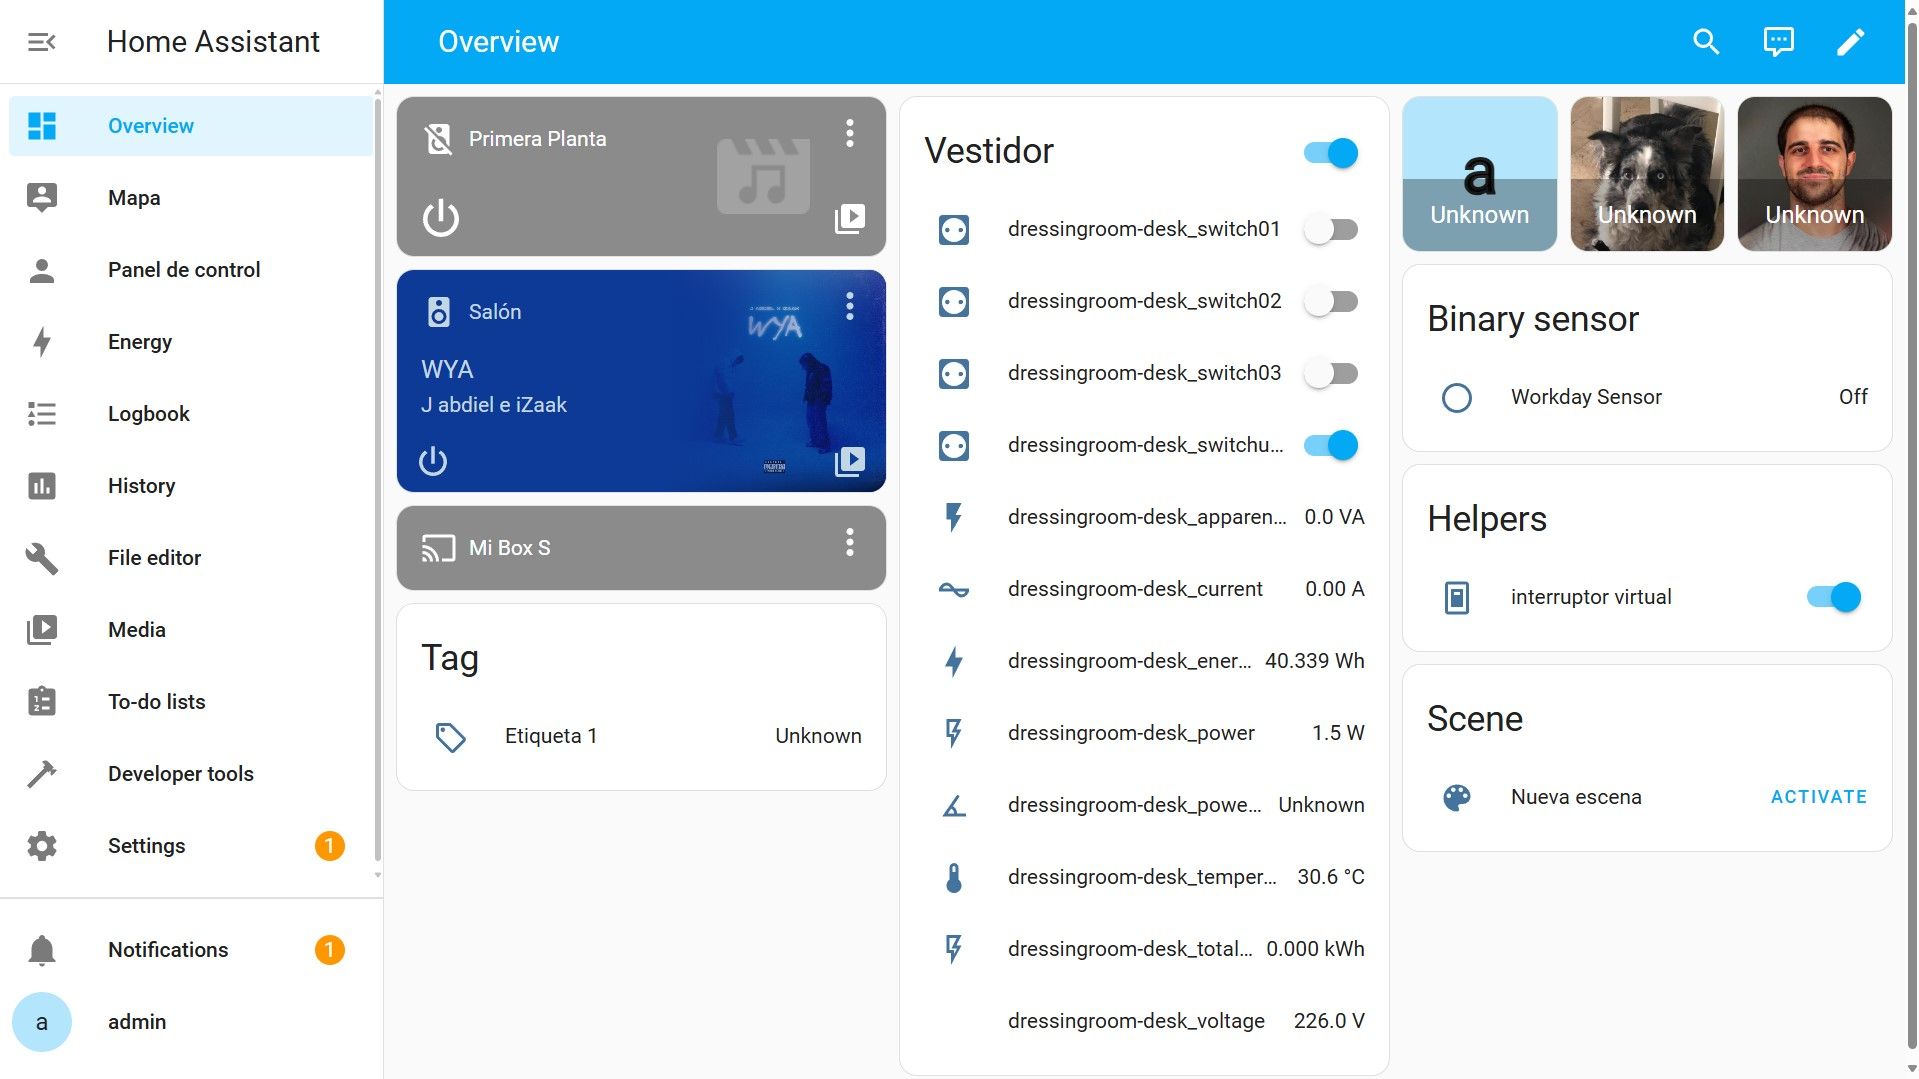
Sidebar
Let’s start with one of the fundamental parts that will help us navigate through the different sections of Home Assistant: the Sidebar. I won’t explain each section in detail here, but keep in mind that it’s the central point for interacting and navigating within the platform.
I encourage you to explore some of the sections yourself. Home Assistant is designed for hands-on learning, so don’t forget to read the documentation and check out these articles to guide you.
User Settings
One of the first things we need to do is configure settings for each user in Home Assistant. Log in with the user you want to configure, and in the leftmost part of the sidebar, click on their profile picture.
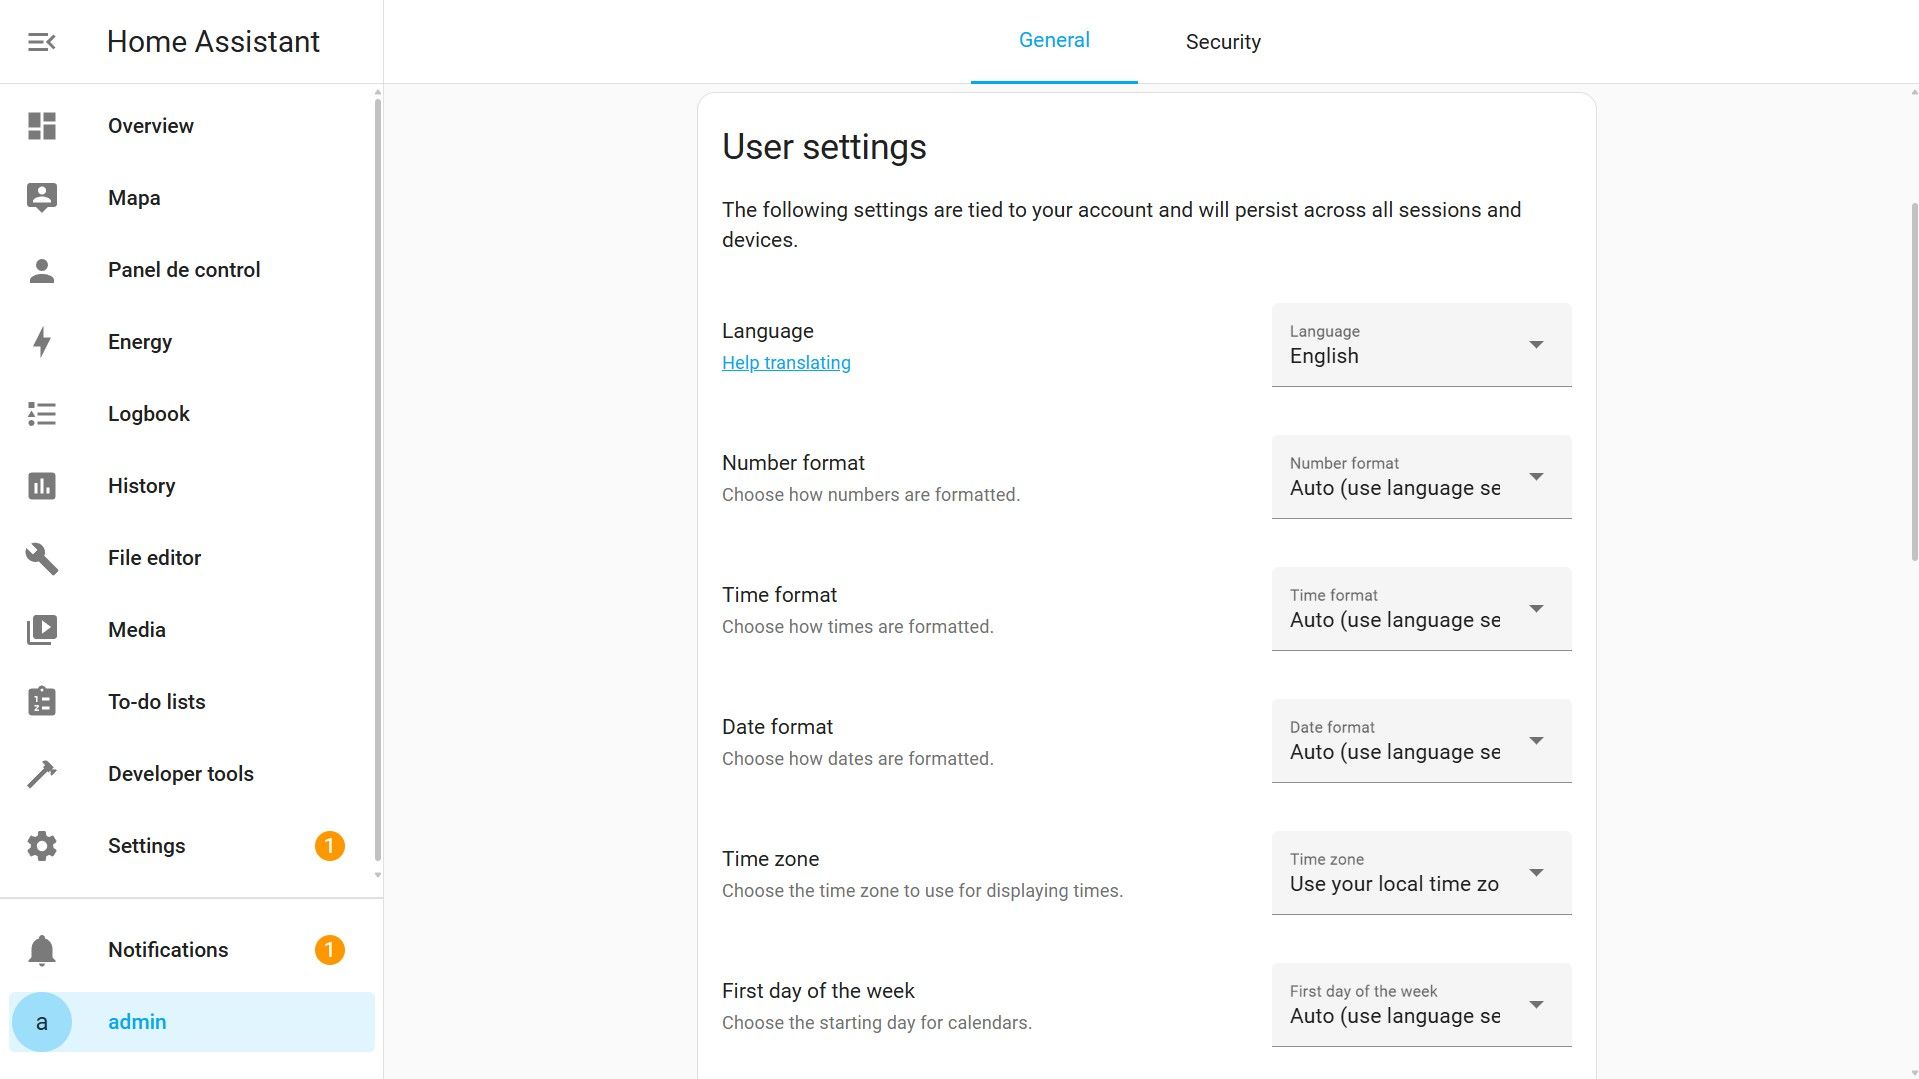
Inside, you’ll find general user settings, such as language preferences, date and time formats, and time zones. Take a look at each one to see if you’d like to make any changes.
An essential point in this first section is the advanced mode. Enabling this option unlocks advanced features for the current user. Do you remember when I mentioned in the Home Assistant installation article that it’s advisable to have at least two users—one administrator capable of configuring advanced settings and functions, and another personal user for day-to-day use of Home Assistant? Well, now is the time to enable Advanced Mode for the administrator user and log in with that account whenever you want to make configuration changes.
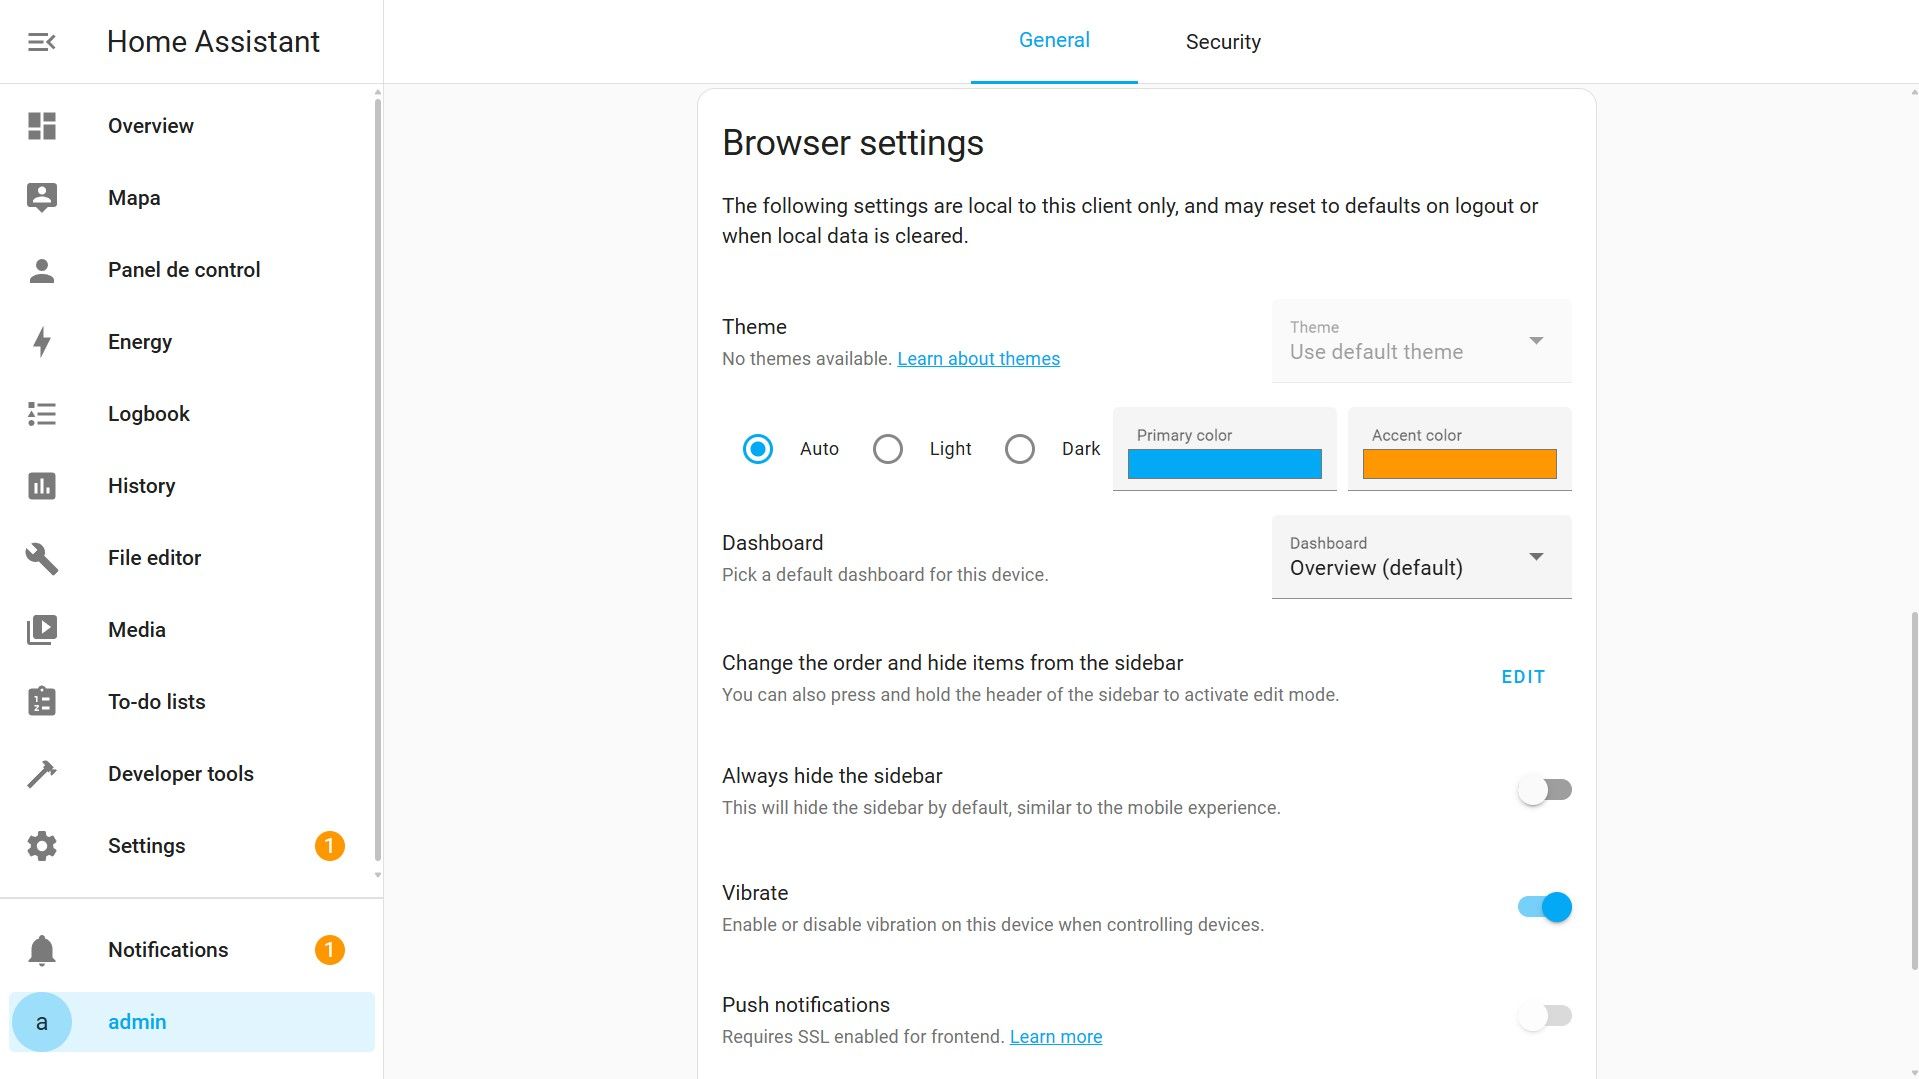
Further down, you’ll find various options related to the client you’re currently using for Home Assistant—in my case, the web browser. Adjust these settings to your liking. Each time you log in from a new device, you should explore this section. For example, you can customize colors, change the order, and hide elements in the sidebar.
In the security section, you can change the user’s password or view the devices or clients where you’ve logged in.
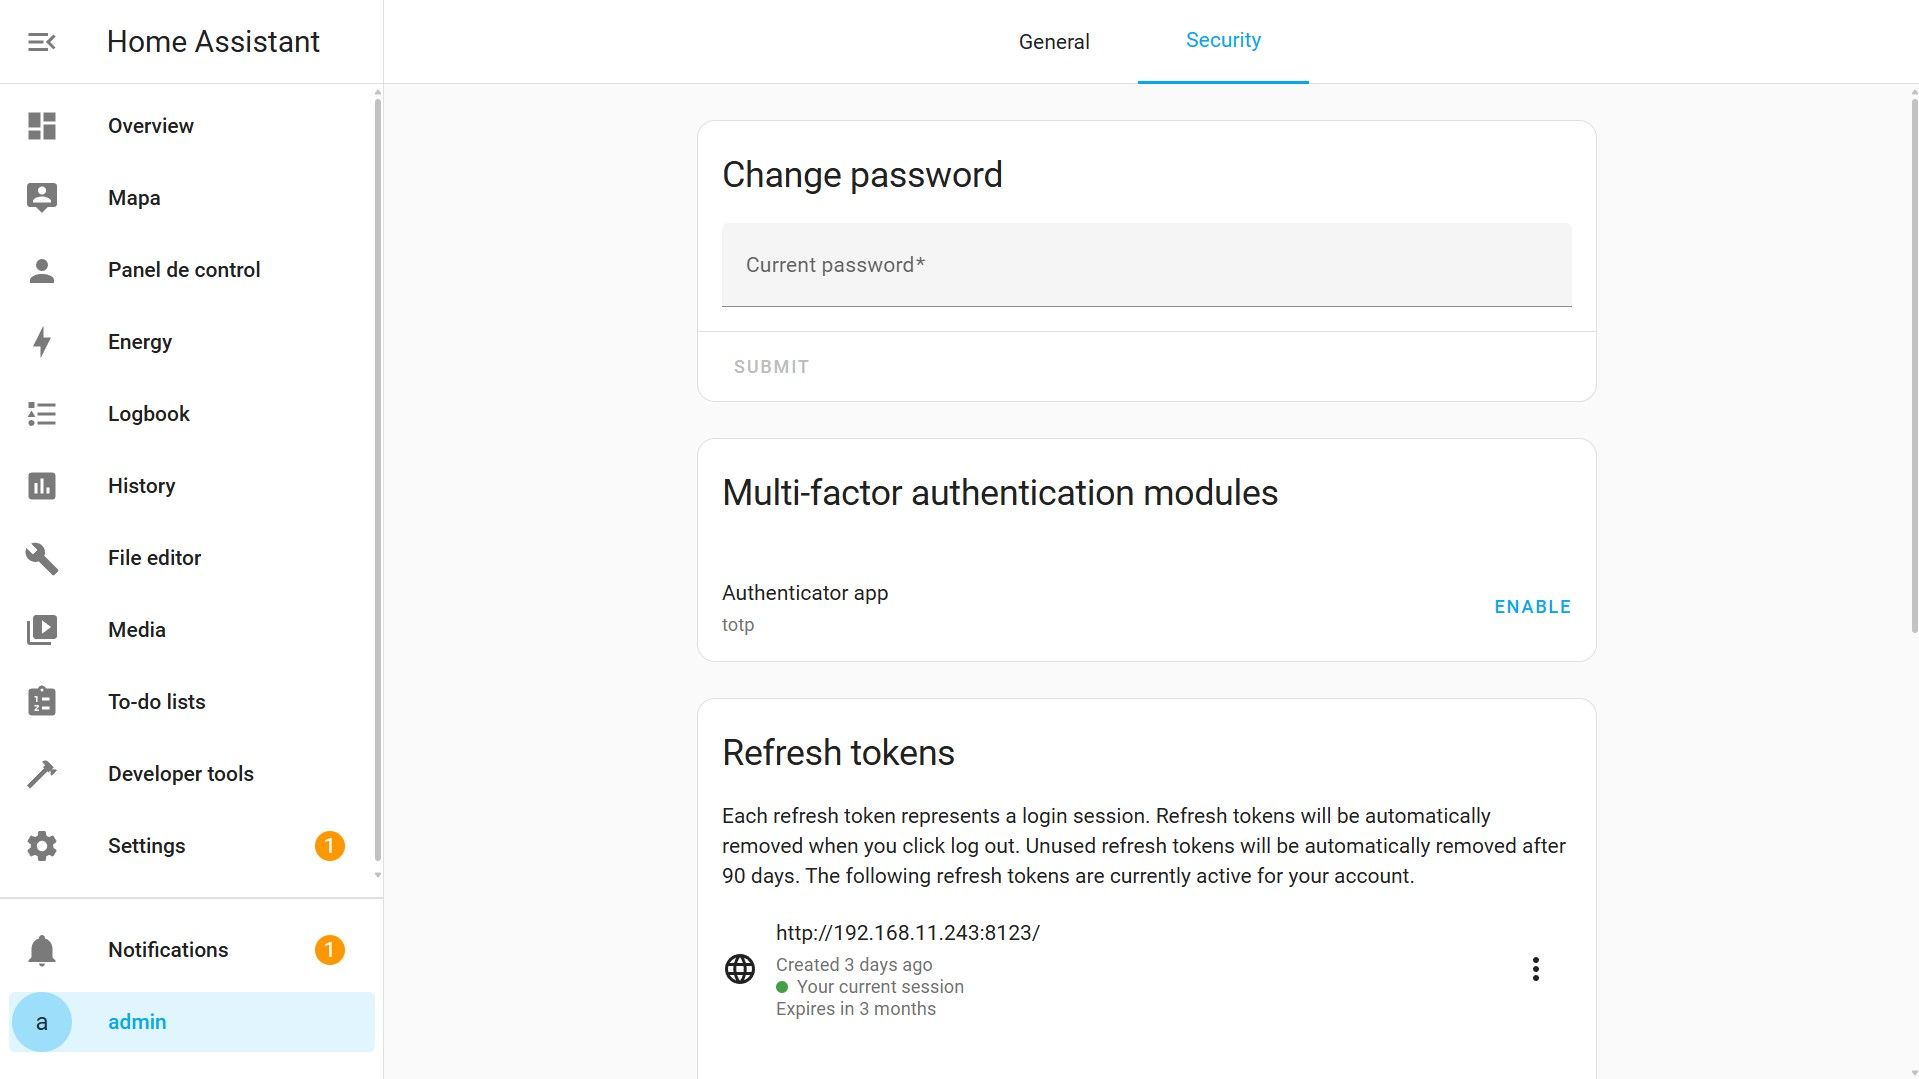
I recommend enabling multifactor authentication (MFA) for all user accounts in Home Assistant. MFA goes beyond the usual username and password—it also requires a one-time code generated by a special authentication app. There are several apps available, and depending on your mobile operating system, you might already have Google Authenticator, Authy, Microsoft Authenticator, iCloud Keychain, or a similar app installed.
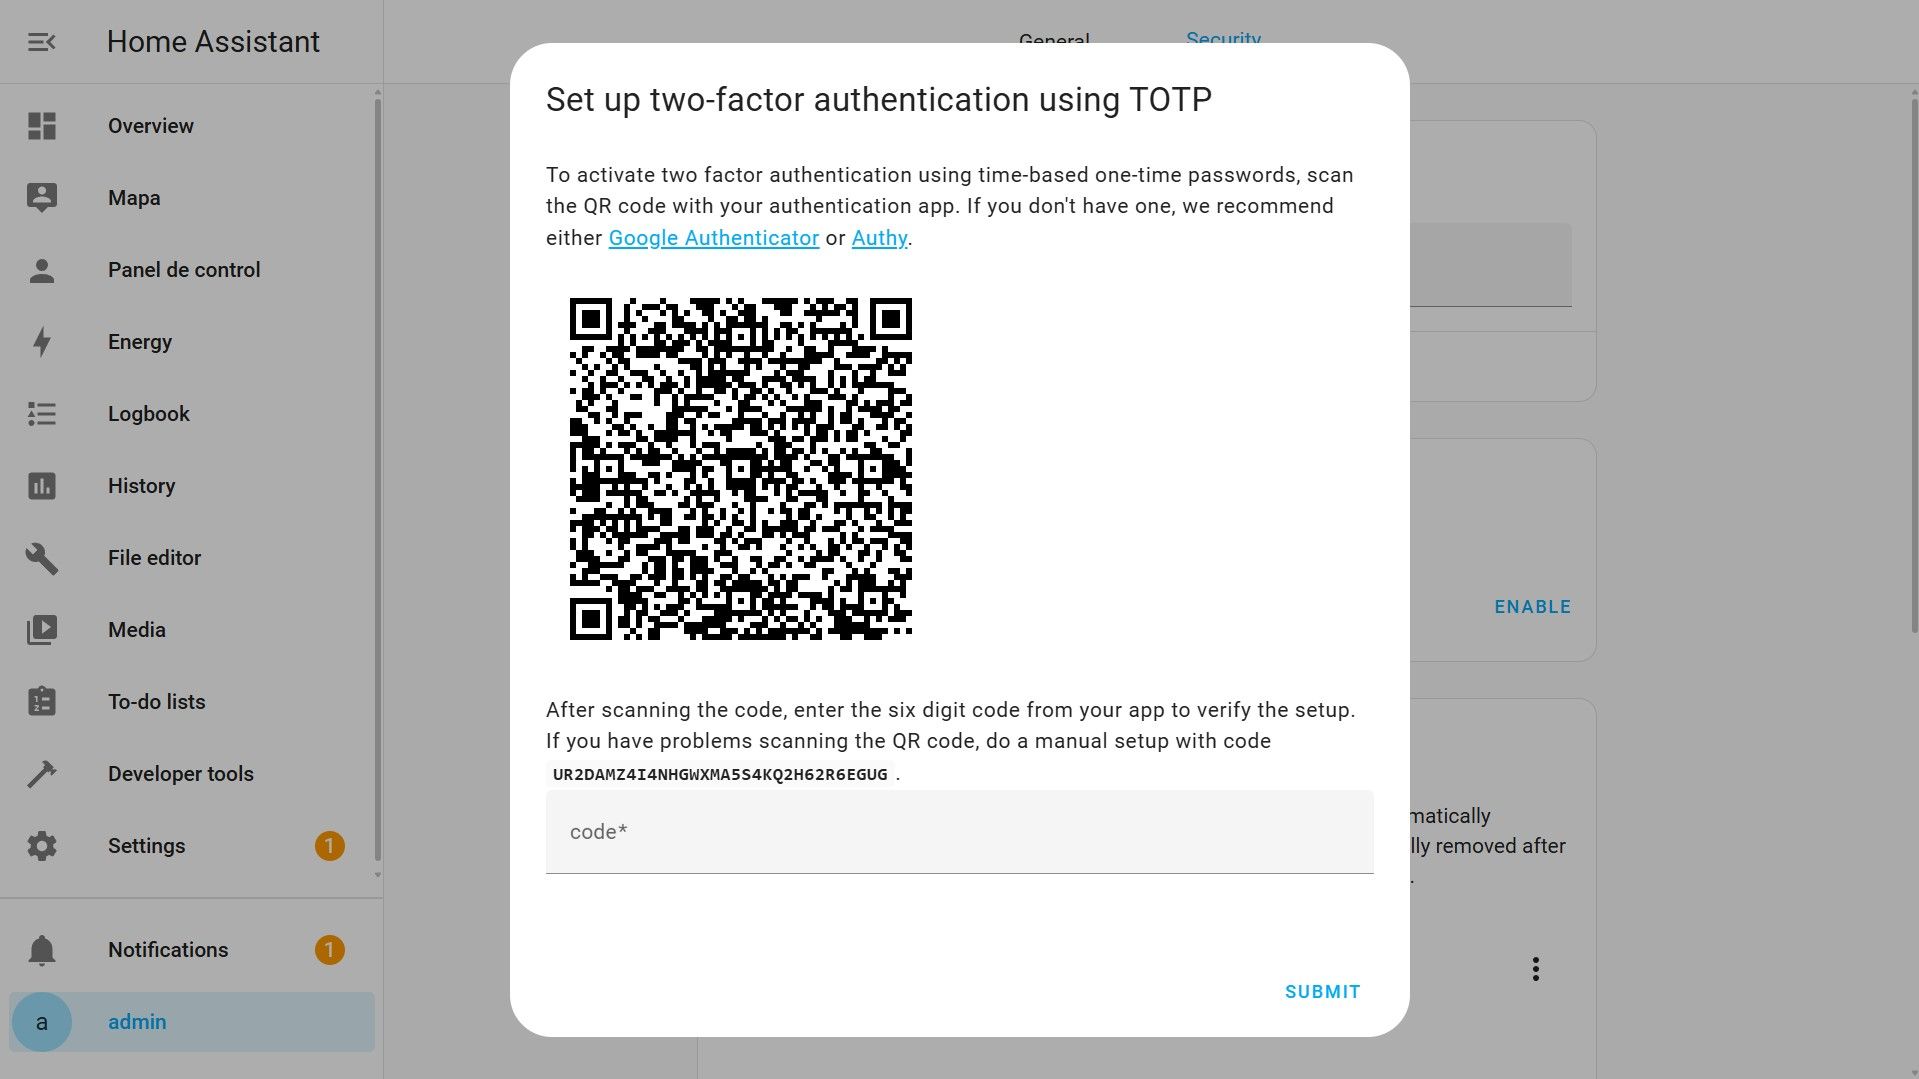
To enable multifactor authentication in Home Assistant, follow these steps:
- Open the authentication app on your device.
- Scan the QR code displayed on the screen.
- Enter the temporary code generated by the app.
From now on, every time you log in to Home Assistant, you’ll need to provide this additional code.
Home Assistant Settings
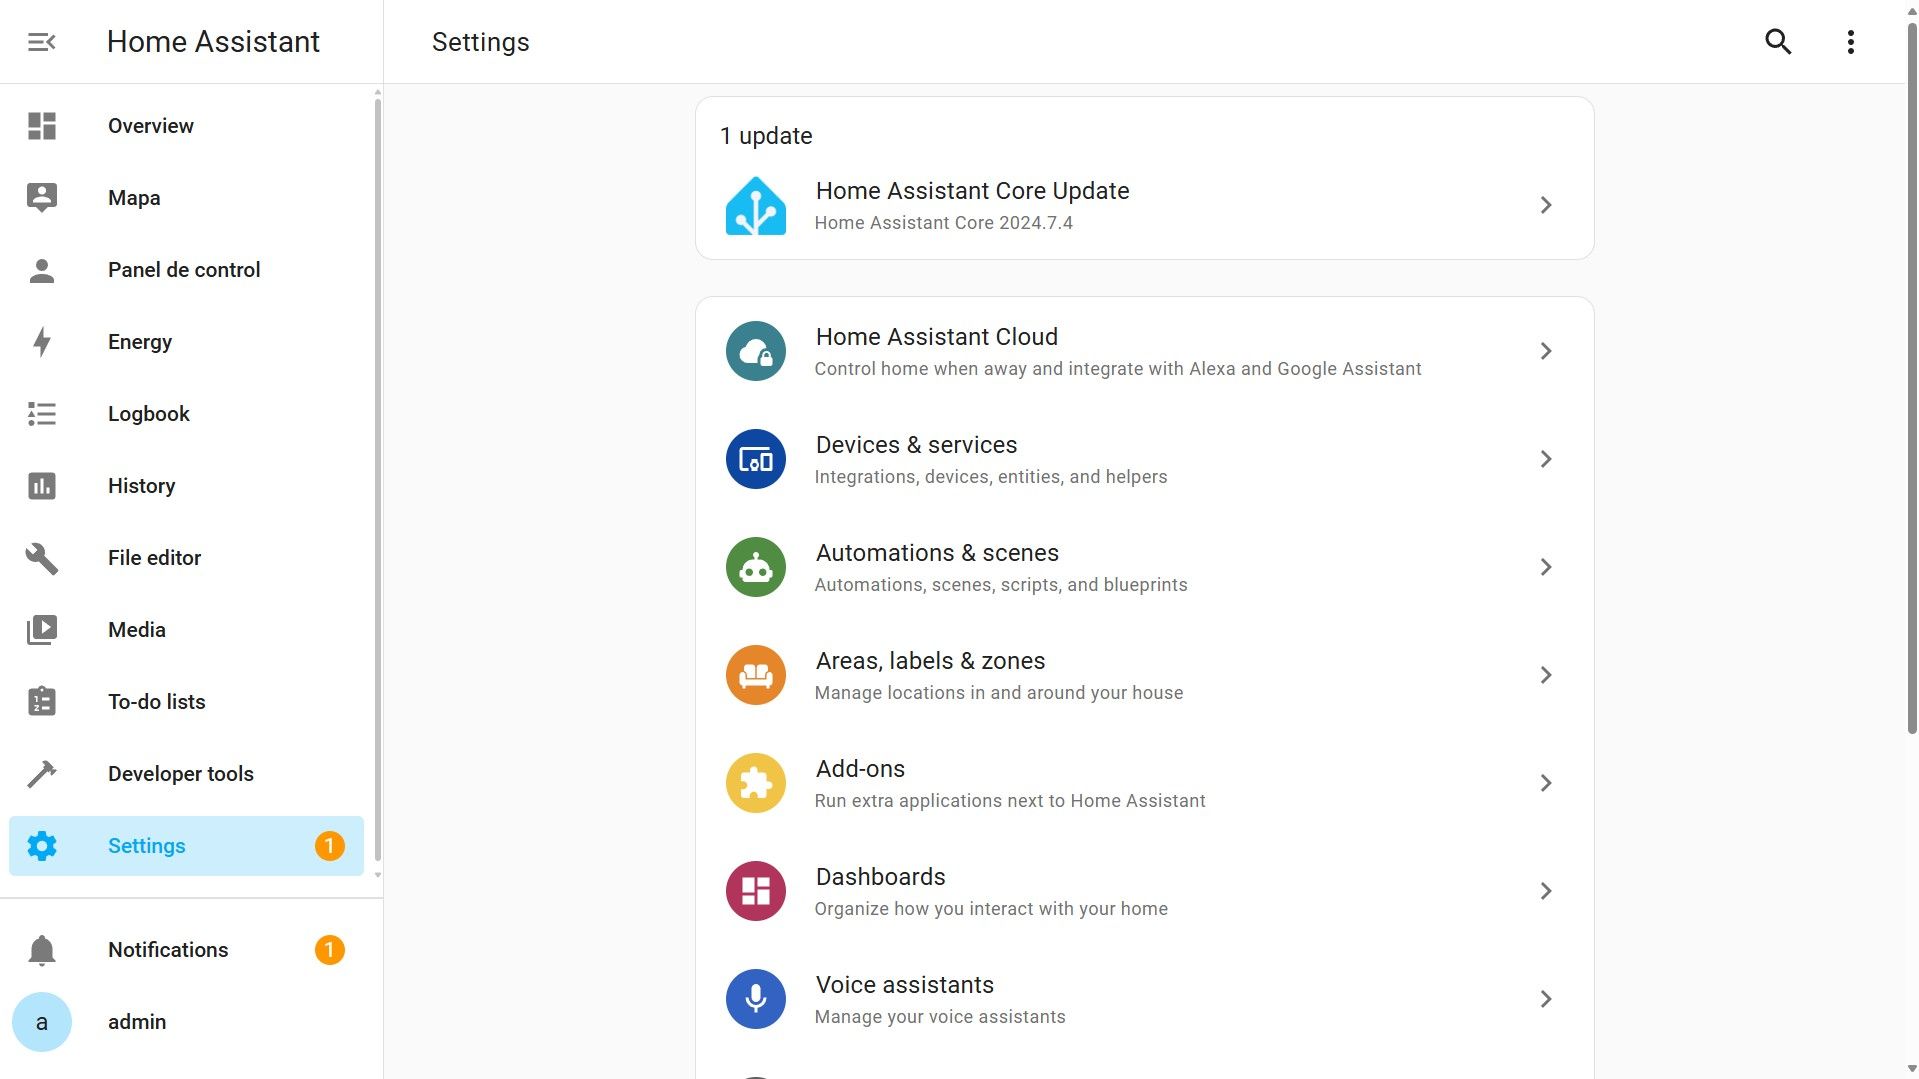
To access the settings for Home Assistant, click the Settings button in the sidebar. From here, you can configure all aspects of the home automation platform and system. Let’s explore each section gradually to help you get familiar with them.
Home Assistant Cloud
In the Home Assistant Cloud section, we find the paid features of Home Assistant. But Dani, didn’t you say that Home Assistant was completely free? All the functions in this section can be set up without paying, but configuring them requires some advanced knowledge. That’s why Nabu Casa, the company behind Home Assistant, offers an alternative where they handle everything for you, making it much easier in exchange for a monthly payment, which is currently around €7.5. Plus, by subscribing, you support the project’s growth and help the developers put food on the table.
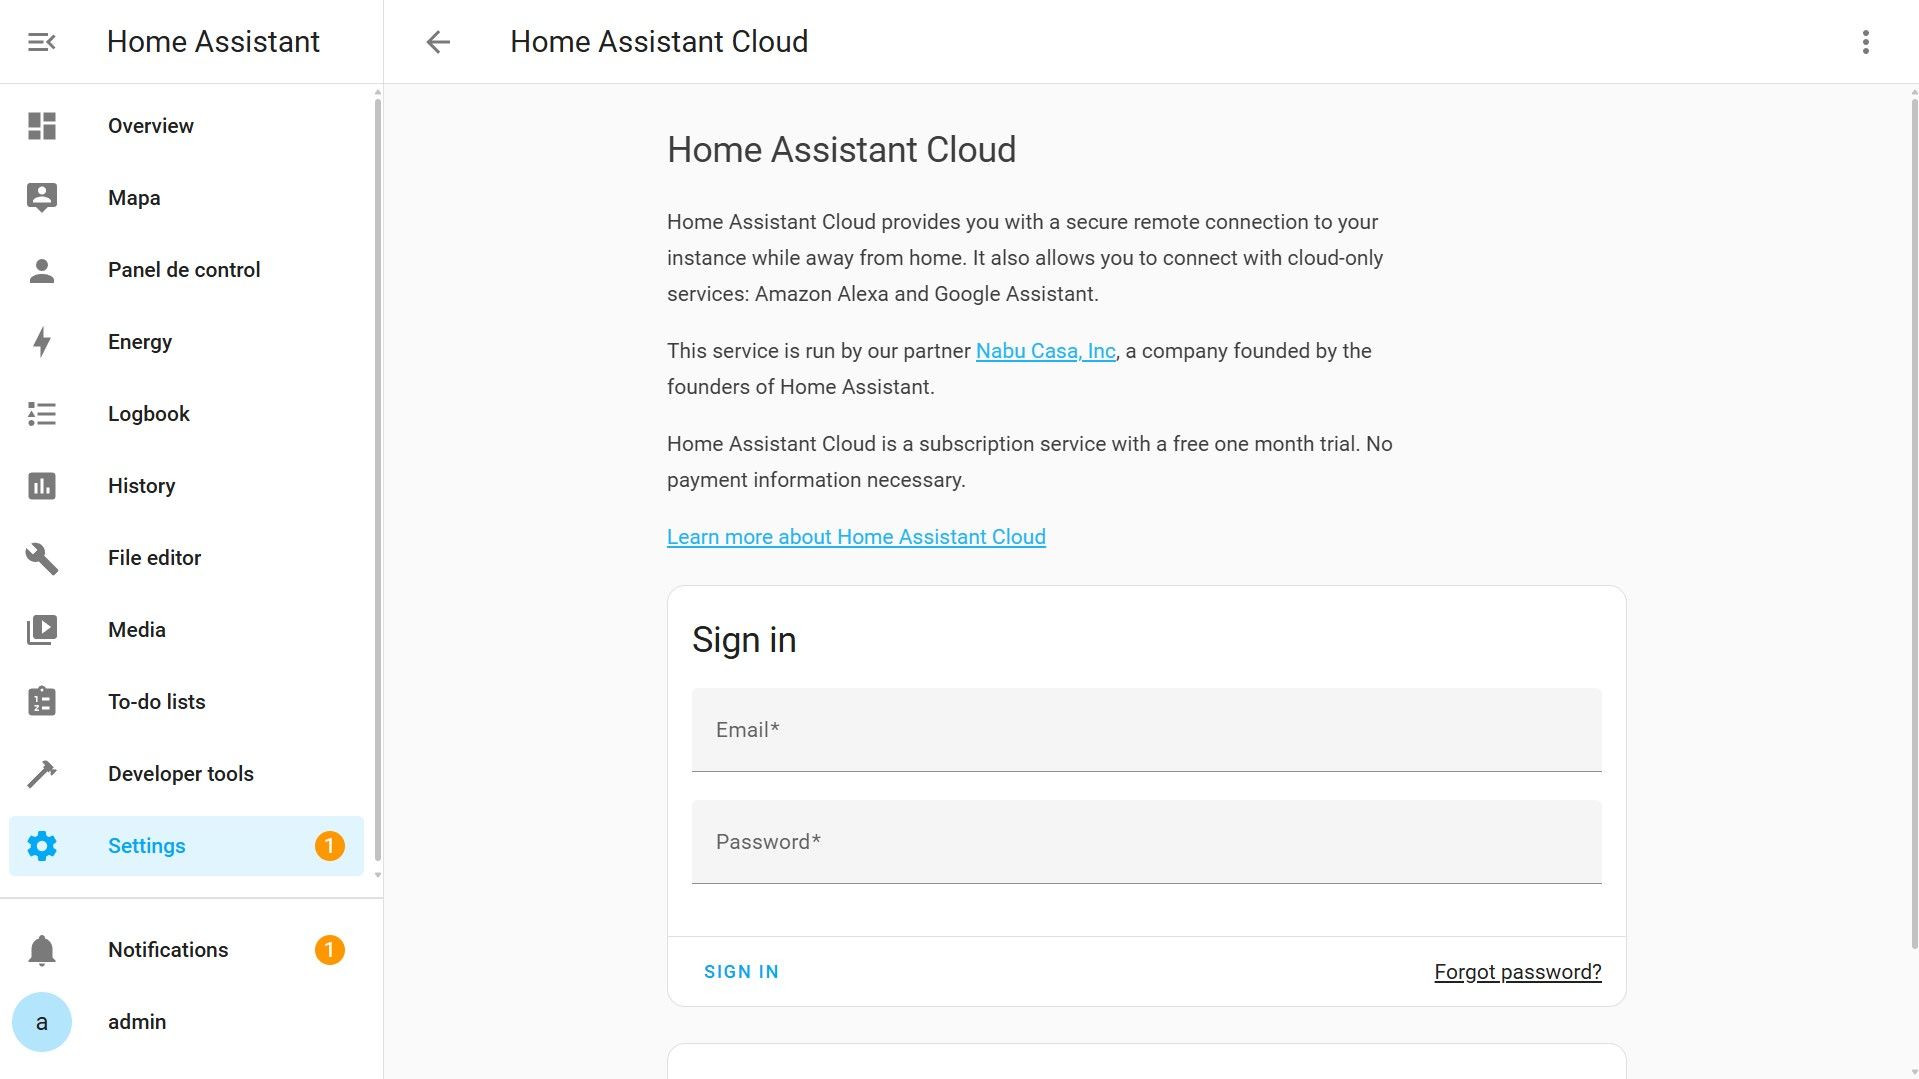
Among the features included are secure remote access from outside your home and integration with Google Assistant and Alexa, allowing you to control the devices you’ve integrated into Home Assistant using their smart speakers.
Devices & Services
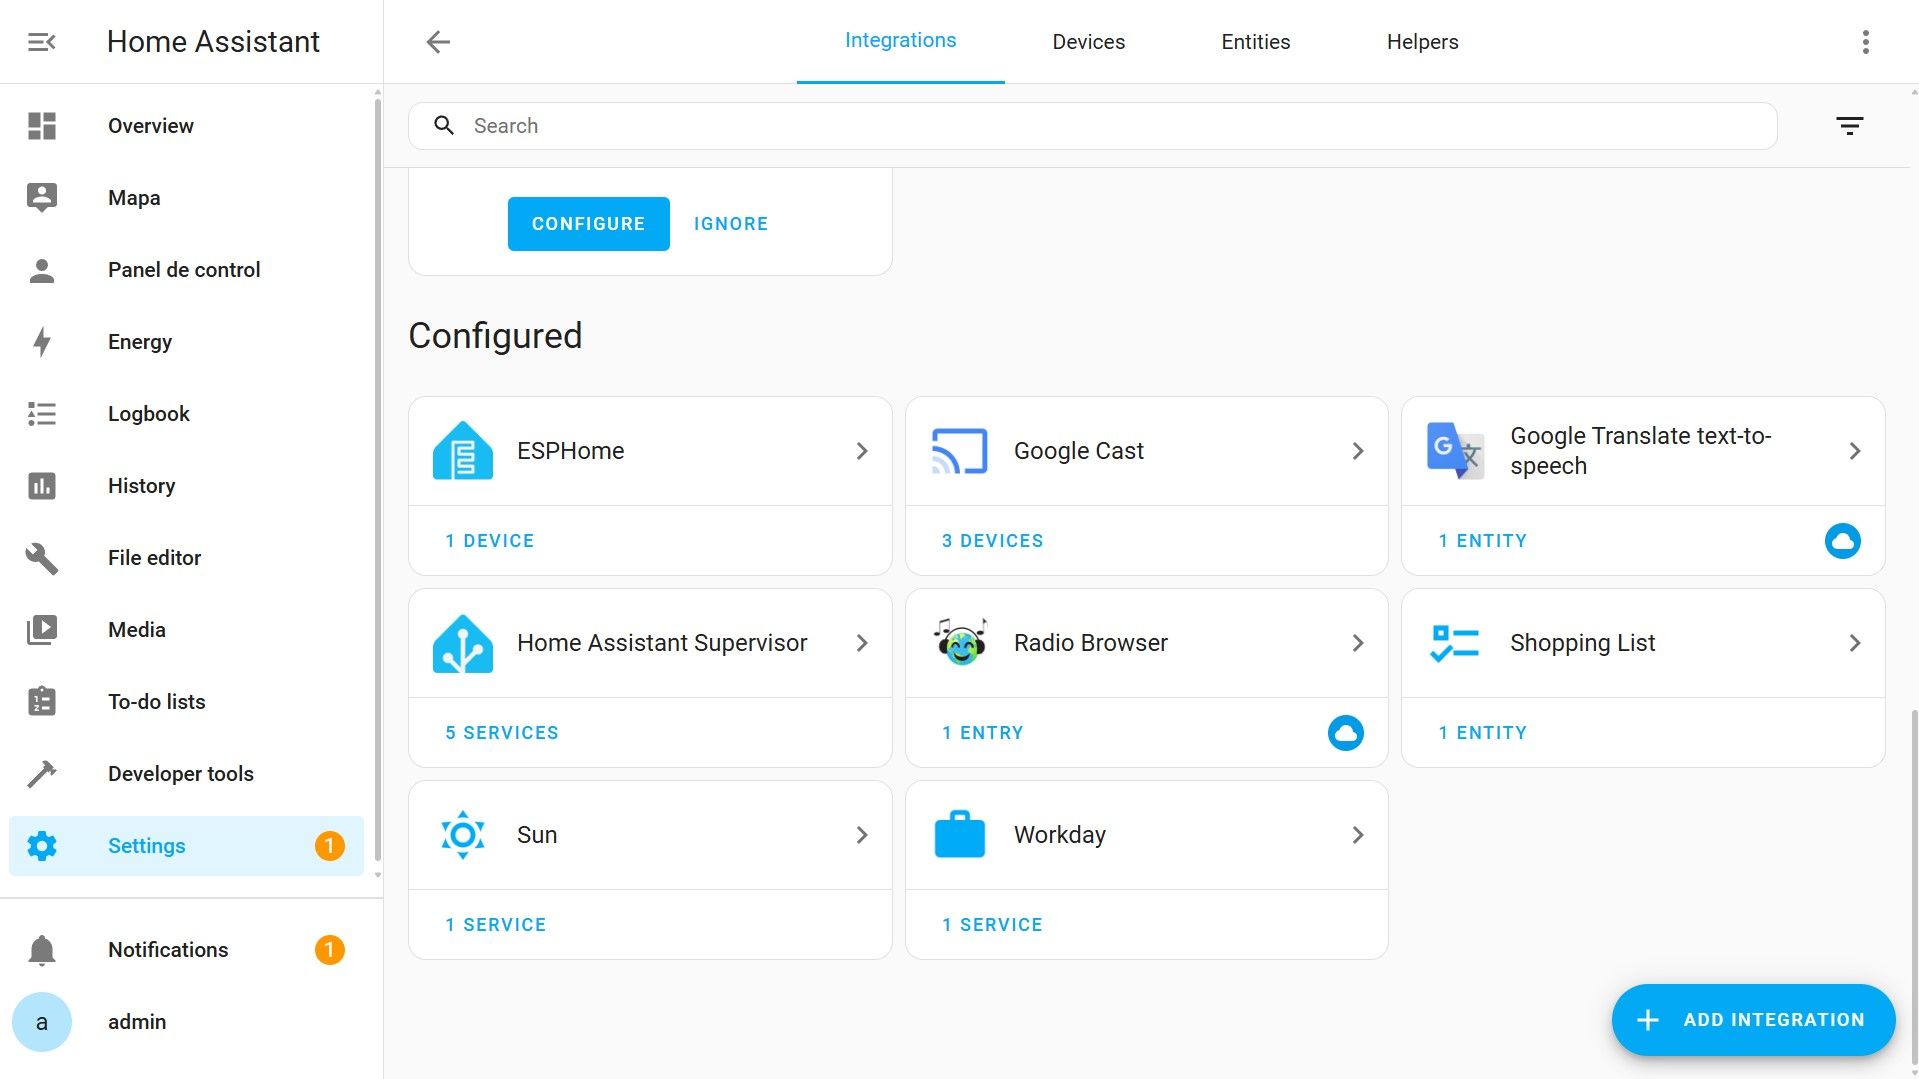
From Devices & Services, we will see all the integrations discovered by Home Assistant to perform the initial configuration or adoption of each one, as well as view the integrations we have previously configured, or even manually add other integrations that have not been automatically discovered by Home Assistant.
As we can see, there are thousands of integrations available, and within the configuration of each one, we can navigate to its documentation. Those with a square and an arrow are special integrations that we will need to do by YAML code, which we will see later. The idea of the Home Assistant developers is to make all integrations possible from here, from the interface, and they are migrating them little by little.
Let’s try to integrate the working days in Spain. Click on add integration, search for Workday, configure it, and add it. Some special integrations will create their own section in the Sidebar, but this is not common. We also see how it has created a new integration in the integrations section.
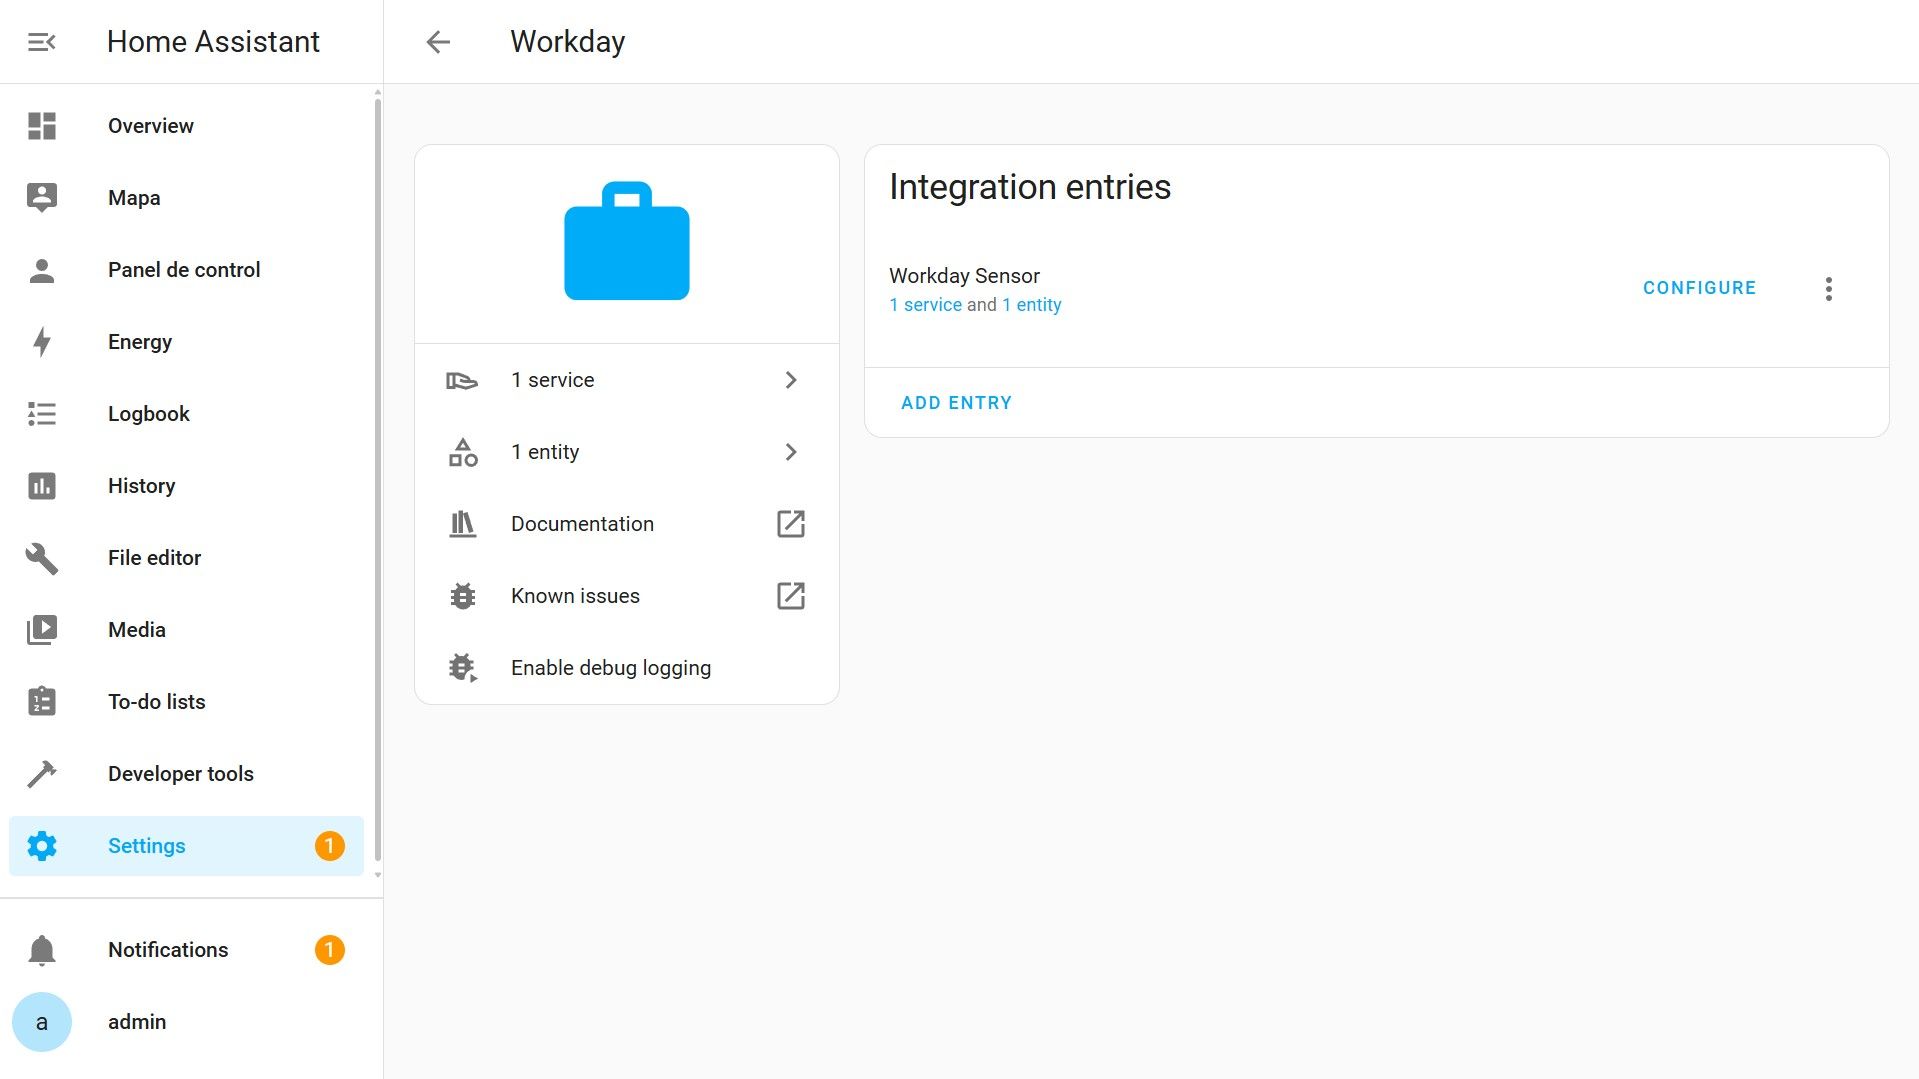
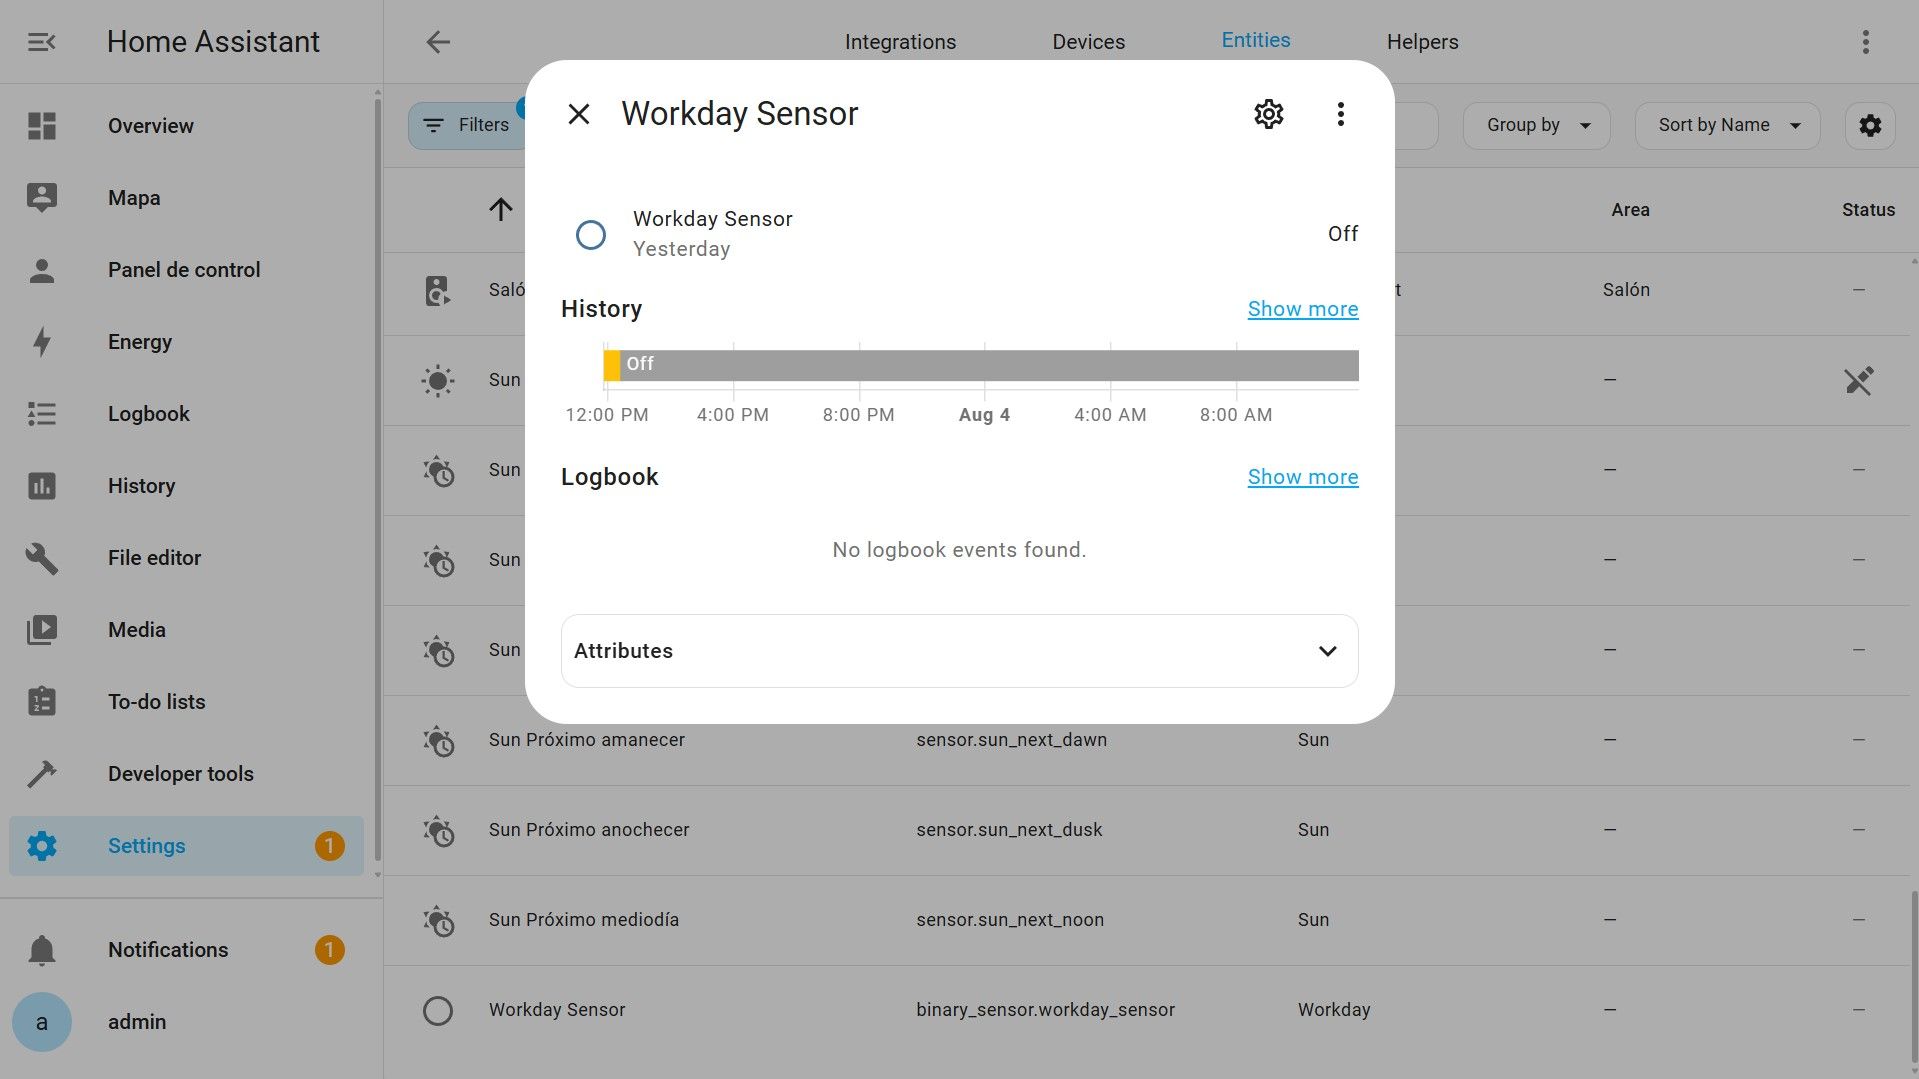
Once an integration is configured, it will generate one or more devices with one or more entities, all of which we can see from the Devices and Entities sections where we will have all the data and actions offered by each integration.
In the last section, helpers, we can create different virtual entities that will help us make the most of other already created entities, or add functions manually.
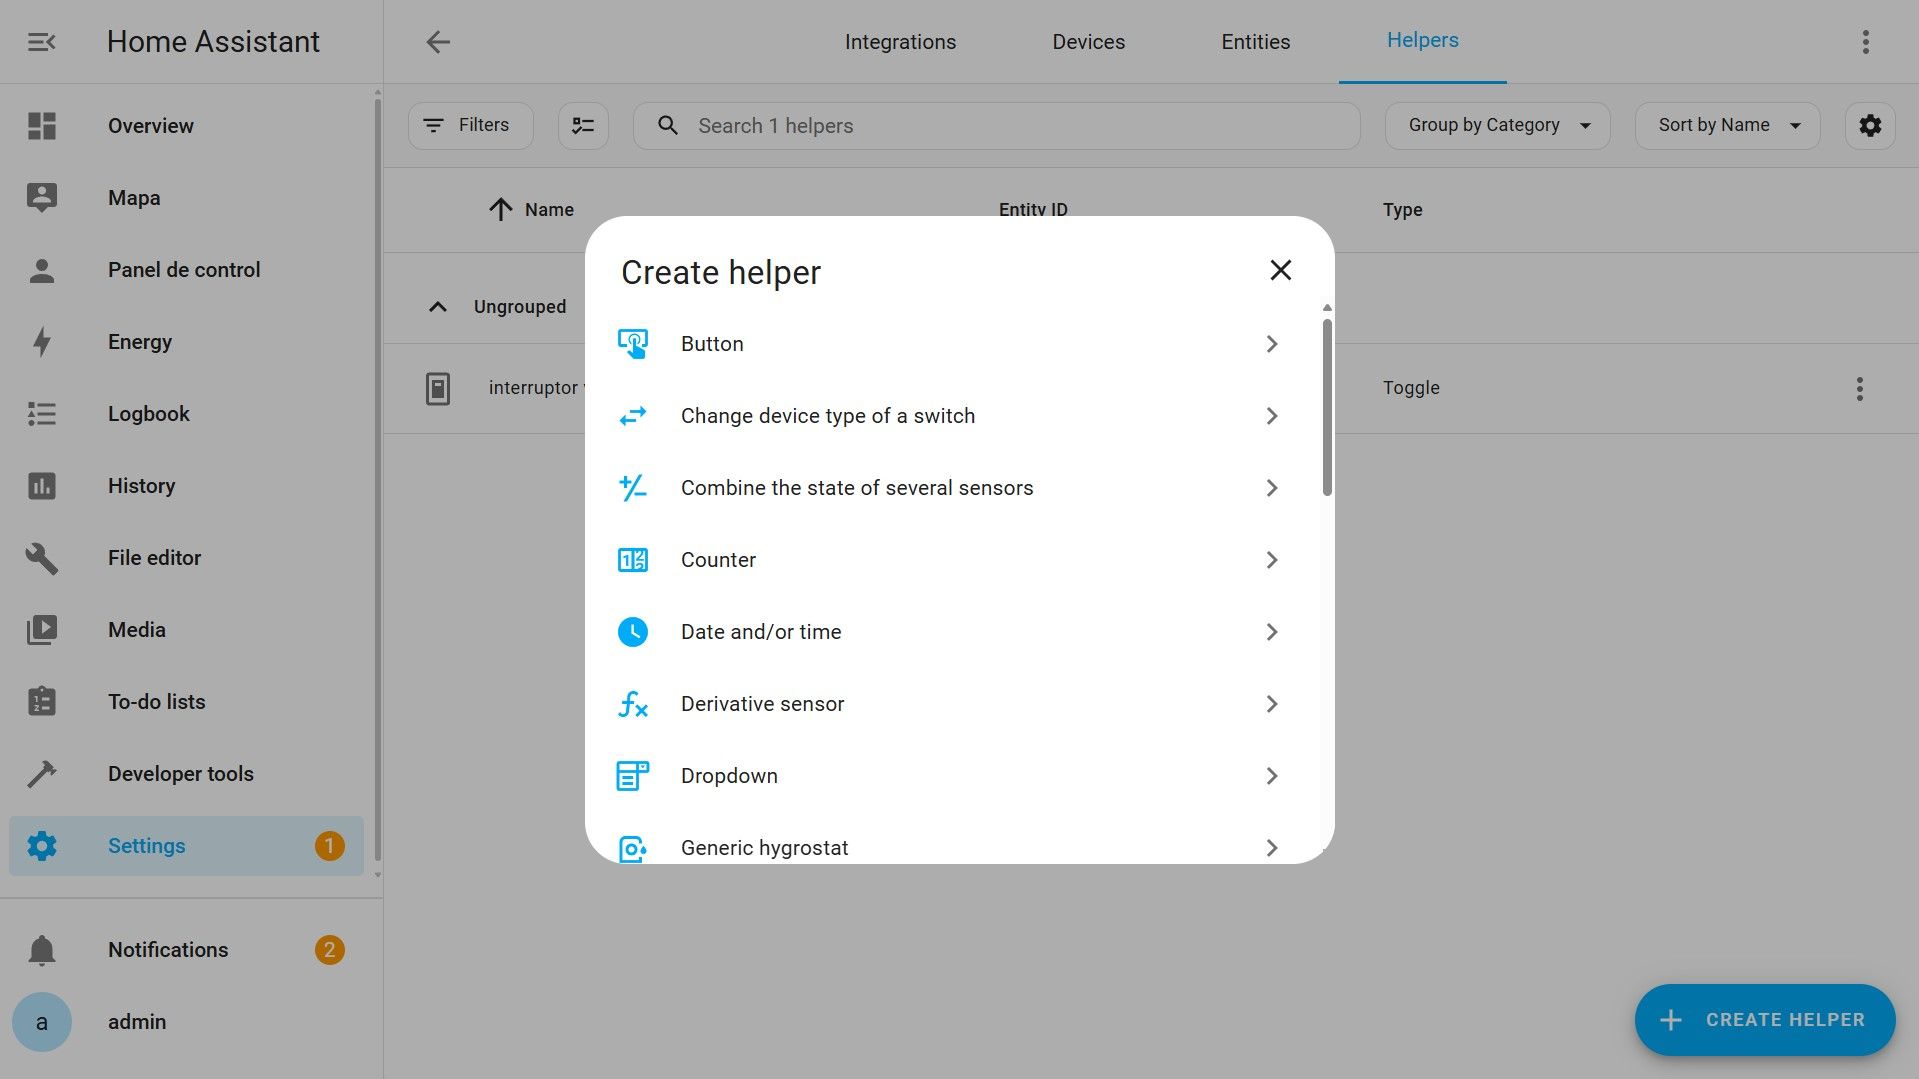
For example, we can create a toggle helper, which will function as a switch, but without that switch actually existing in our house. These helpers will be great in the future for creating automations or adding extra functionalities to your devices.
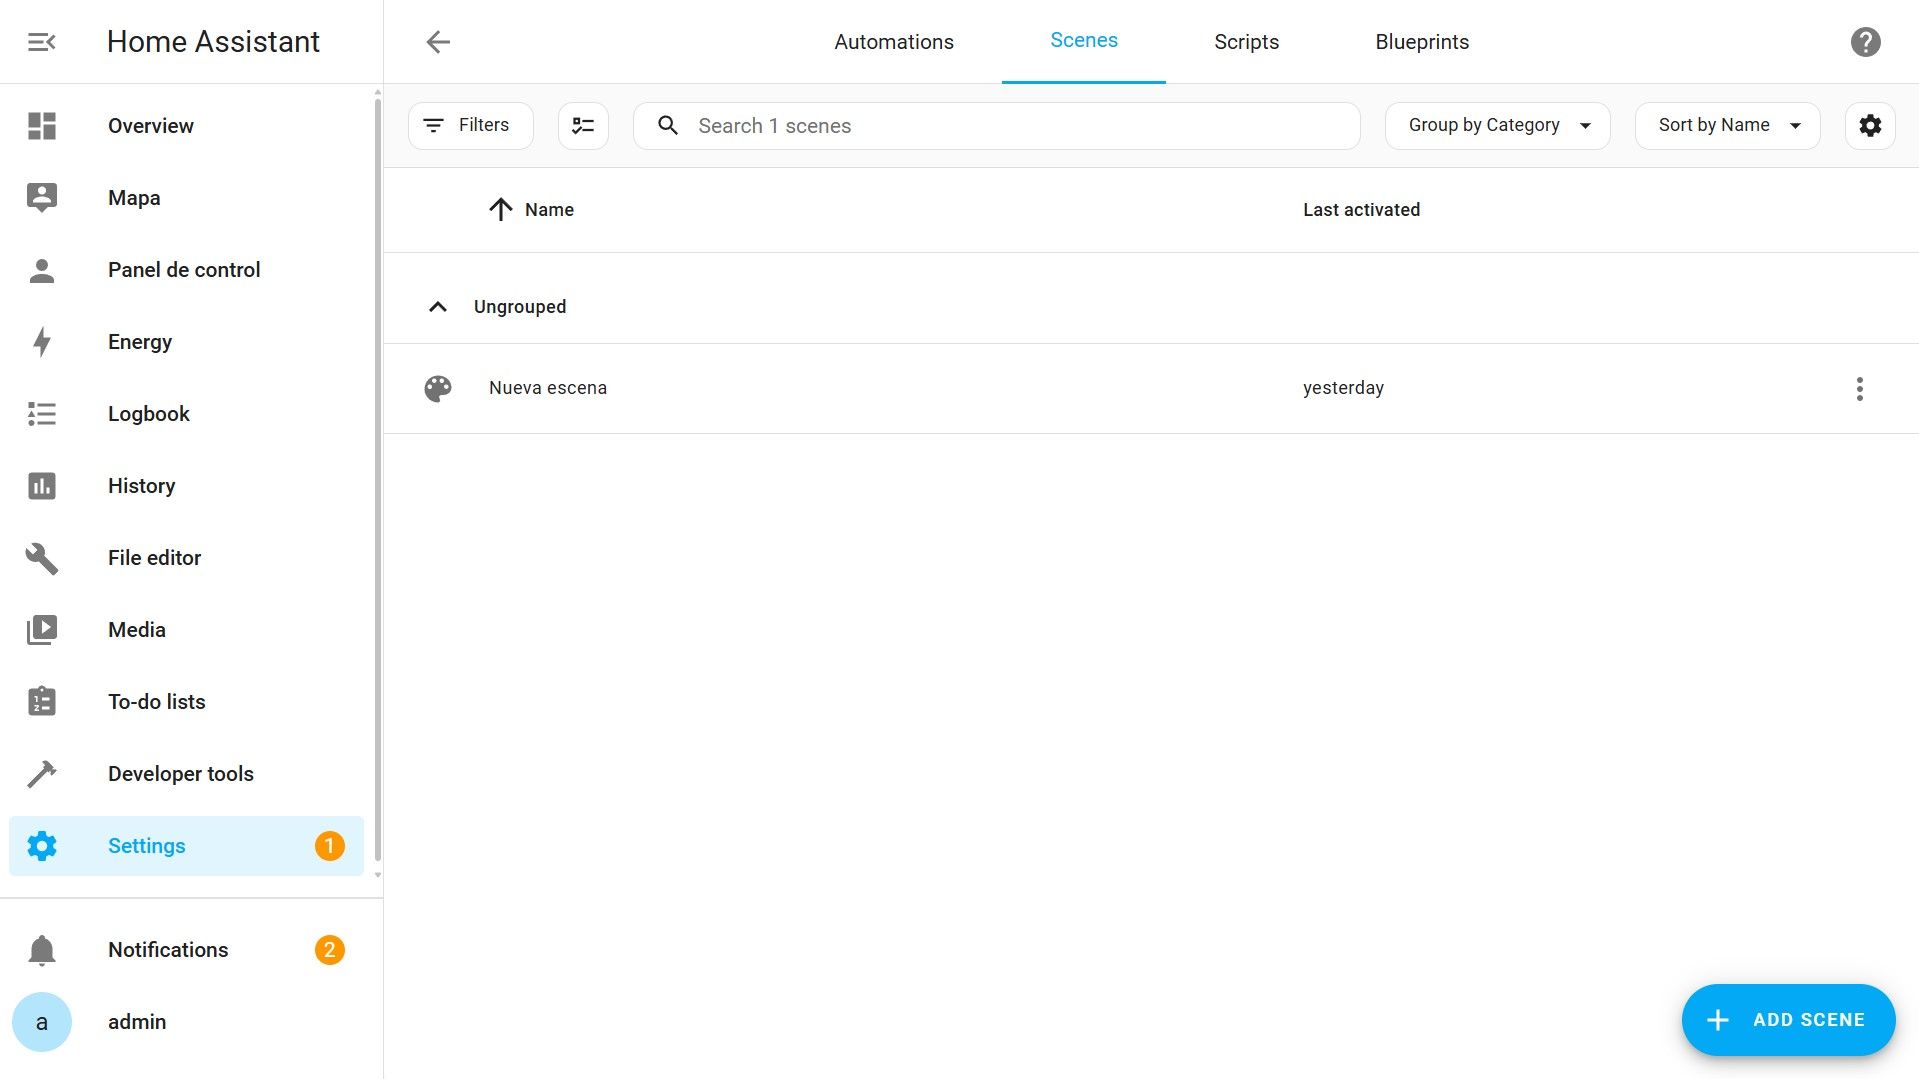
Automations & Scenes
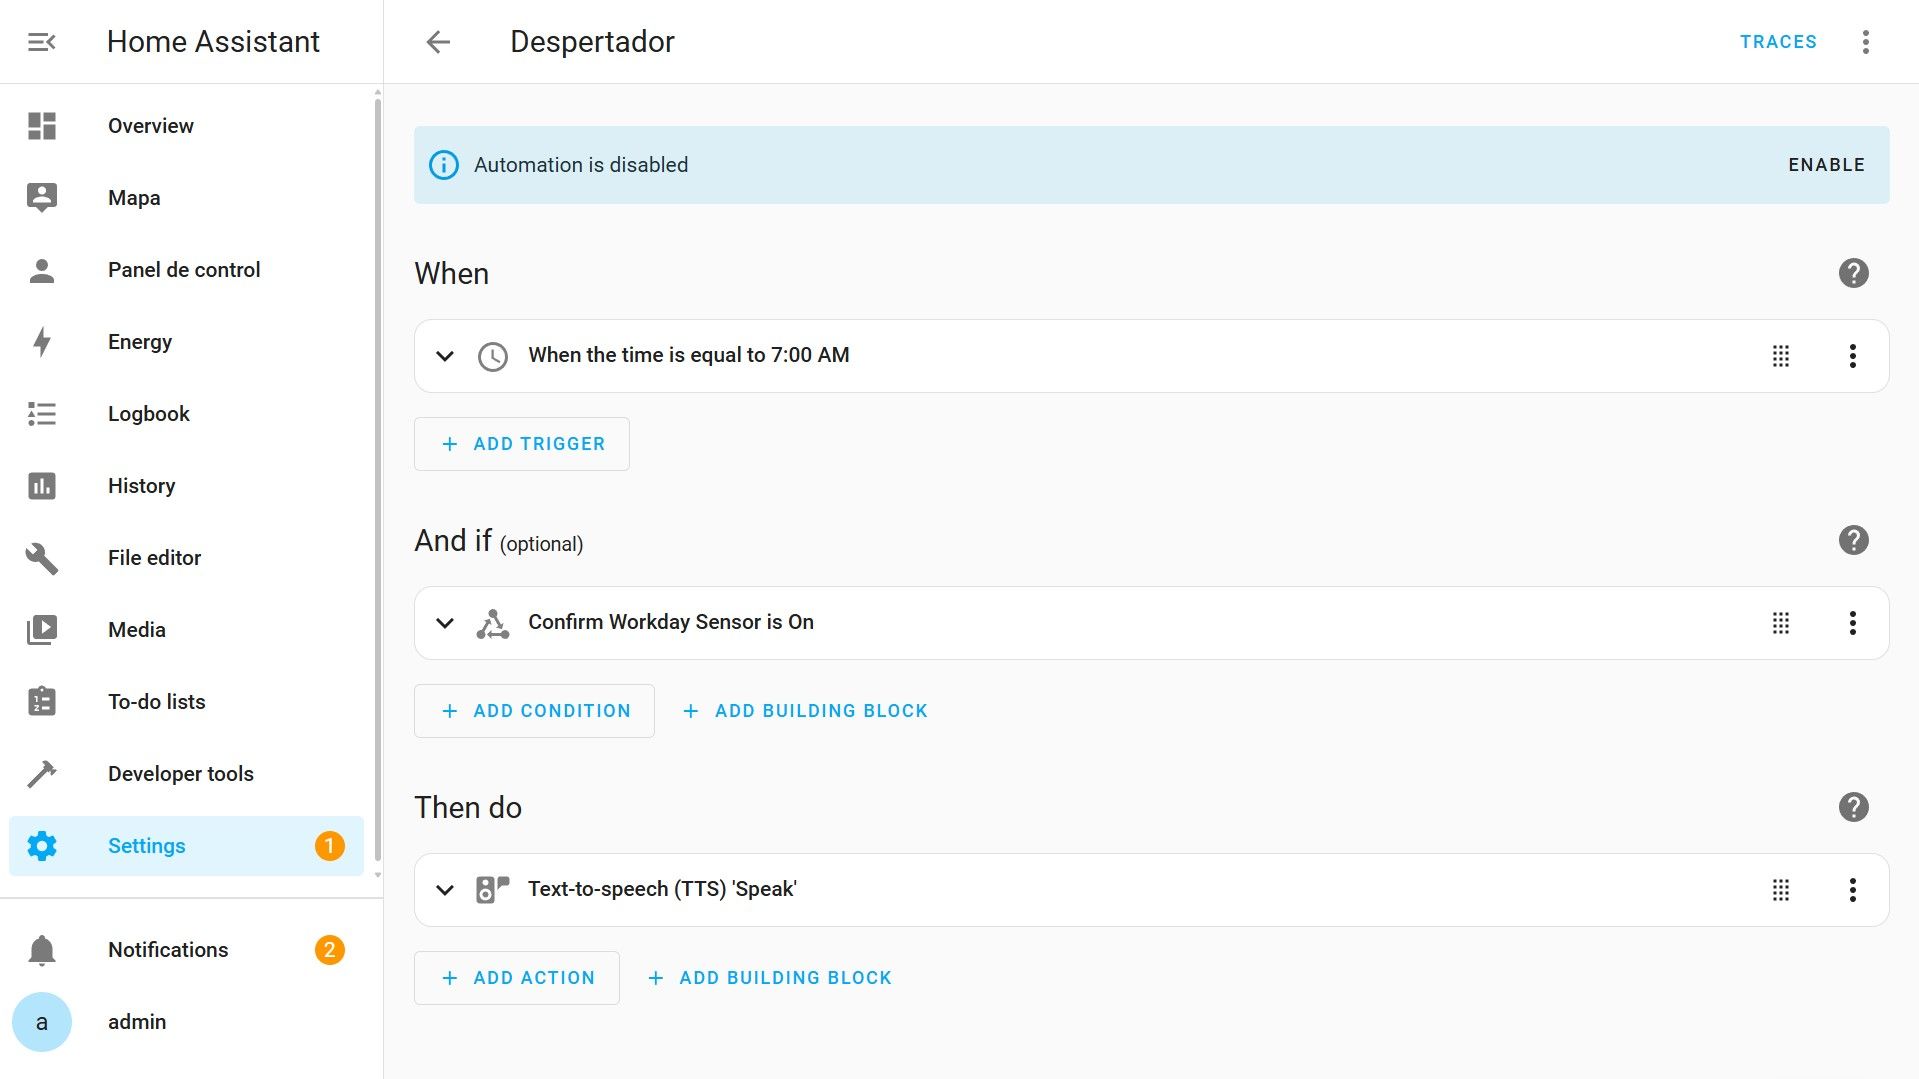
Speaking of automations, in Automations & Scenes we can create them. In summary, an automation is to execute one or more actions when one or more things happen, which we call triggers, and only if certain conditions are met. To give a simple example: “When it is 7:00:00 and as a condition, if it is a workday, as an action, send a message through the first-floor speaker.”
These automations can be incredibly powerful and include countless types of triggers, conditions, and different actions.
In the same section, we find Scenes. A scene is to take a snapshot of the state of one or more entities, and when the scene is activated, put those entities in that state. For example, we could have the scene “Watch TV”. That turns off the living room lights, turns on the ambient lights, turns on the TV, and opens the Netflix app. This scene can be “executed” from this menu, as an action of an automation, or from a Control Panel.
Scripts, on the other hand, are designed to execute a series of actions sequentially. This part is more advanced and we will see it later.
And finally, Blueprints are special scripts or automations with certain parts marked as configurable. This allows reusing and sharing automations from the community to facilitate their creation.
Areas, Labels & Zones
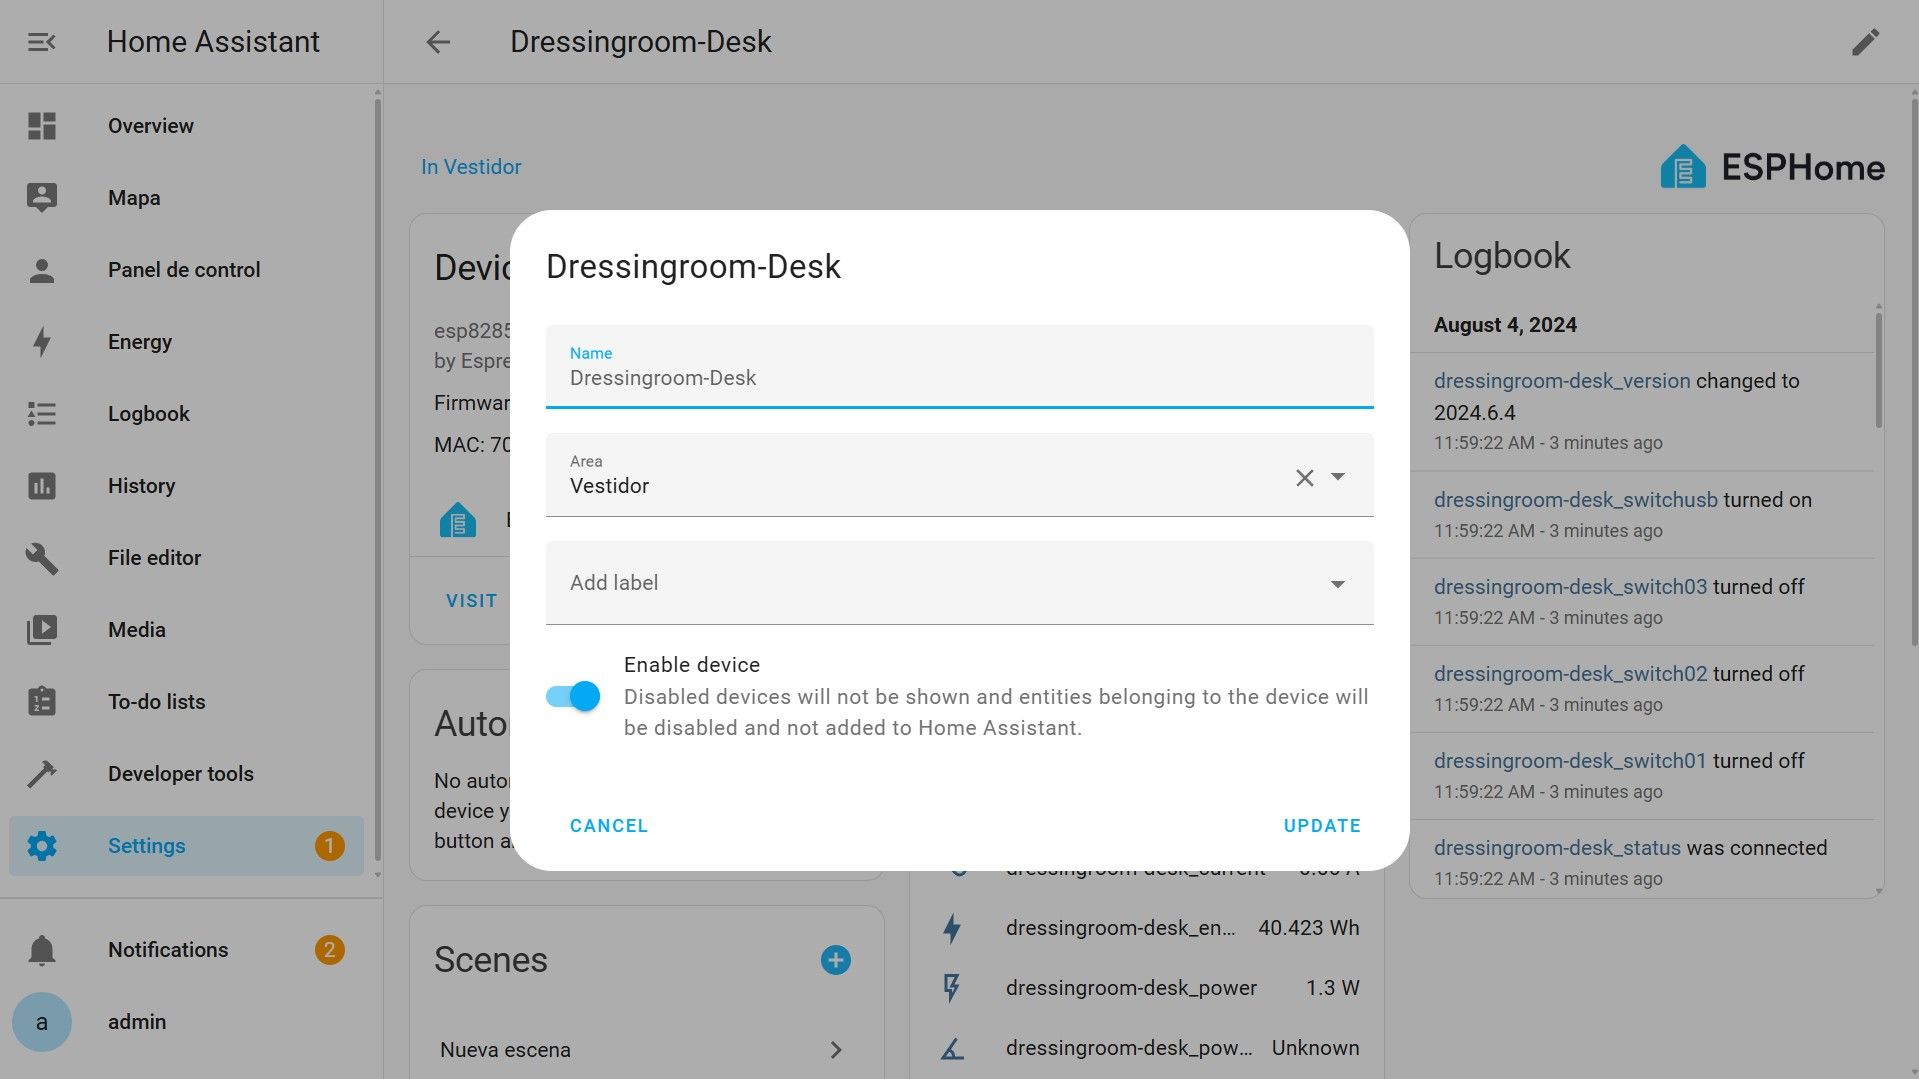
Areas are used to classify devices, entities, automations, etc., by rooms in your house. You just need to create an area and when configuring an entity, assign it to the area.
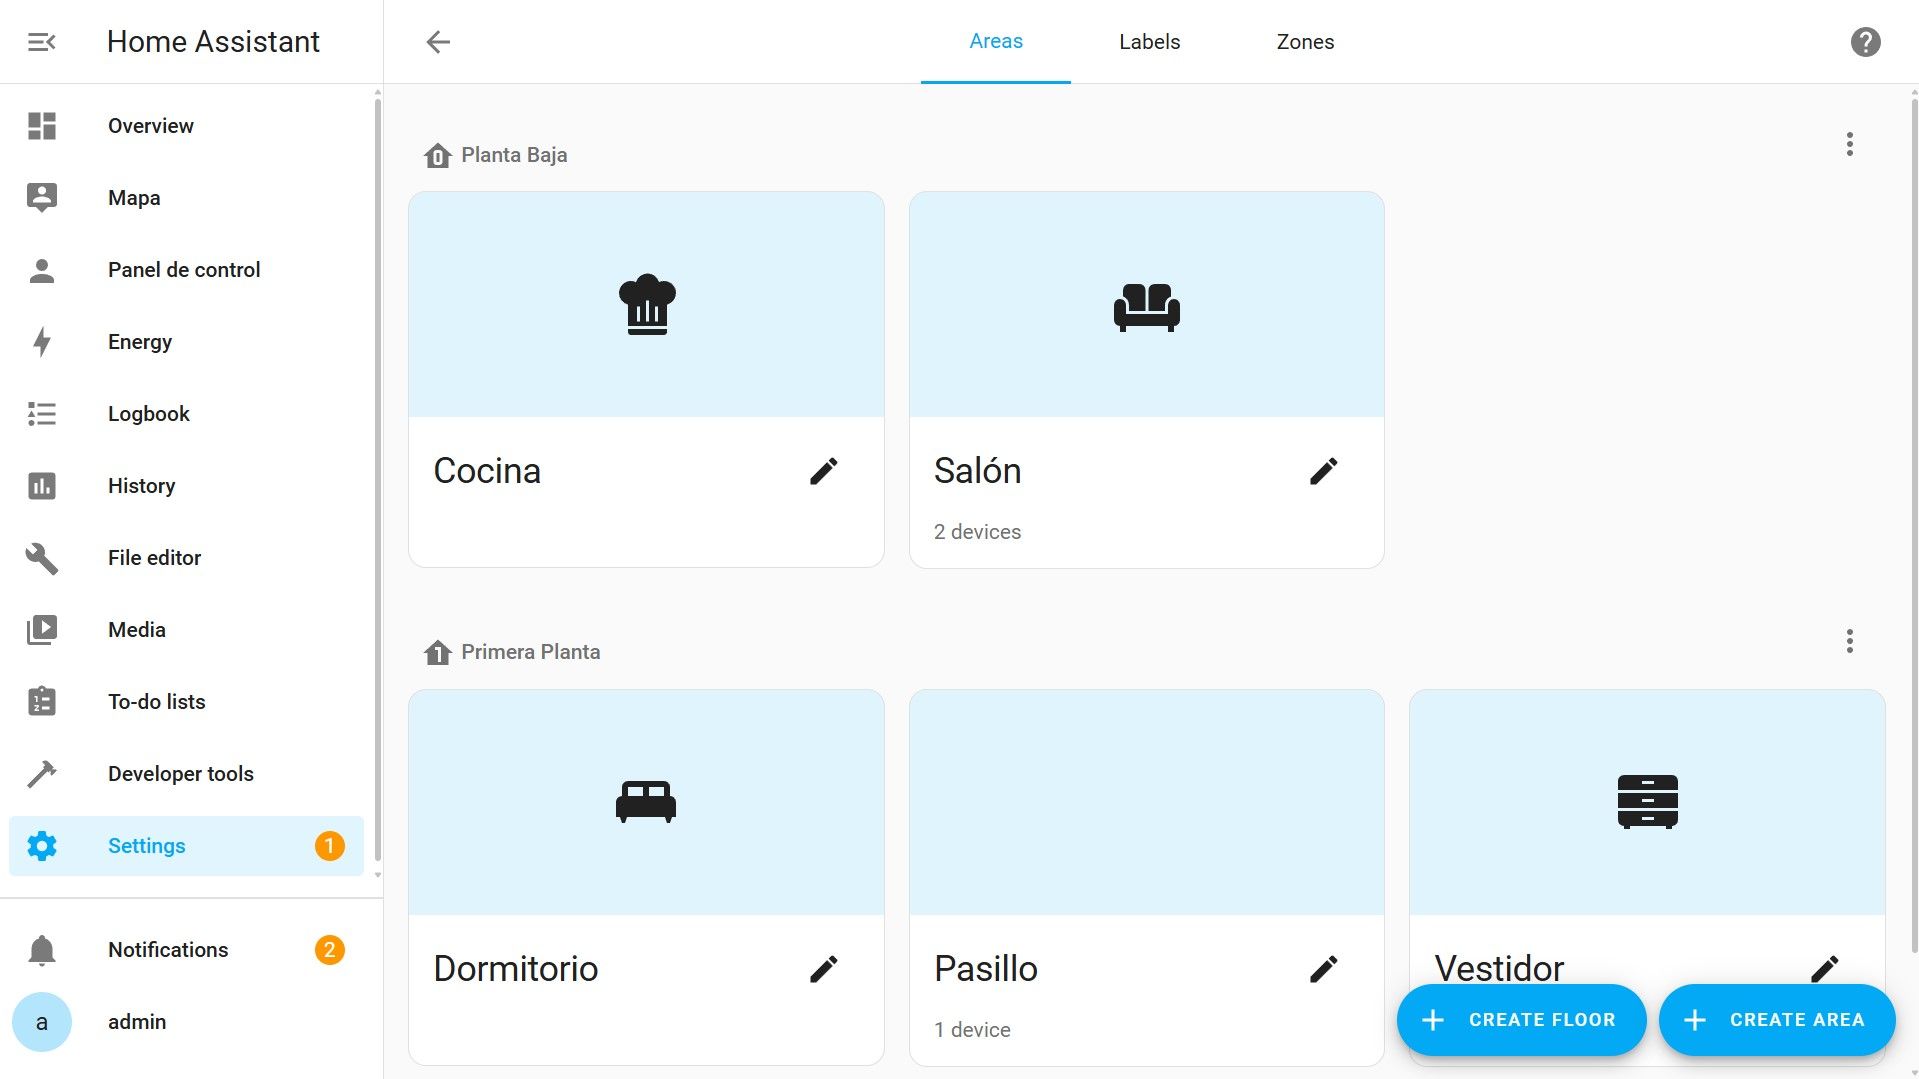
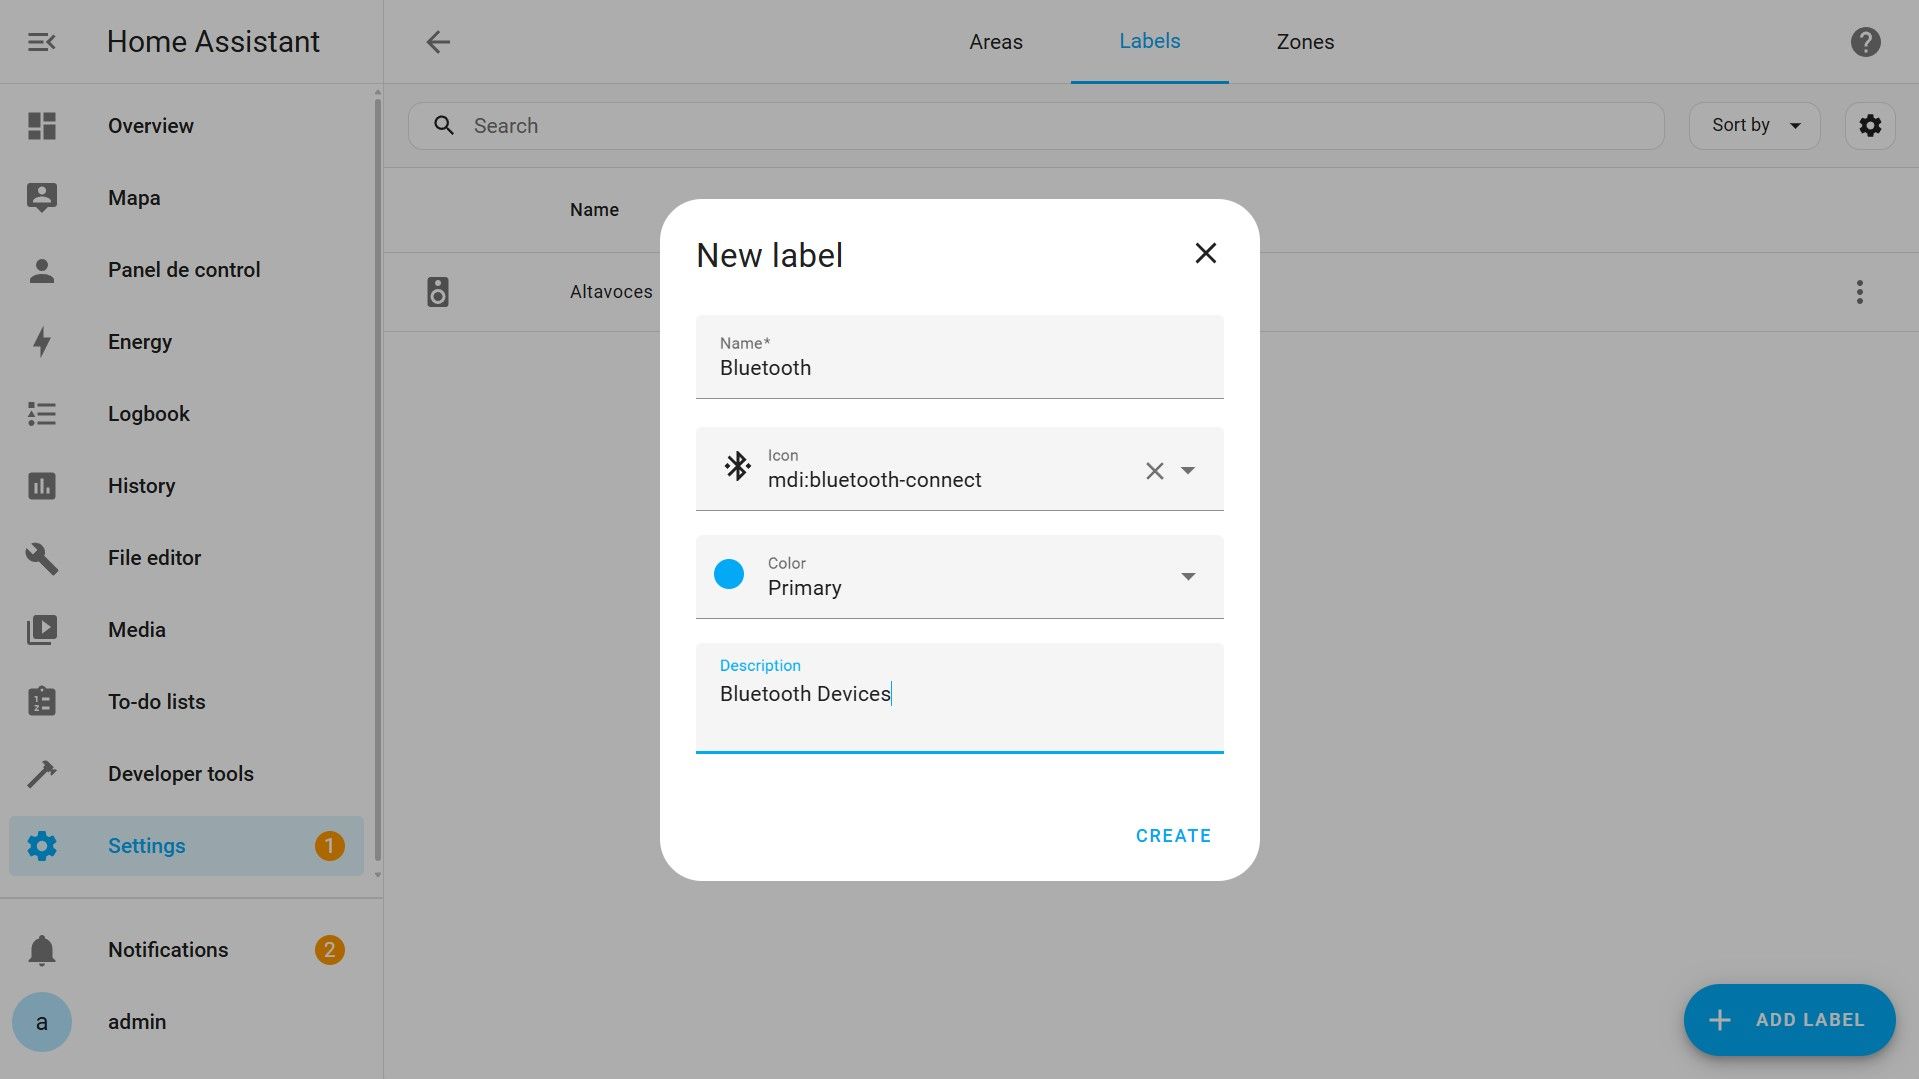
Labels are another way to classify devices, entities, automations, or other types of objects in Home Assistant. Labels can be of all kinds and will depend a lot on how you want to use them. For example, you can create label by functionality: Energy, Heating, Lights, Sensors… or by connectivity: WiFi, Bluetooth, cloud…, it will depend a lot on how you want to organize yourself.
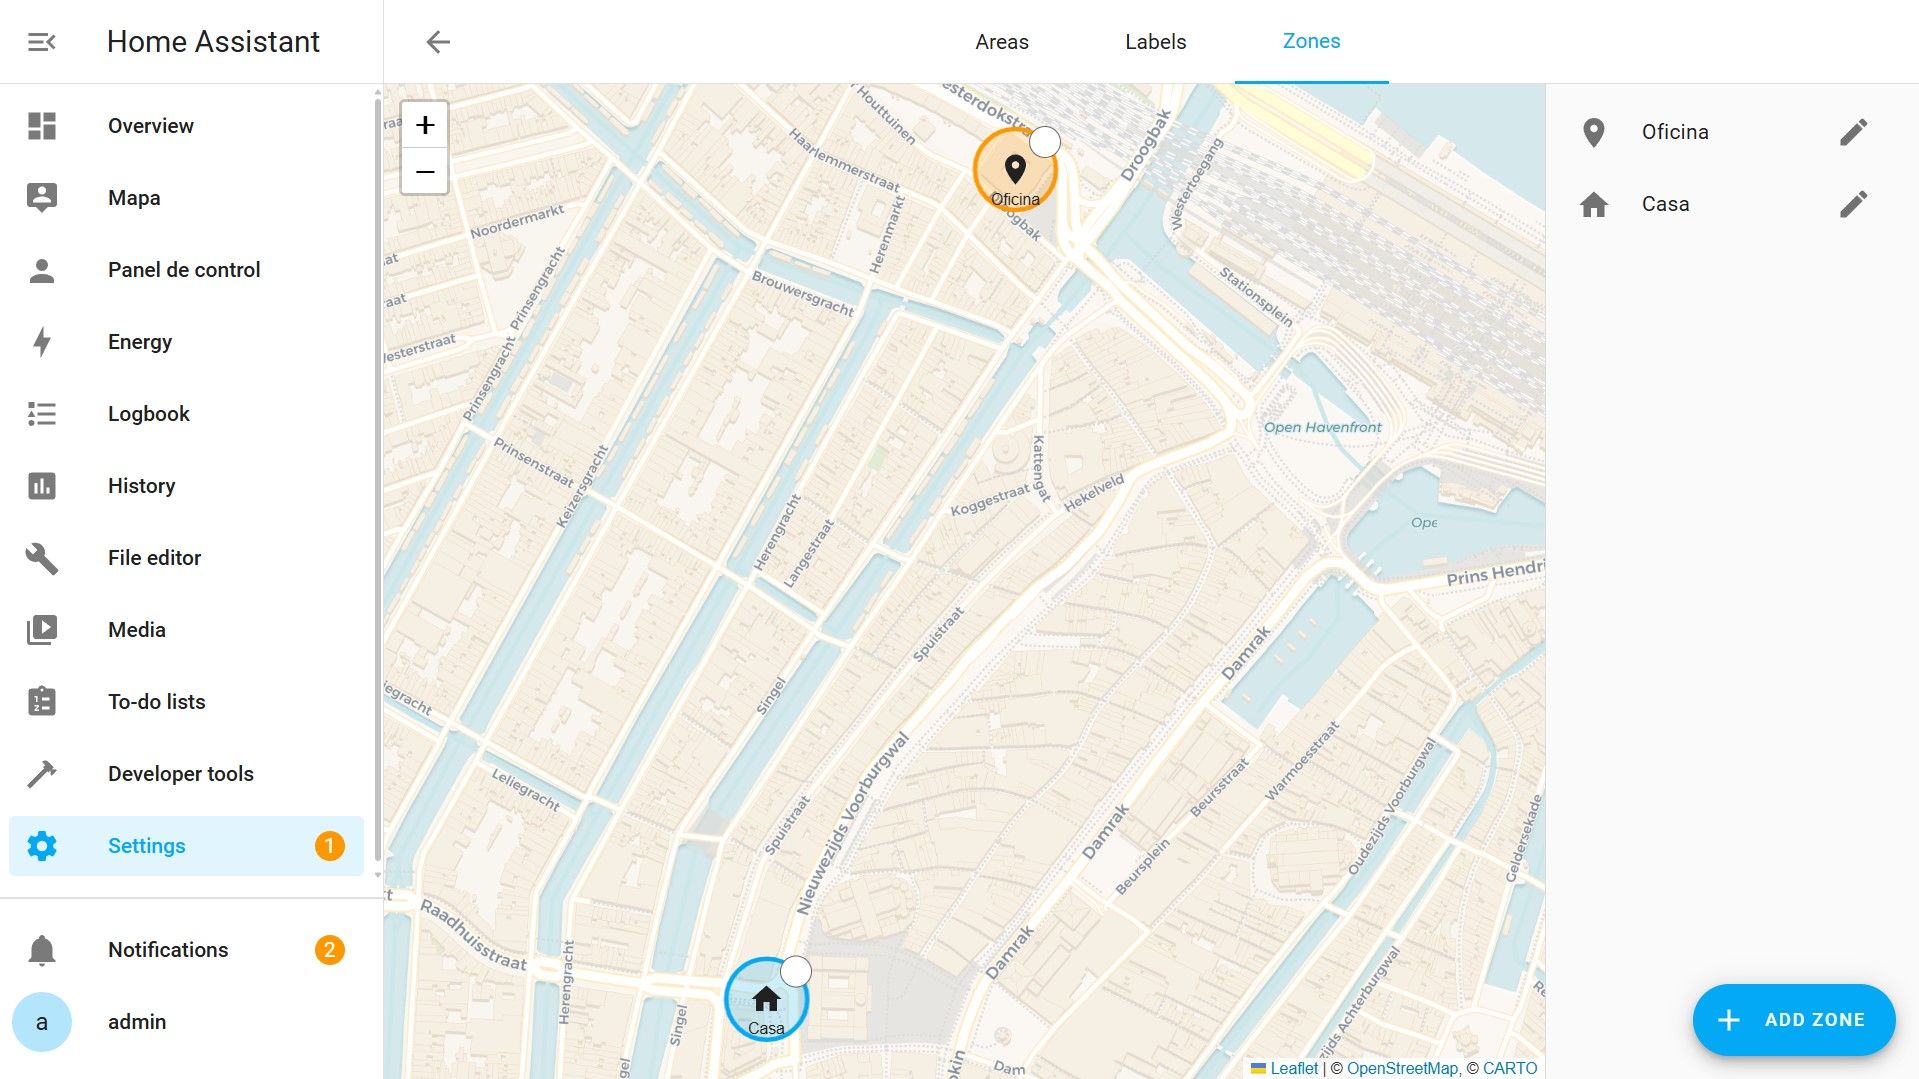
Finally, in this section, we find Zones, which are specific places outside the home that Home Assistant uses to locate people. For example, we can create an automation that triggers when you arrive at the office. You just need to define your office as a Zone beforehand.
Add-ons
Add-ons are extra applications that we can install on Home Assistant Operating System. This section will only appear in this type of installation.

It’s like the app store on your phone. They are installed on the operating system, and once installed, many of them can be integrated as another integration to have their data within Home Assistant. But remember that they are independent applications, they do not necessarily have to be related to our home automation. Do not confuse them with integrations; it would be the same to install these applications here or on another computer, and they would work the same.
Underneath, they are still Docker containers with a layer on top to install and configure them easily.
Most will create a new item in the sidebar to access them and be able to use and configure the application.
Dashboards
Dashboards are the most common way to interact with Home Assistant. They are visual panels where we will place cards to see the status of entities and act on devices.
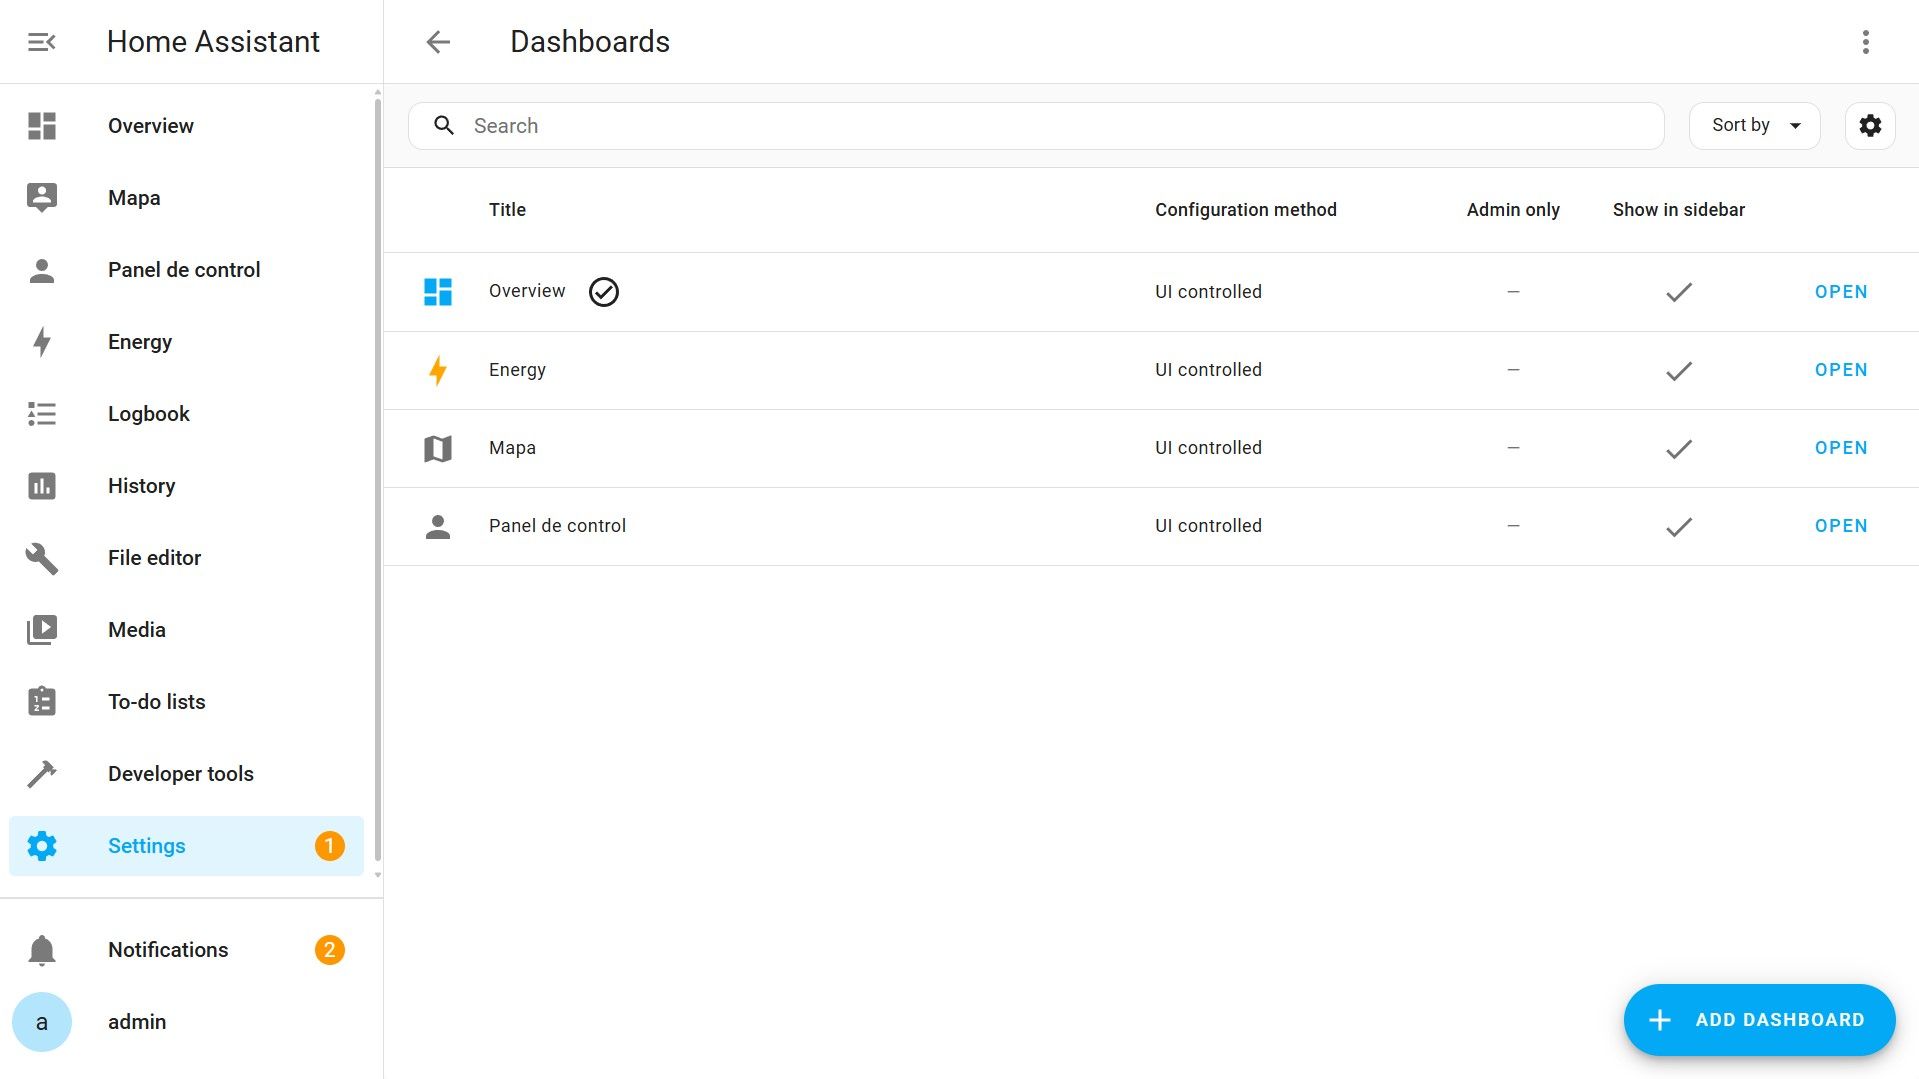
They are accessed from the sidebar menu, and although one is automatically created by default based on the integrations we have configured, special panels can be created, such as the energy panel or the maps panel, or fully customized to your liking. Try creating a new one and play around a bit. It’s one of those things you learn by tinkering and breaking.
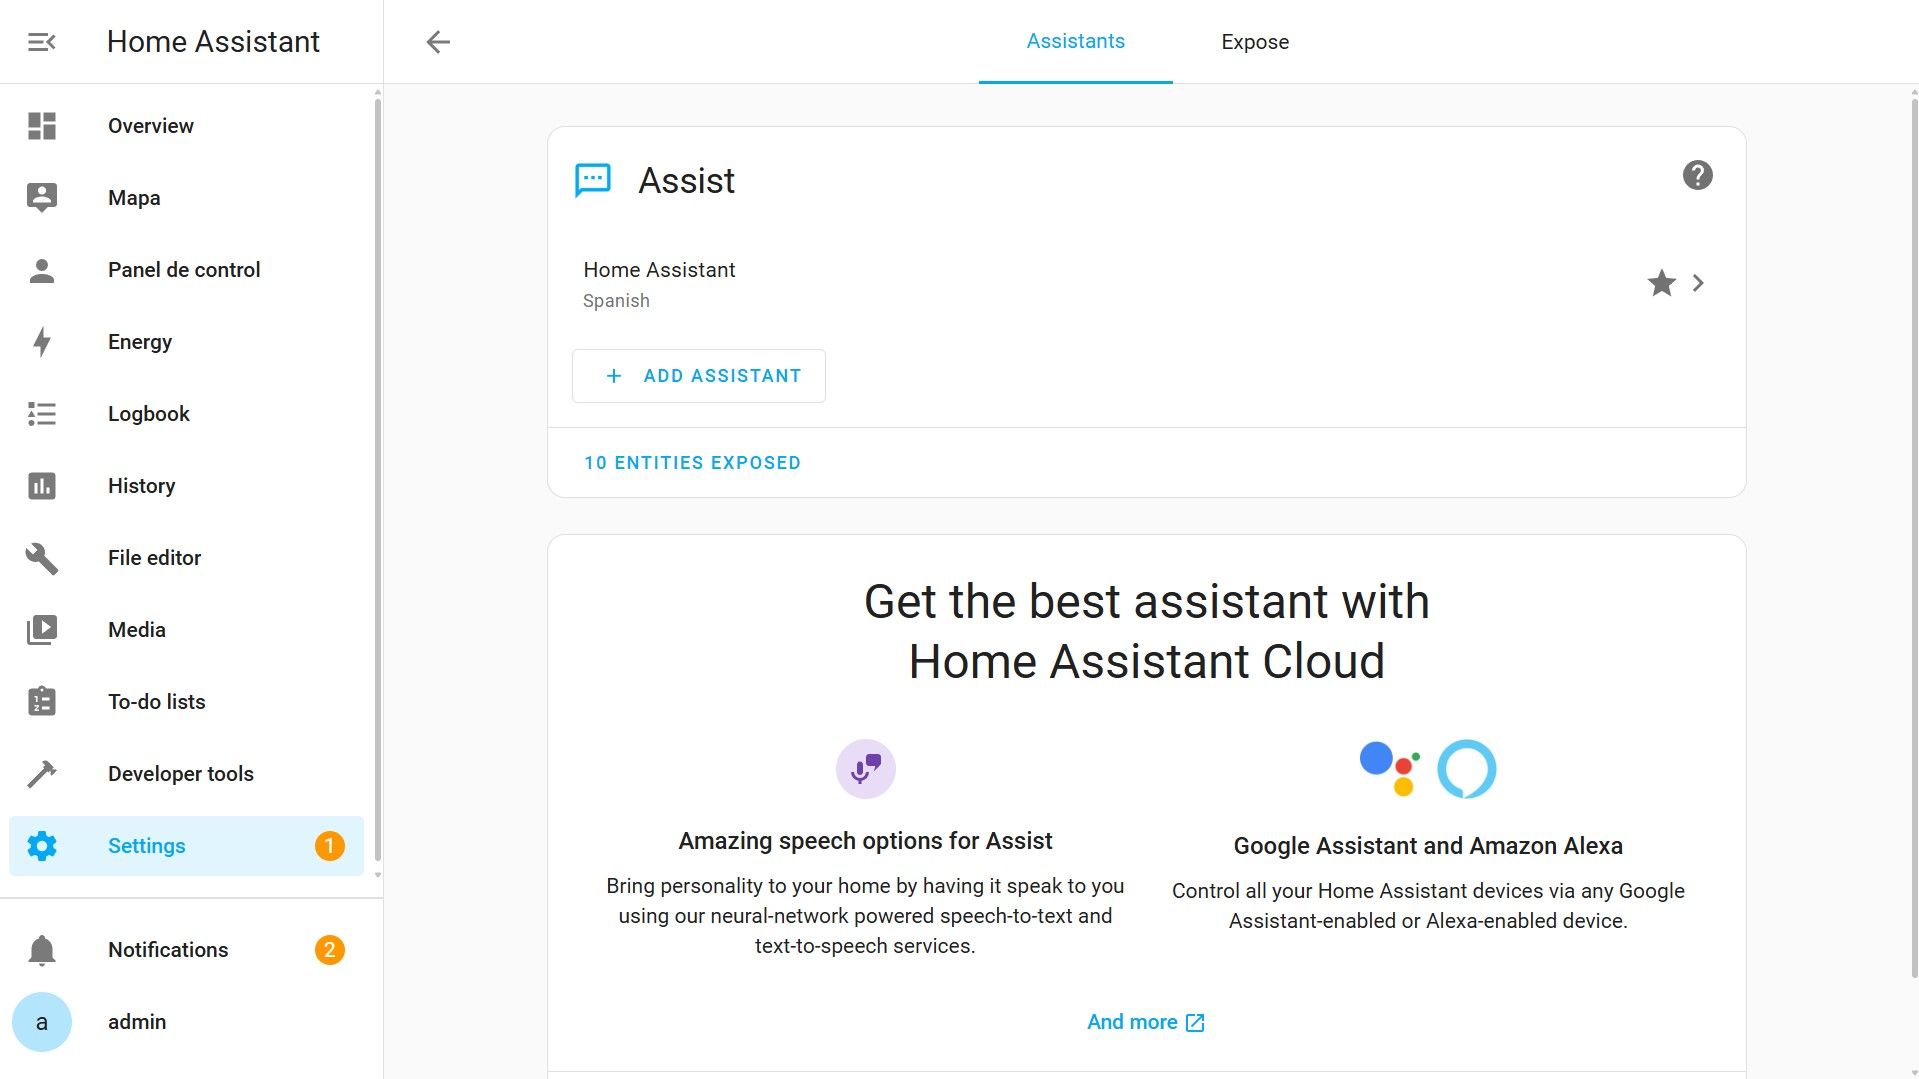
Voice Assistants
In Voice Assistants, you can configure different voice services to communicate with your server. Home Assistant has its own system that is evolving at a good pace. Additionally, Home Assistant is compatible with other voice services like Alexa or Google Assistant. If you have the Nabu Casa subscription, the configuration is quite simple; otherwise, you will have to wait for the following articles to perform this configuration manually.
Tags
The Tags section is used to register NFC tags or QR codes to perform actions when they are scanned. This can be useful, for example, to execute scenes when we pass the mobile over a tag or open a door only when our mobile scans a hidden NFC tag nearby. The possibilities are enormous, and the cost of the tags is negligible.

People
From People, we can create the different users that Home Assistant will have and their permissions. As we discussed, the ideal setup is to have only one administrator user, and the rest of the users should have fewer privileges so that only the administrator can change configurations or modify the system.
Desde Personas podremos crear los distintos usuarios que tendrá Home Assistant y sus permisos. Tal y como hablamos, lo ideal es que exista un solo usuario administrador y el resto de los usuarios tengan menos privilegios para que solo el administrador pueda cambiar configuraciones o tocar el sistema.
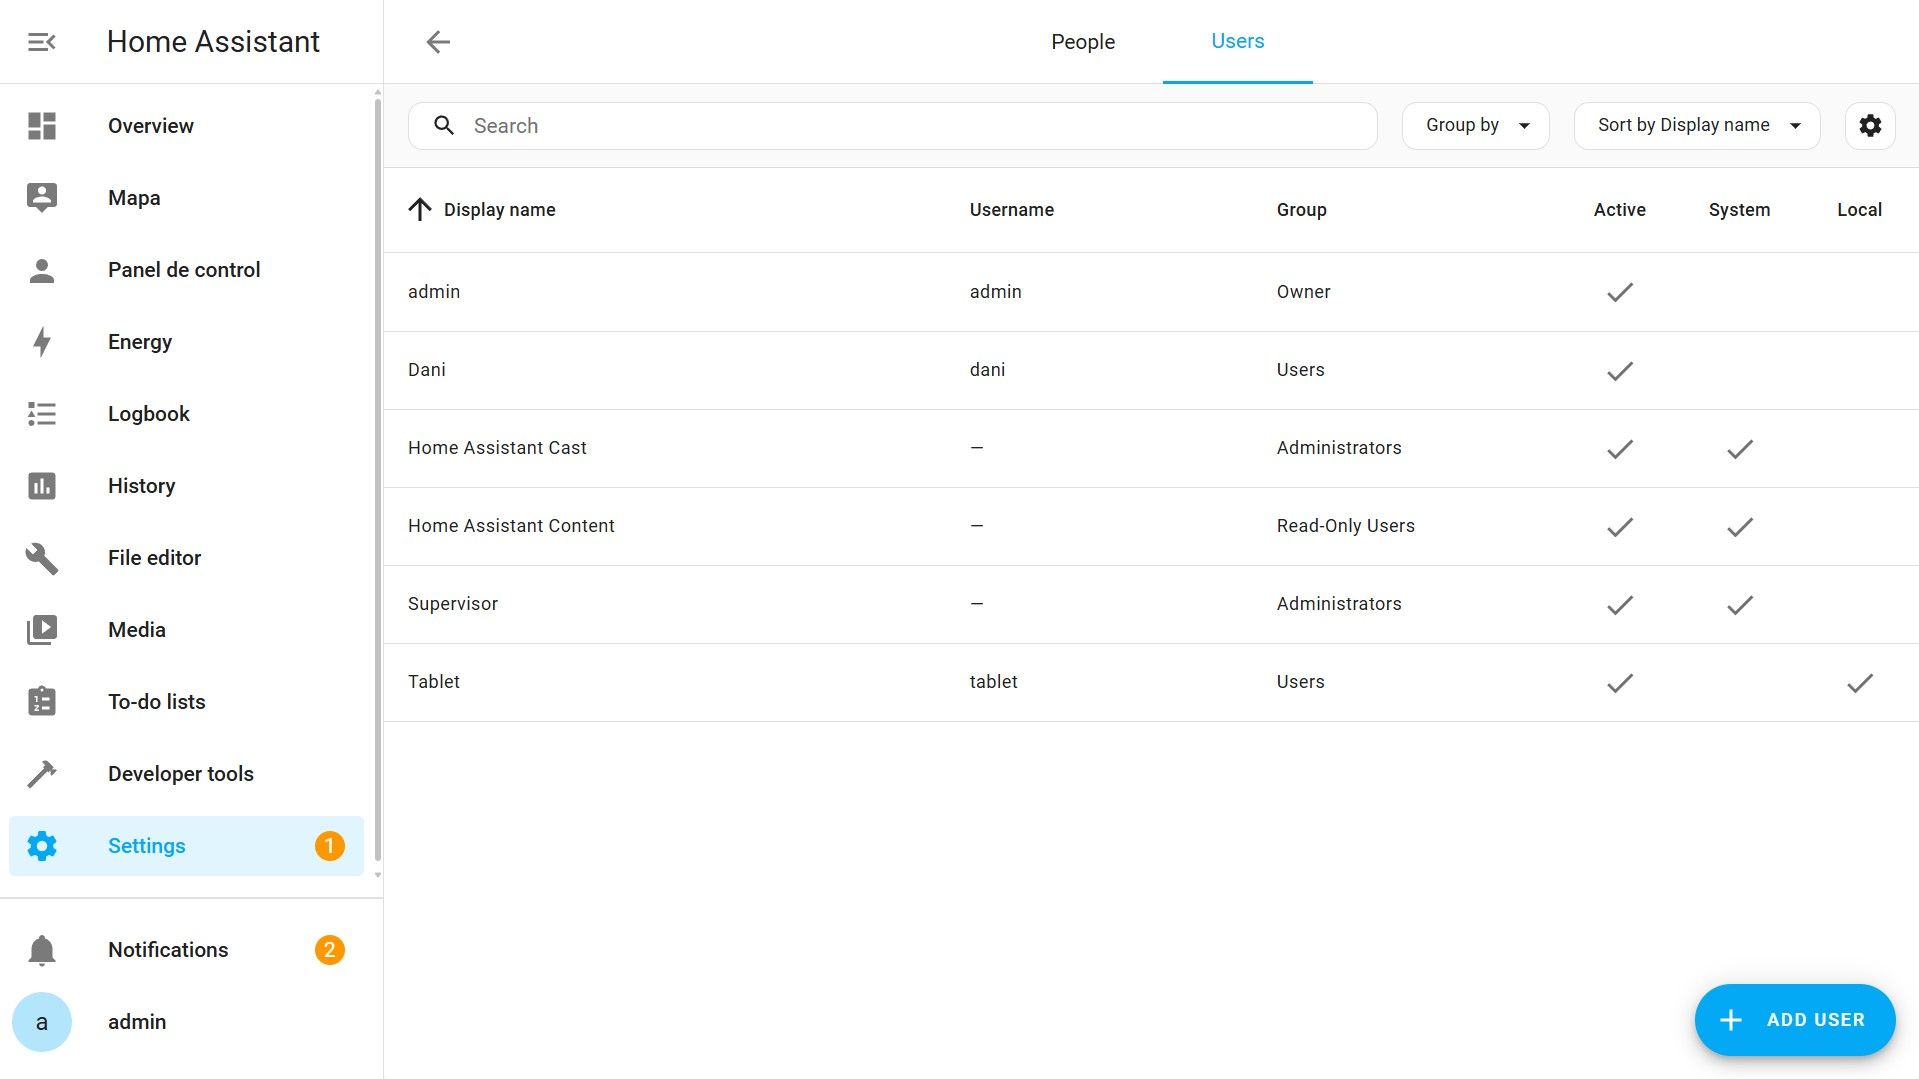
On the other hand, in the People section, we will have the different people that we want Home Assistant to consider. The main difference with users is that people have one or more tracking devices, a photo, and they may or may not log in to Home Assistant by linking the person to a user.
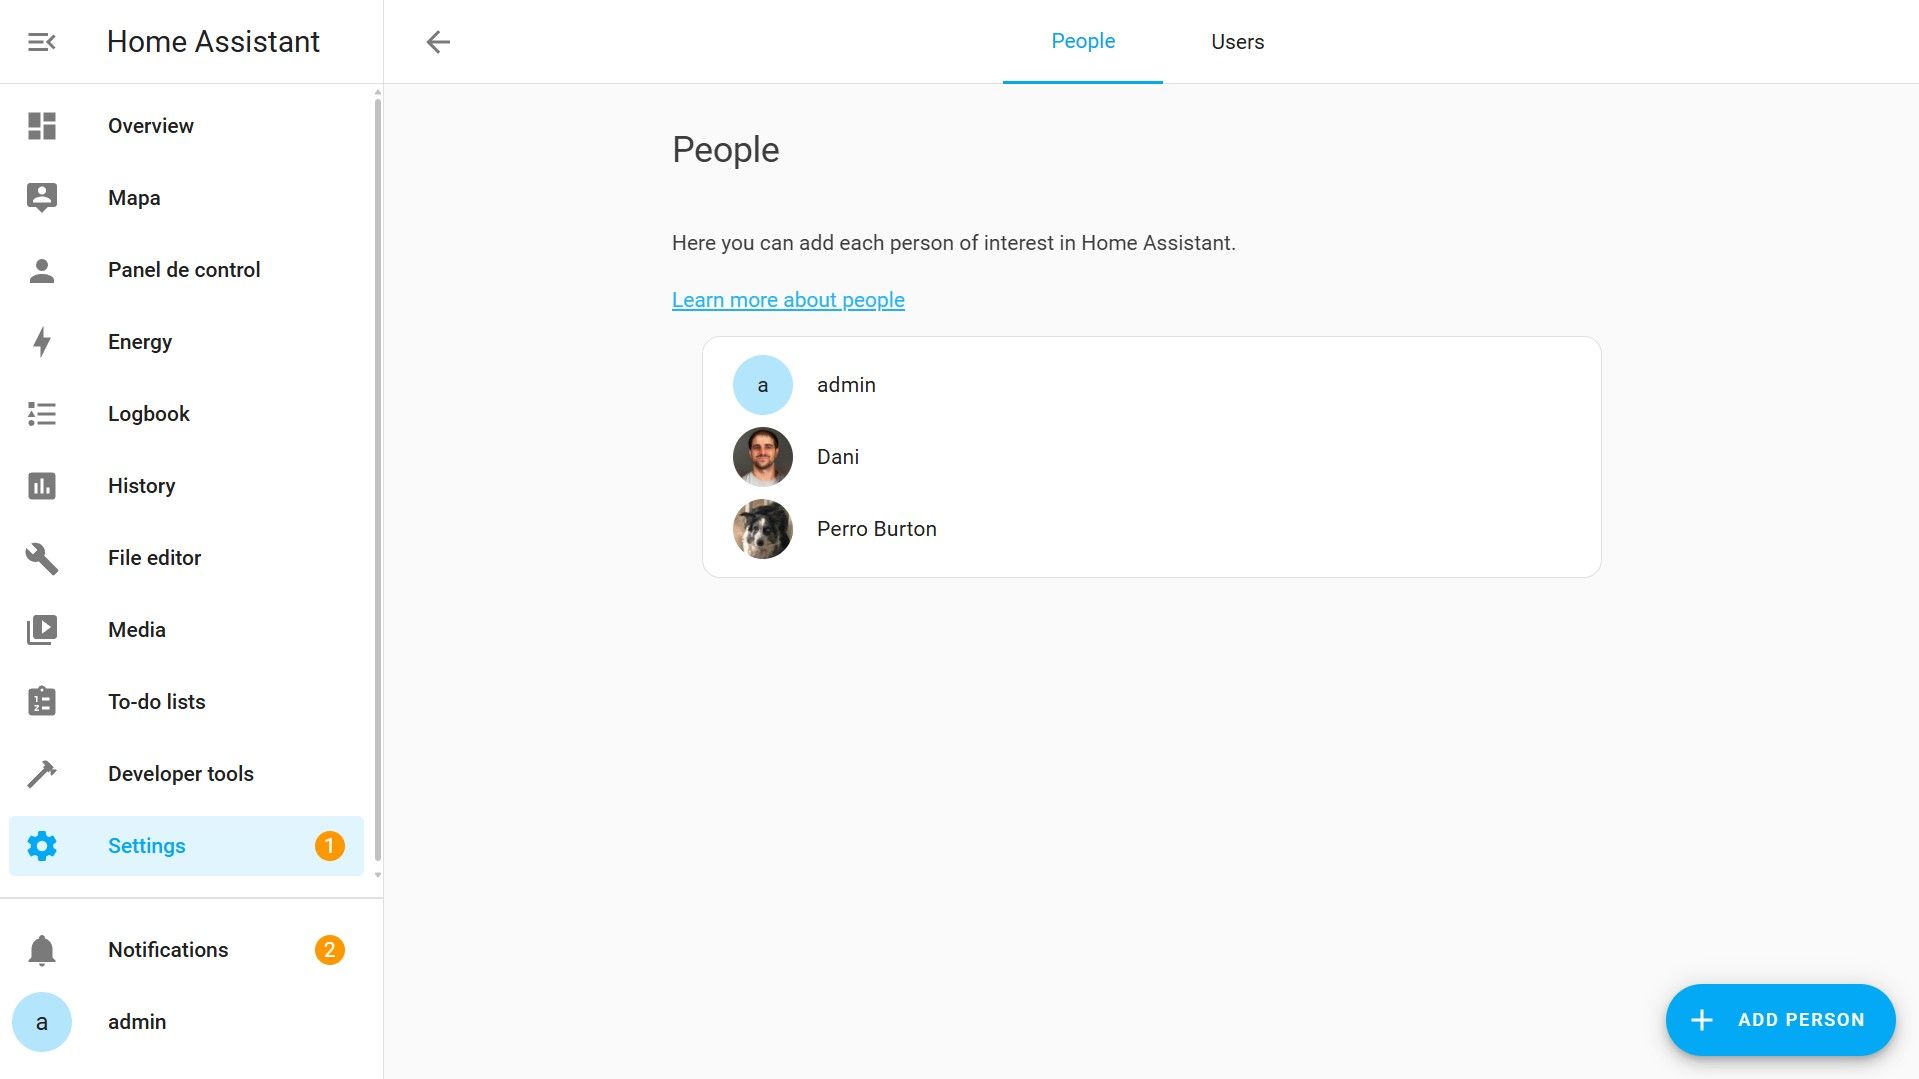
For example, we can have a GPS sensor on our dog’s collar to locate him at any time. We can create a person with his photo and the device to track him from Home Assistant, but we don’t need a user since our dog is not going to use Home Assistant. In the completely opposite case, we can have a Tablet fixed to the wall with a specific Home Assistant user because the whole family will use that Tablet to manage the home automation, but it doesn’t need an associated person because we don’t need it to have a photo or track the device since it will always be attached to the wall.
About
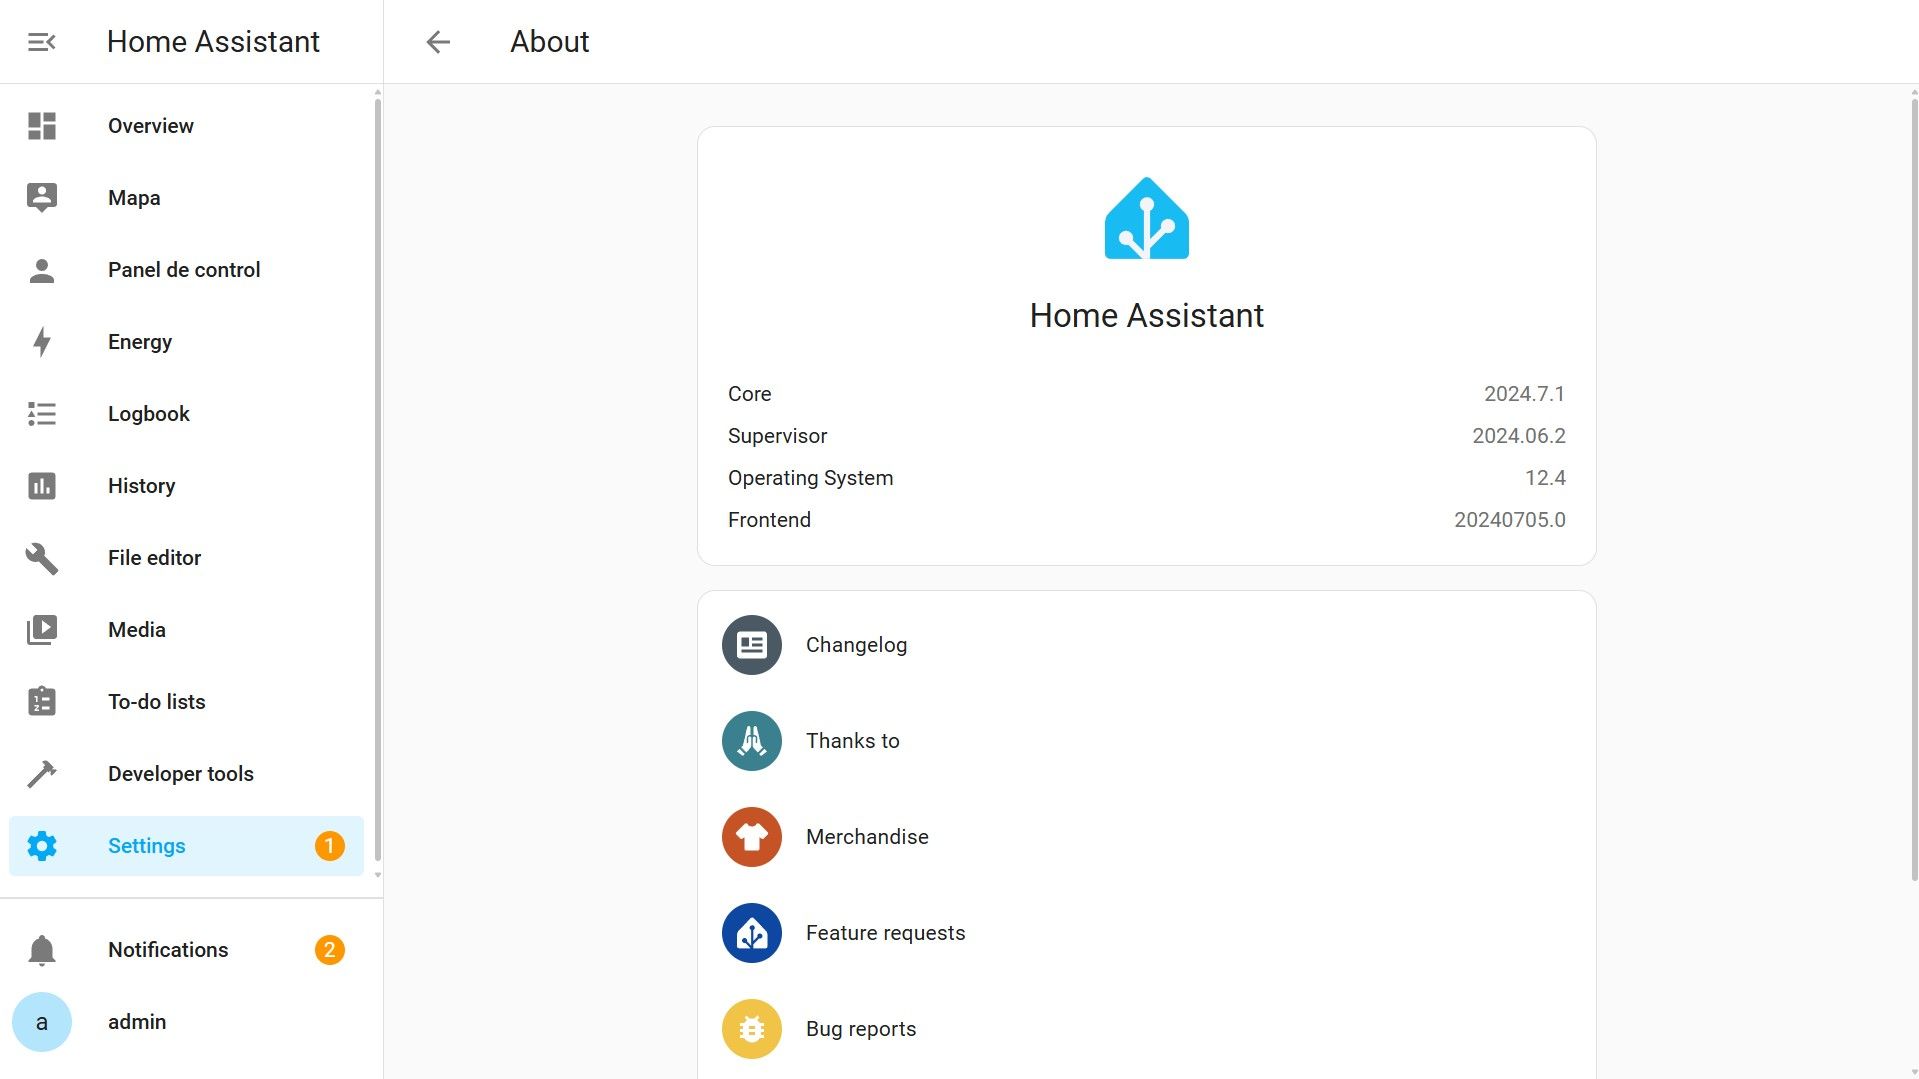
About is a section with information about the type of installation we have, the version of each component, and some links to various Home Assistant pages. You can take a look at each one; some are very interesting.
Sistema
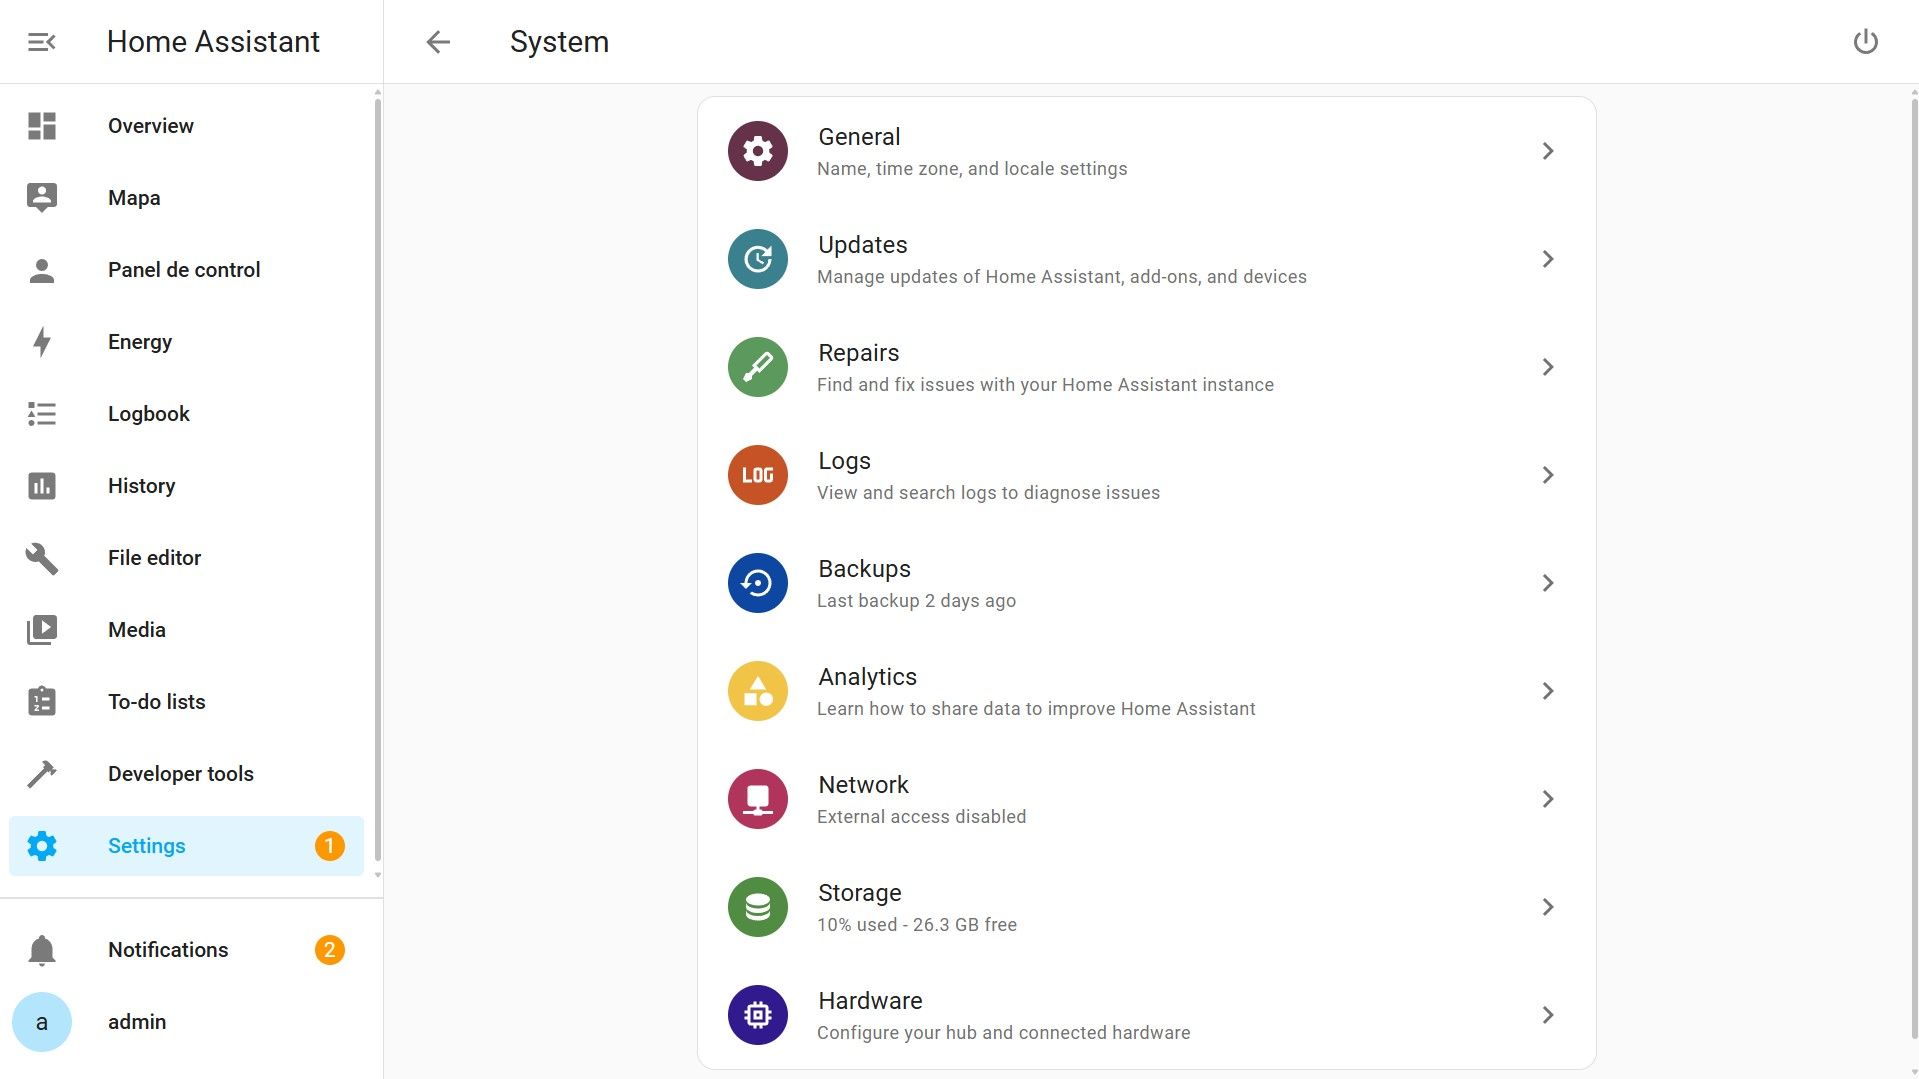
And now we come to the last section, one of the sections with the most subsections, System.
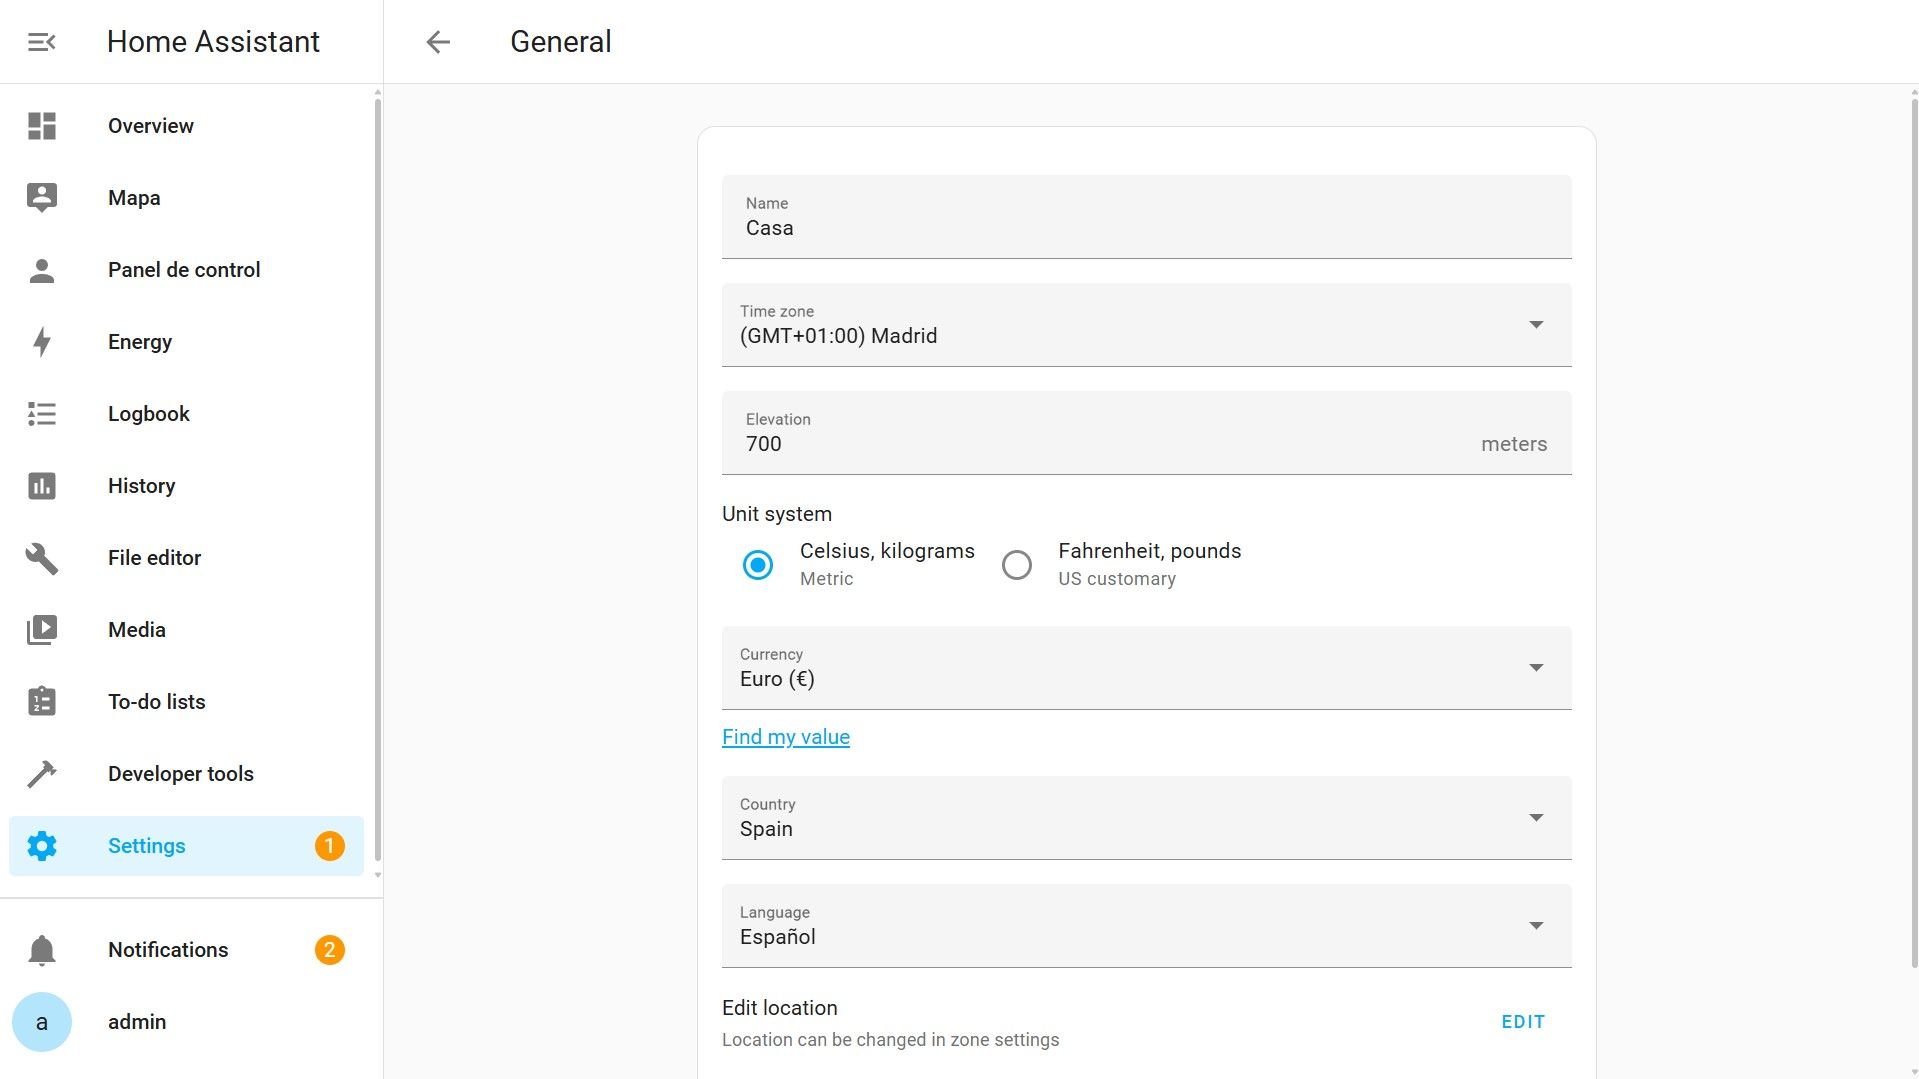
From General, we can change some of the simpler settings such as the server name, the altitude of our house, the country, its location… these changes are common to all users.
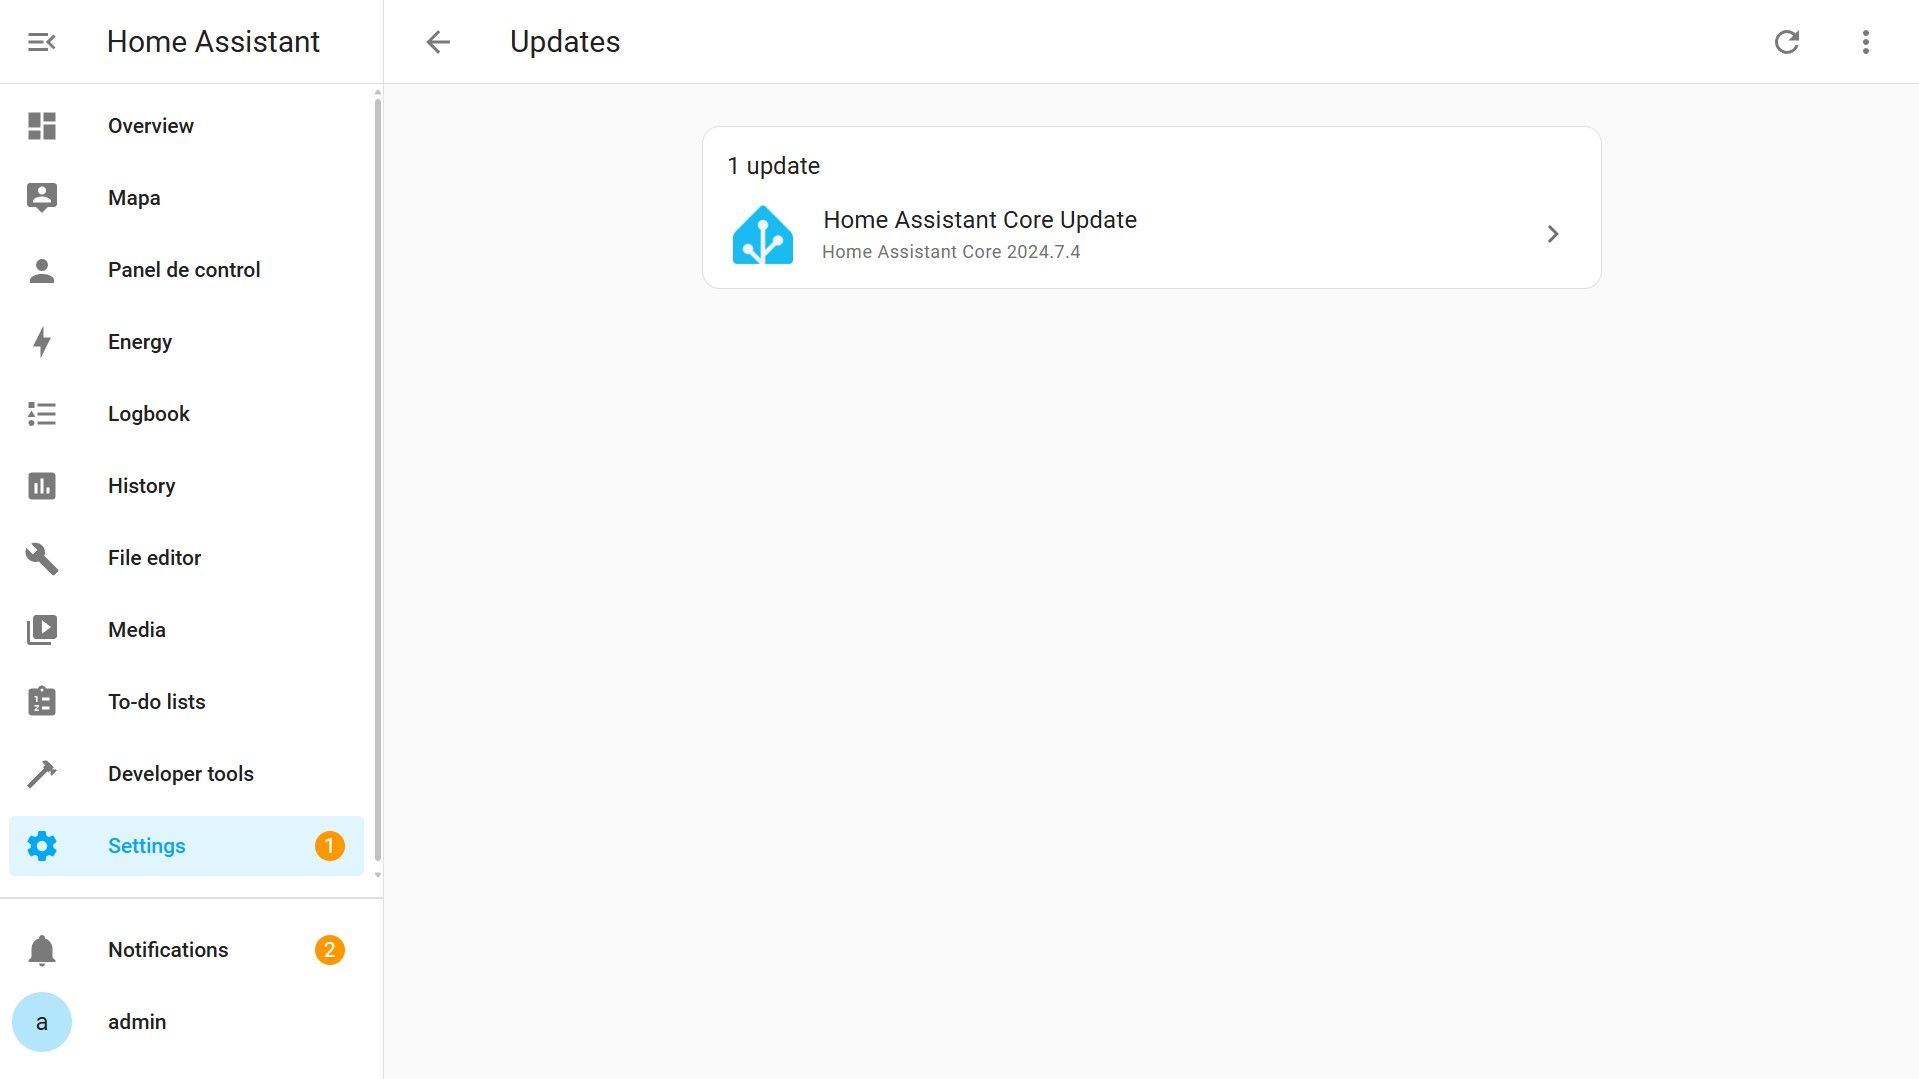
In Updates, we will see if we have any updates for any of the main components of Home Assistant, such as the operating system, add-ons, devices… we will usually receive a notification whenever we have updates available. It is not necessary to check this section every day.
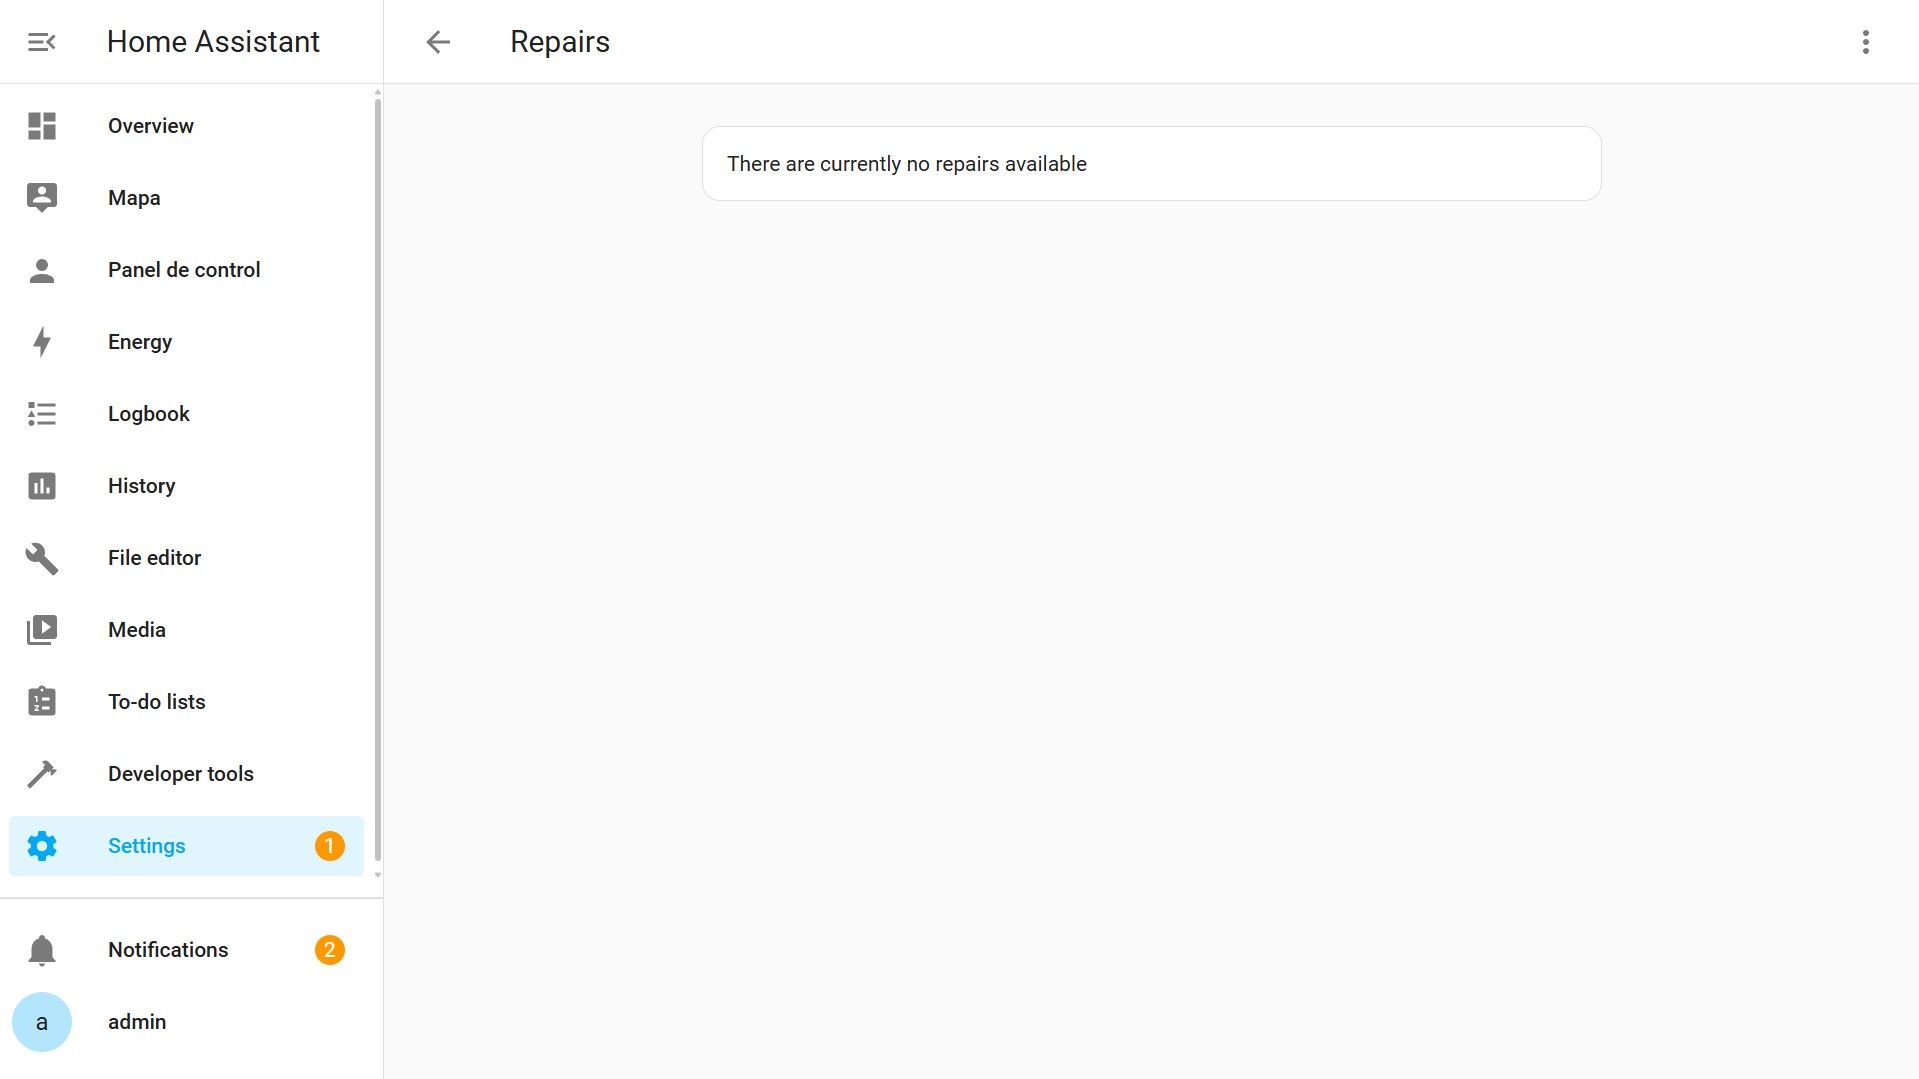
In Repairs, it will show us warnings of problems we have with our configuration or with any integration so that we can review and try to fix them.
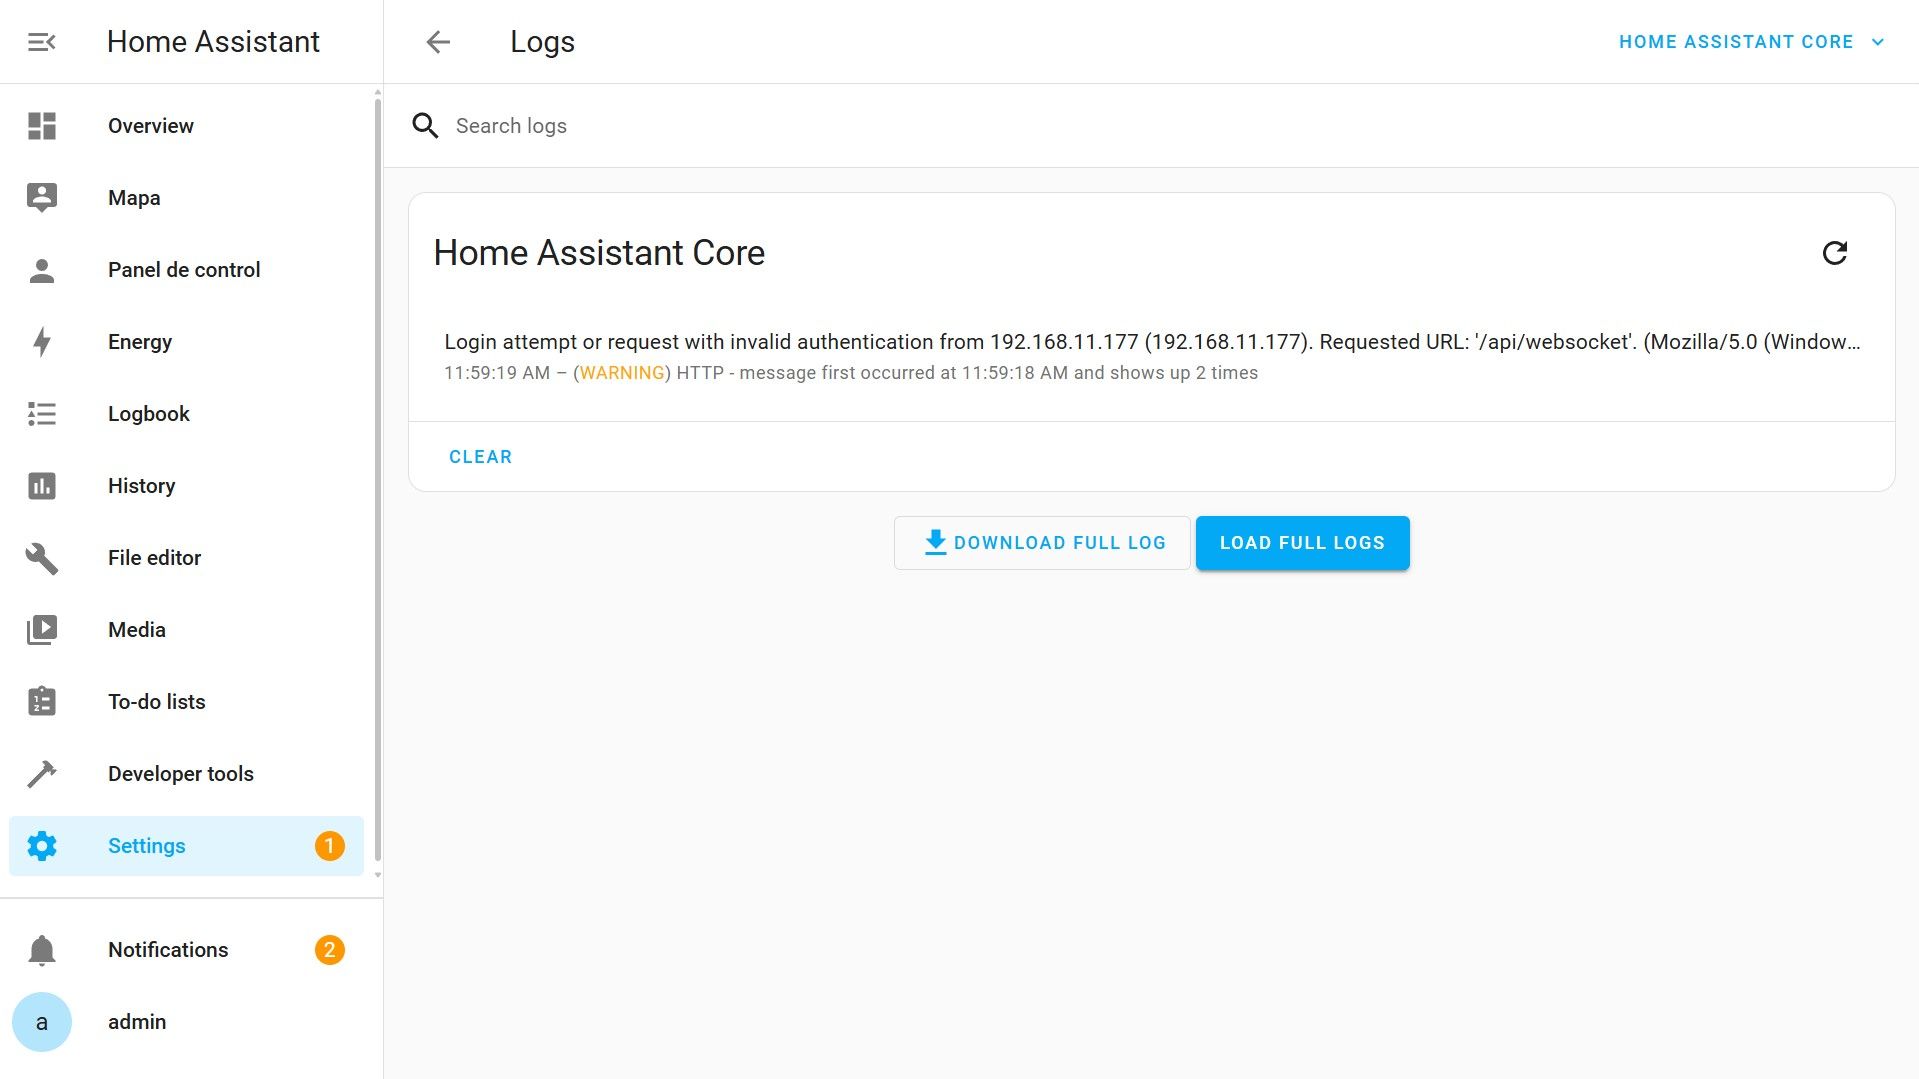
In Logs, we will see the warning and error logs that the various components of Home Assistant are generating. It is a good point to review if we detect that something is not working well. It can give us clues on how to fix it.
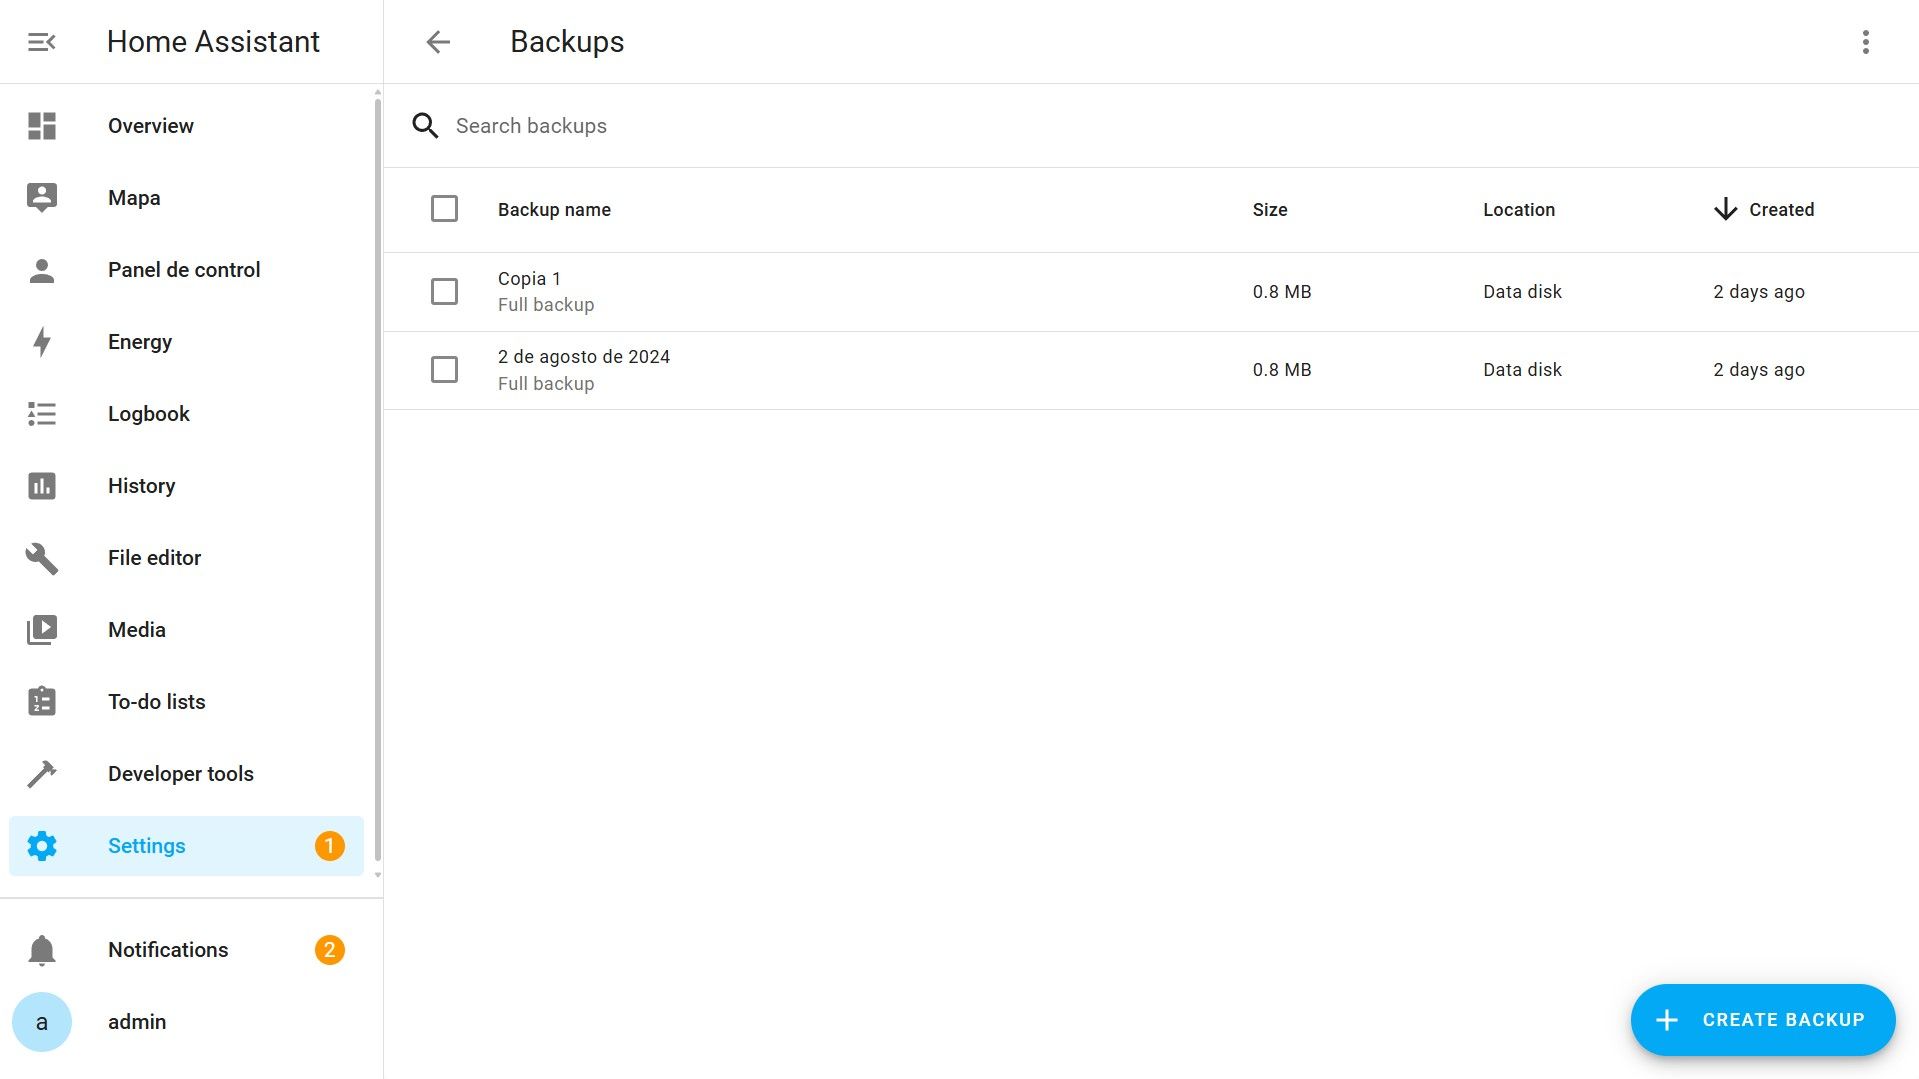
In Backups, we will have the list of all the backups we have made, as well as options to download or delete them. Additionally, we can make new backups whenever we deem it necessary. I recommend for now, making and downloading a backup every time we are going to change the configuration, so that if something breaks, we can always start over from this point.
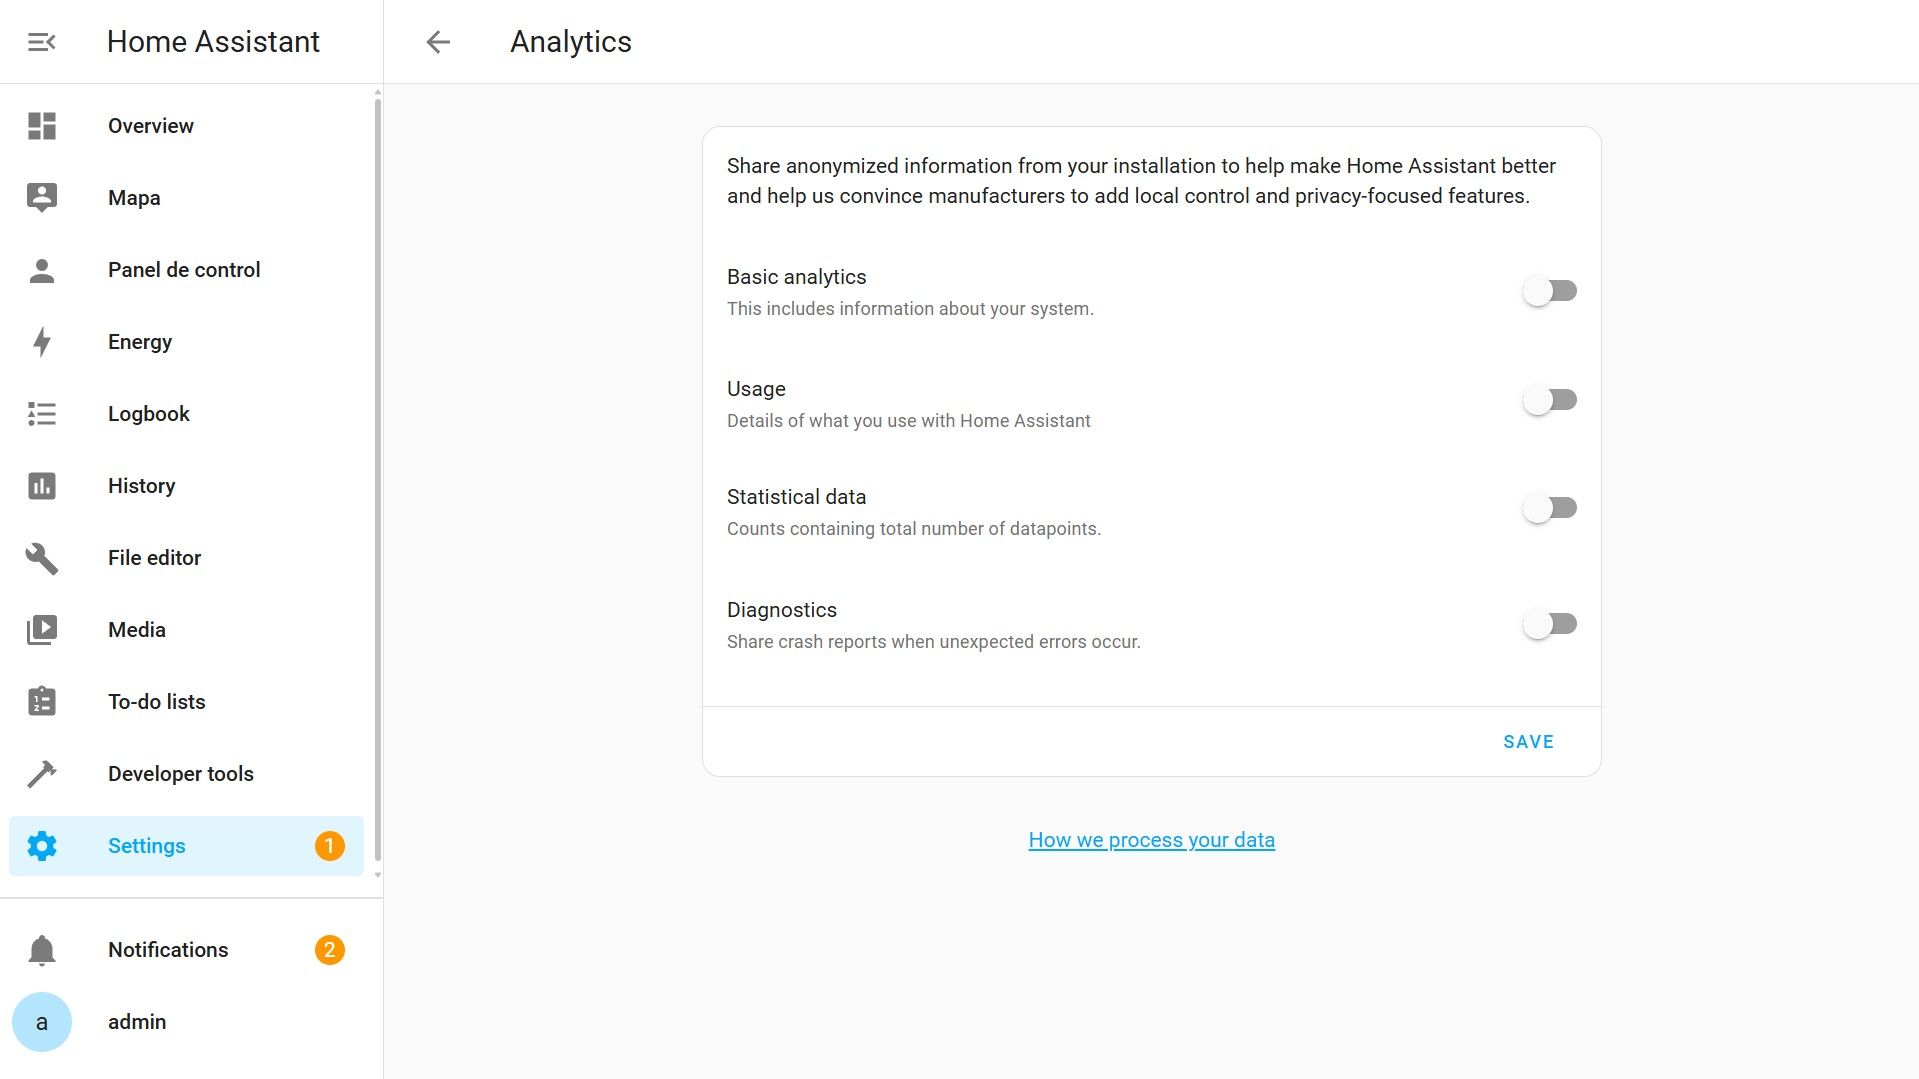
In Analytics, there are several options to anonymously share data from our installation. This data will be used by the Home Assistant development team to improve the platform and detect errors.
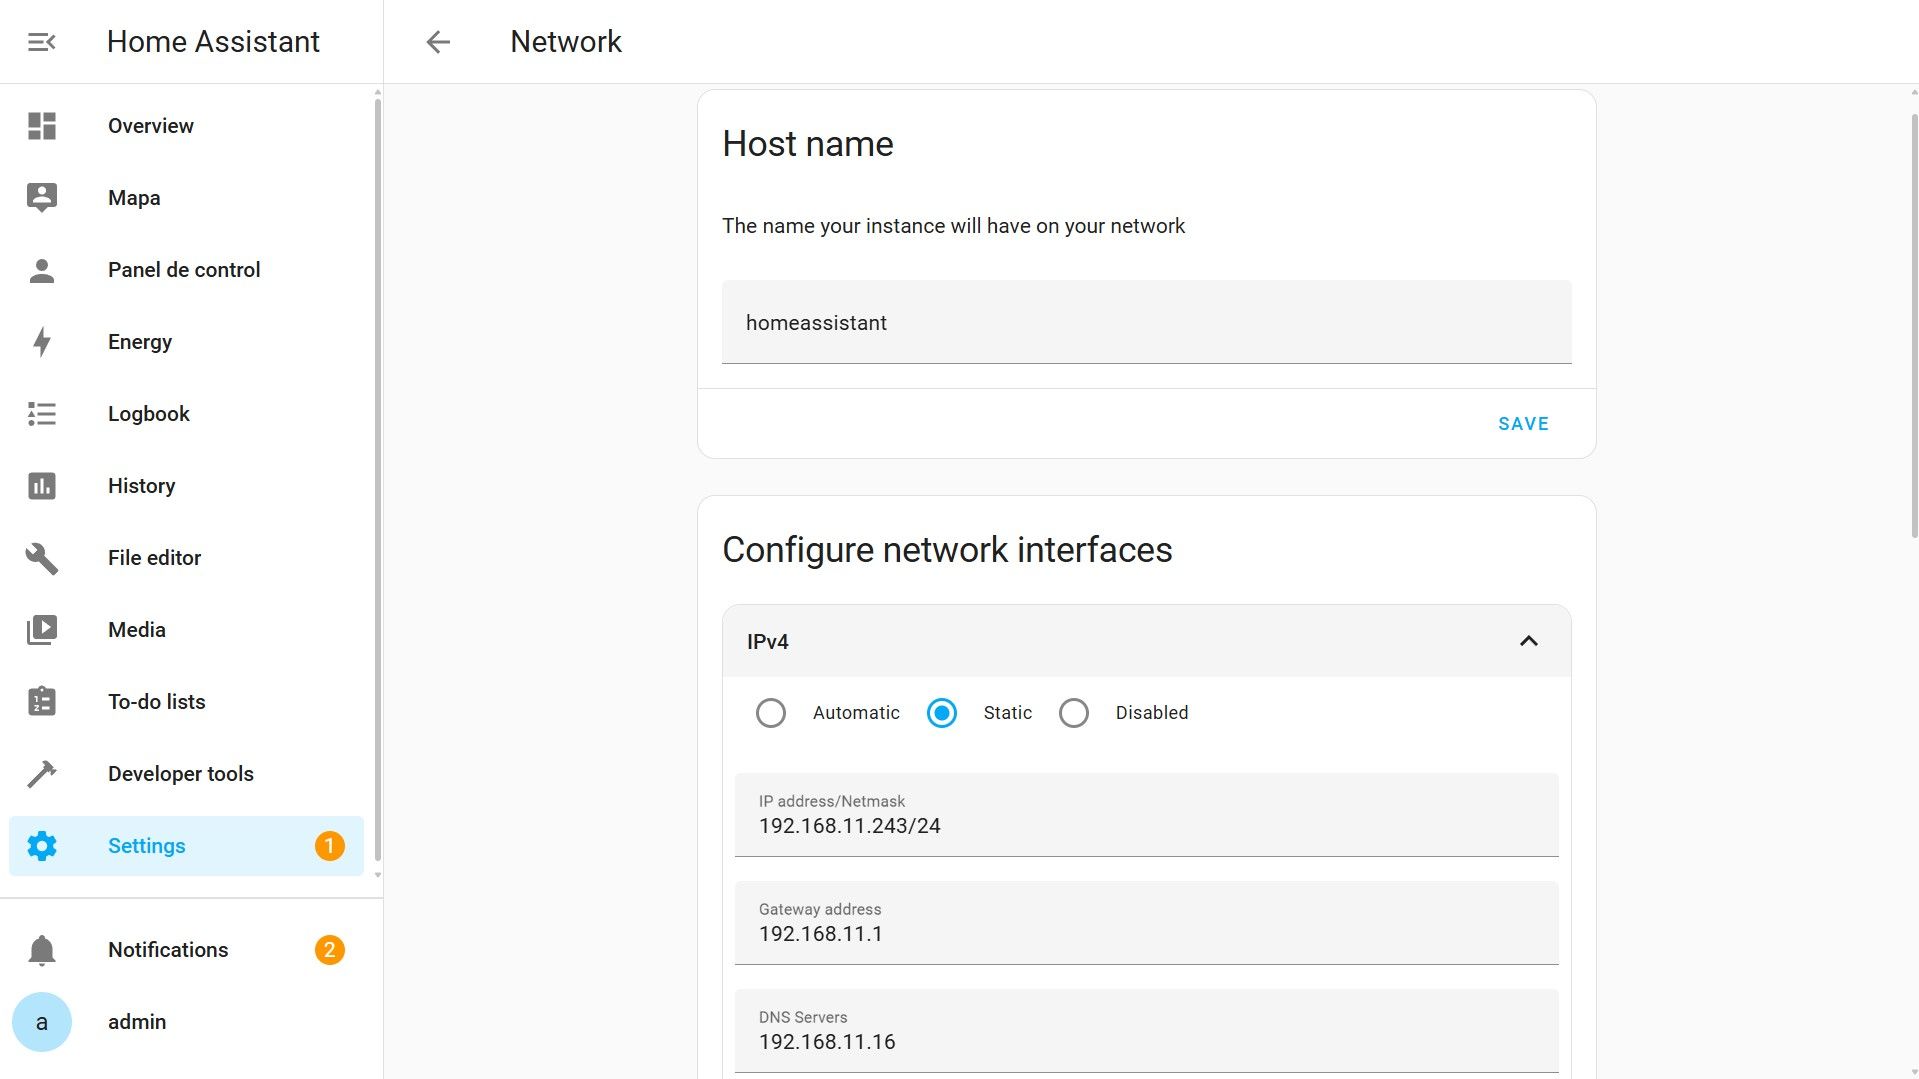
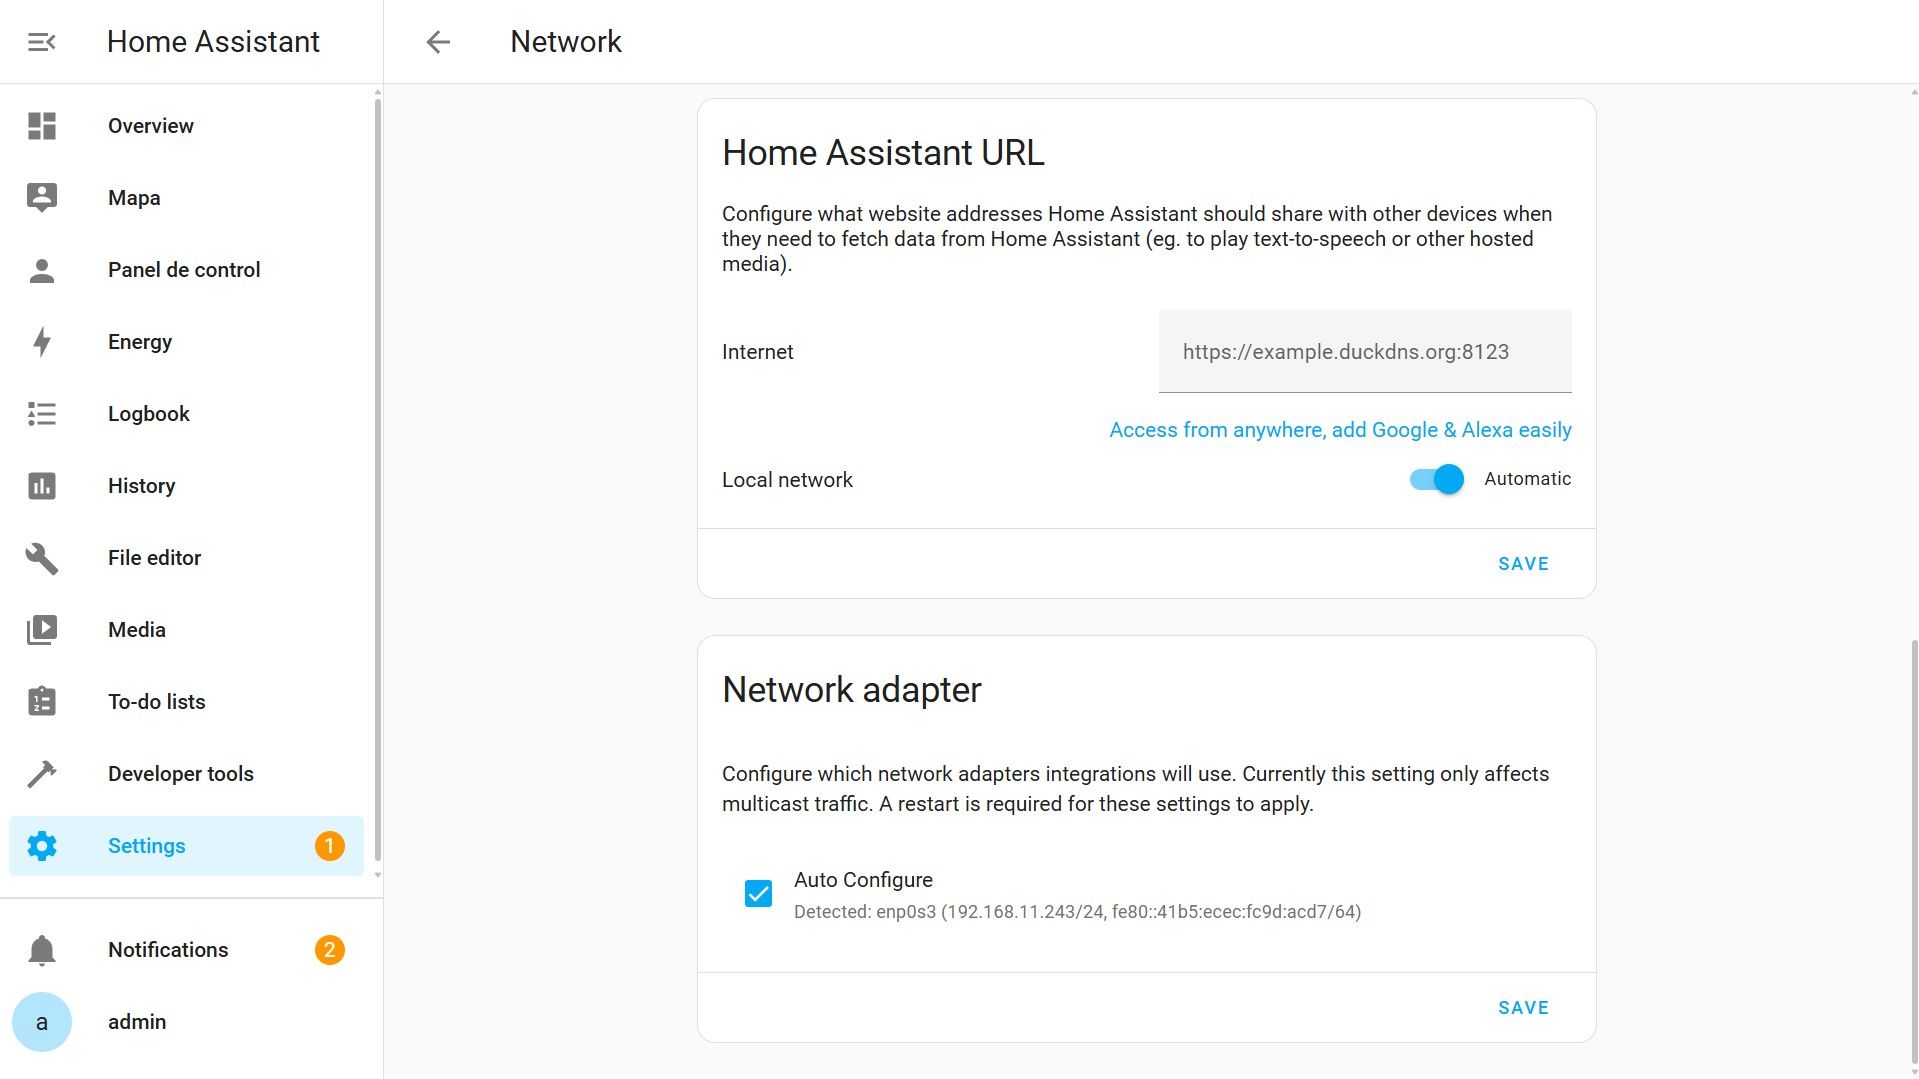
In Network, we can change the name with which other devices will see the system, as well as the network adapter, which in a normal installation we should not need to change. The internal and external URL can also be changed. We will leave this part for another article, as it will be the way to access our Home Assistant from outside the house. For now, we are content with accessing only from within the internal home network.
Additionally, and finally in the network part, we can change the network interface, both for IPv4 and IPv6. Focusing on IPv4, this is the IP with which we access Home Assistant. By default, it comes in automatic mode, and although Routers usually assign the same IP by MAC (which is the unique identifier of the device), it is advisable to set a static or fixed IP from here or from the router itself, to avoid the IP changing for any reason and encountering connection failures to the home automation devices or being unable to connect to Home Assistant and access the web.
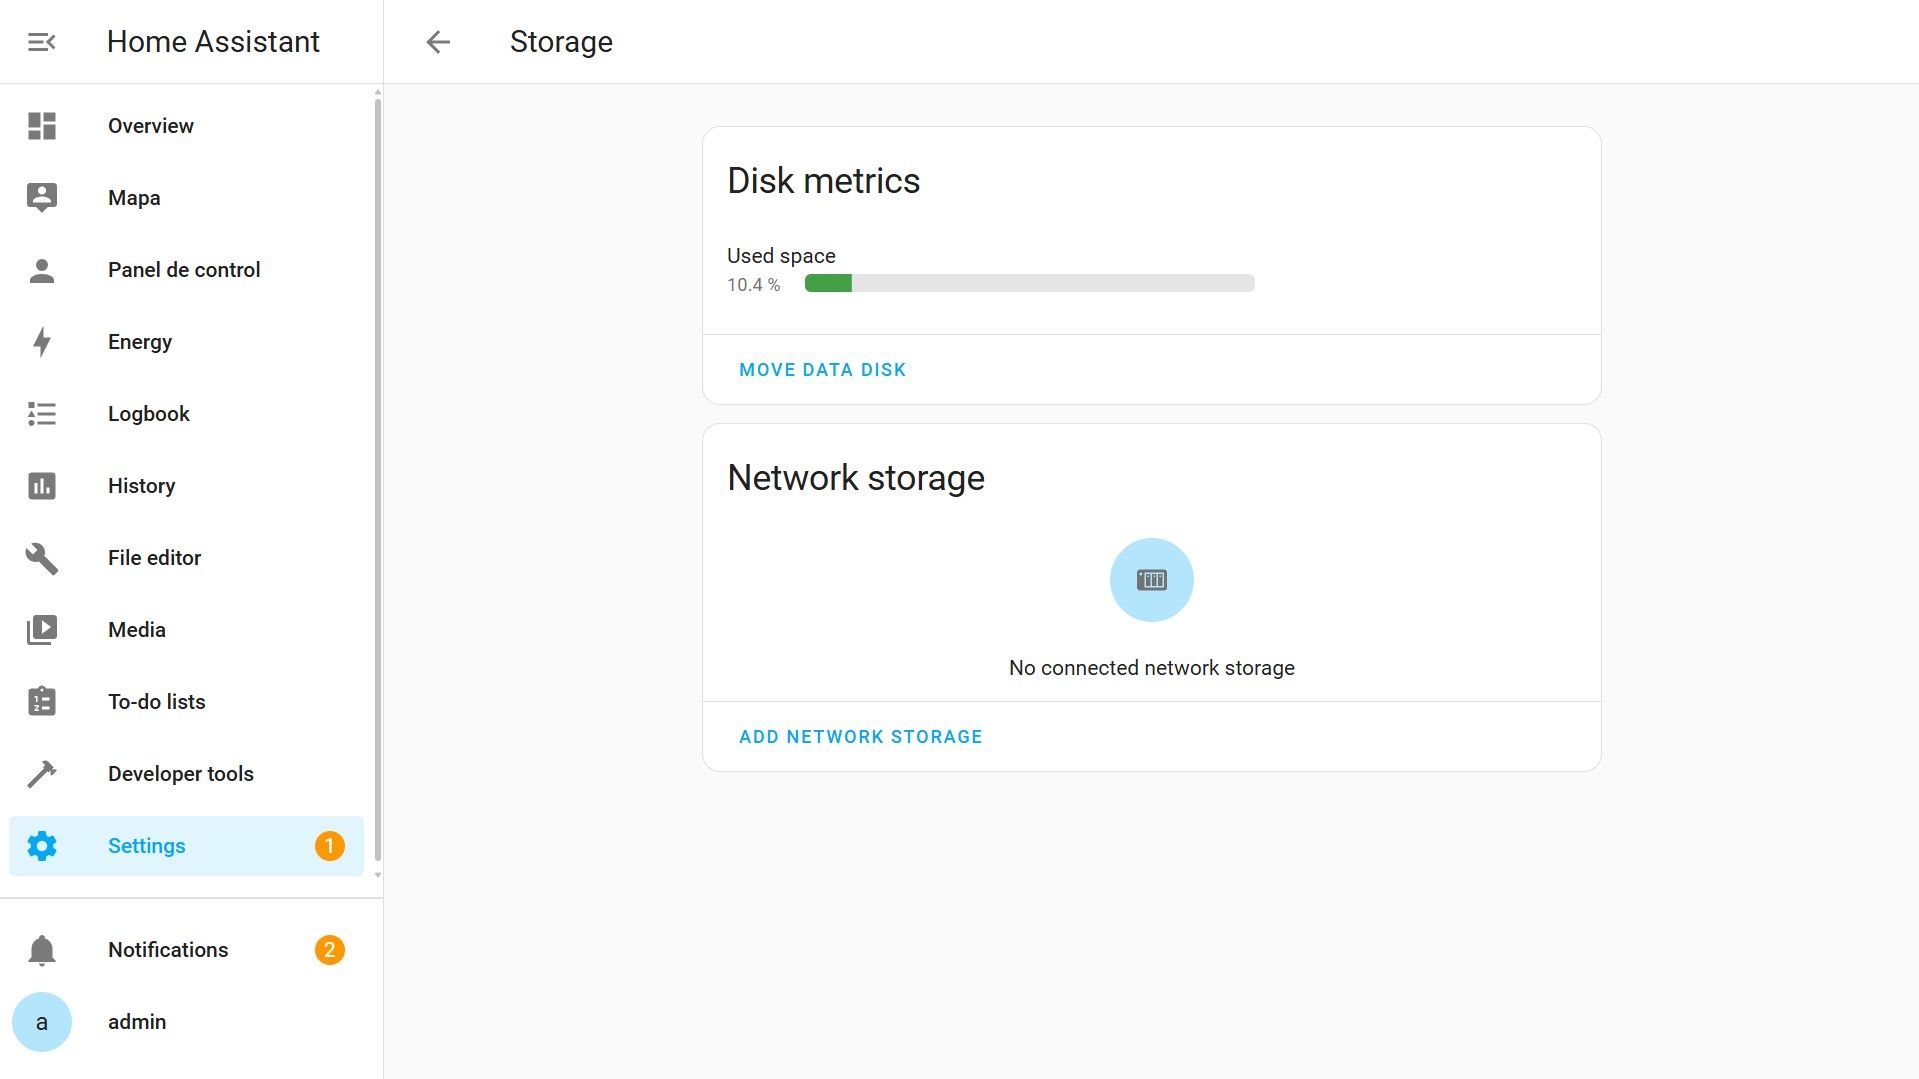
In Storage, we will see the available space on our server and we can add a network device to store data such as backups or camera recordings, for example, or to load different media into Home Assistant and play them on devices that have this option at home.
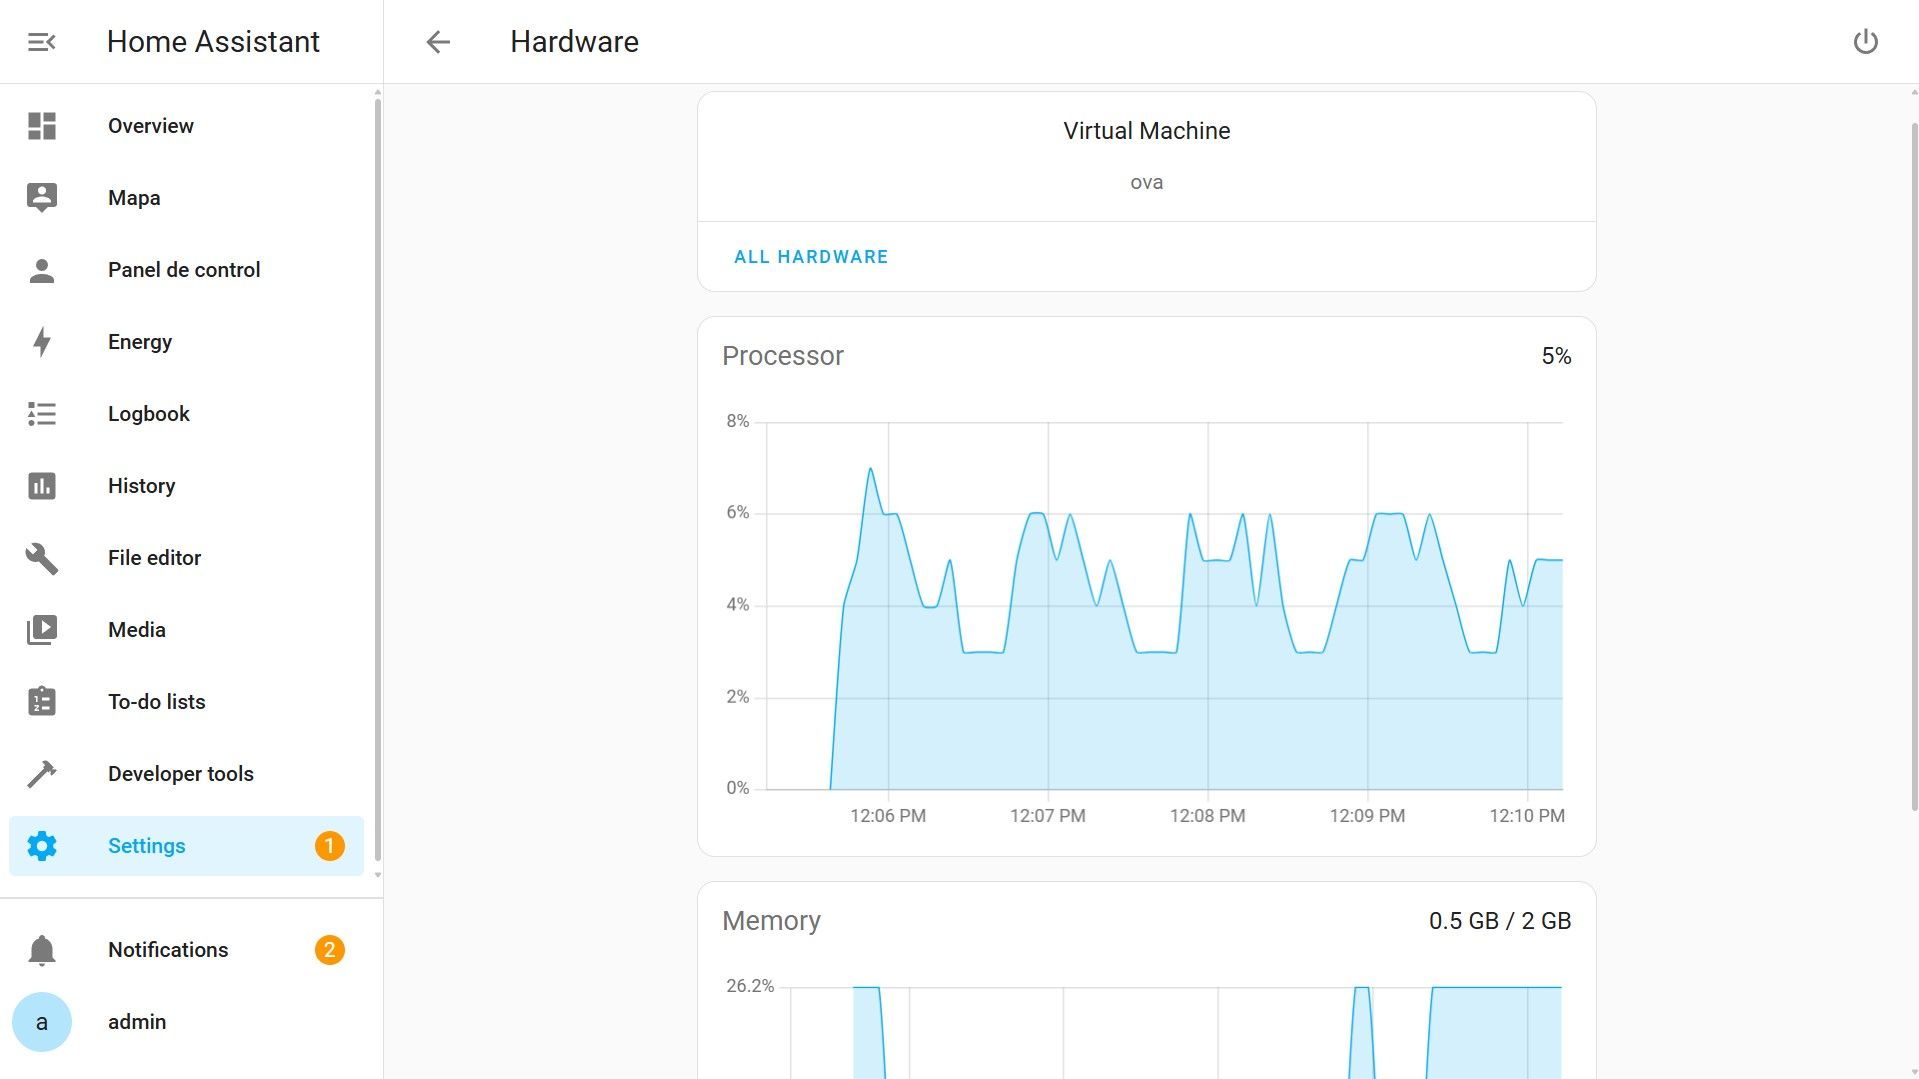
And finally, in Hardware, we will see the usage of the different system resources being used by our server. Keep in mind that if, for example, you are running Home Assistant Operating System in a Virtual Machine, only the data of the virtual machine will be shown here and not of your entire computer.
Conclusion
I hope this first look at everything Home Assistant offers helps you get a general idea of everything and understand a little better how to navigate the platform.
Later, we will see each part in detail, but for now, remember to share. See you in the next article!